

Under the Red Top
making the best of life & wood


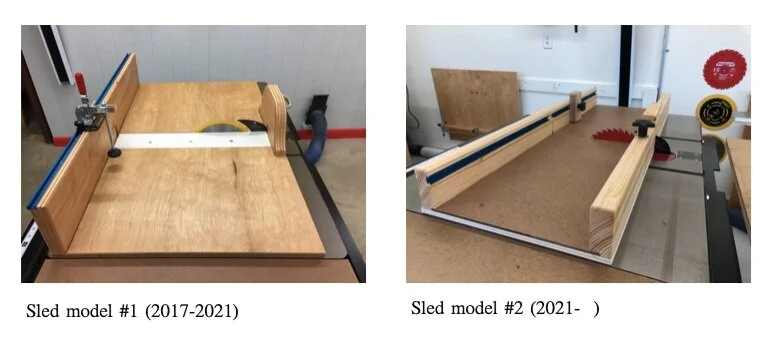
The New Sled

“I could use another tool.” - Common expression
Some tools you buy and others are better to make yourself. Such is the case with most so-called ‘jigs’. Sandor Nagyszalanczy (now that’s a woodworker’s name!) in his classic book Workshop Jigs and Fixtures describes jigs as devices which “orient and control the motion of the tool or the workpiece”. That’s all. But that’s a lot when you are trying to safely and accurately use sharp steel to change the dimensions of wood. There are commercially available jigs for almost all woodworking operations, but my bet is that the majority of jigs in any workshop are of the homemade variety. I have maybe a dozen jigs that I use on my table saw, band saws and router. They help me make picture frames, table legs and perform all manner of cuts with both reproducibility and precision. Nearly all of these were made in my shop after some consultation of the woodworking literature and YouTube channels loaded with good examples. These plans help but, just like any good recipe, I doubt they are ever followed exactly. Instead, they serve as a time-tested version for the innovator to further refine based their own tastes and appetite. That is certainly the case with the cross-cut sled, perhaps the most popular jig of them all.
I have two sleds (sometimes called ‘carriages’) for my table saw. One is an open design that runs on the right side of the saw blade and is used for cutting larger, panel-type pieces at 90 degrees. It was the very first jig I made and provides good service for this special task. The workhorse sled is the more conventional, double runner variety that spans both sides of the saw blade and is used to make accurate cuts across the grain of a wooden workpiece, hence the name. These jigs go WAY back. Not only is there a canonical design for the cross-cut sled, there is also a standard sequence of steps to be followed during construction. The inspired woodworker needs only to familiarize him or herself with these conventions and then apply them to the construction of their own custom job.

reproduced from: Ingenious Jigs & Shop Accessories; Taunton: Newtown, 1999.
That’s what I did in 2017 when I made my model #1. It was a beauty and, at the time, a source of personal pride for the features it possessed. I made the sled base out of a material called MDF (medium-density fiberboard), which is an engineered material made of wood fibers, bound under pressure with added wax and resin. This versatile material is available in several dimensions and, as there is no directional grain, there are no internal pressures to warp the product over time. While a bit weaker than natural wood, its main drawback for this application is its considerable weight. Anyway, I chose 1/2 inch thick MDF and glued a 1/8 inch plywood overlay to the surface to make the platform. To the right of the saw kerf opening, where the dado blades will stack to create new “blades” of variable thickness, I left a 3 inch space in the overlay into which I could insert 1/8 inch hardboard (aka HDF) plates of various widths to provide a close edge (so-called ‘zero-clearance’) to that side of the kerf depending on whether I was using a single blade or dado stack. Zero-clearance between the blade and the sled surface provides a cleaner cut by reducing tear-out as the blade sweeps past the bottom edge of the wood. The front brace and rear fence of the sled were made of doubled 3/4 in. plywood to ensure straightness and strength. Unfortunately, given the overall size, this also served to ensure heft. To avoid accidentally dropping the thing on my foot, I attached a handle to the front brace which made it easier to heave the sled on and off of the table saw. Unexpectedly, the handle also provided for a safer way to use the jig. It turns out that many cuts could now be made by clamping the workpiece to the rear fence and then walking around the saw and using this handle to pull the sled into the blade. This maneuver puts your body, face and hands behind the spinning blade and surely adds a measure of safety to an operation, admittedly de-risked by using a sled in the first place. I admired this adaptation but recognized that it came at the expense of mass. Unfortunately, once I started furniture-making on a daily basis I began to eye my obese sled with displeasure. “You know you could stand to lose a few pounds” I would mutter with every mount & dismount from the saw. Eventually I took matters into my own hands and performed the needed surgery. It was a modified gastric bypass procedure, wherein one saves the entrails (runners and T-track) and discards the body.
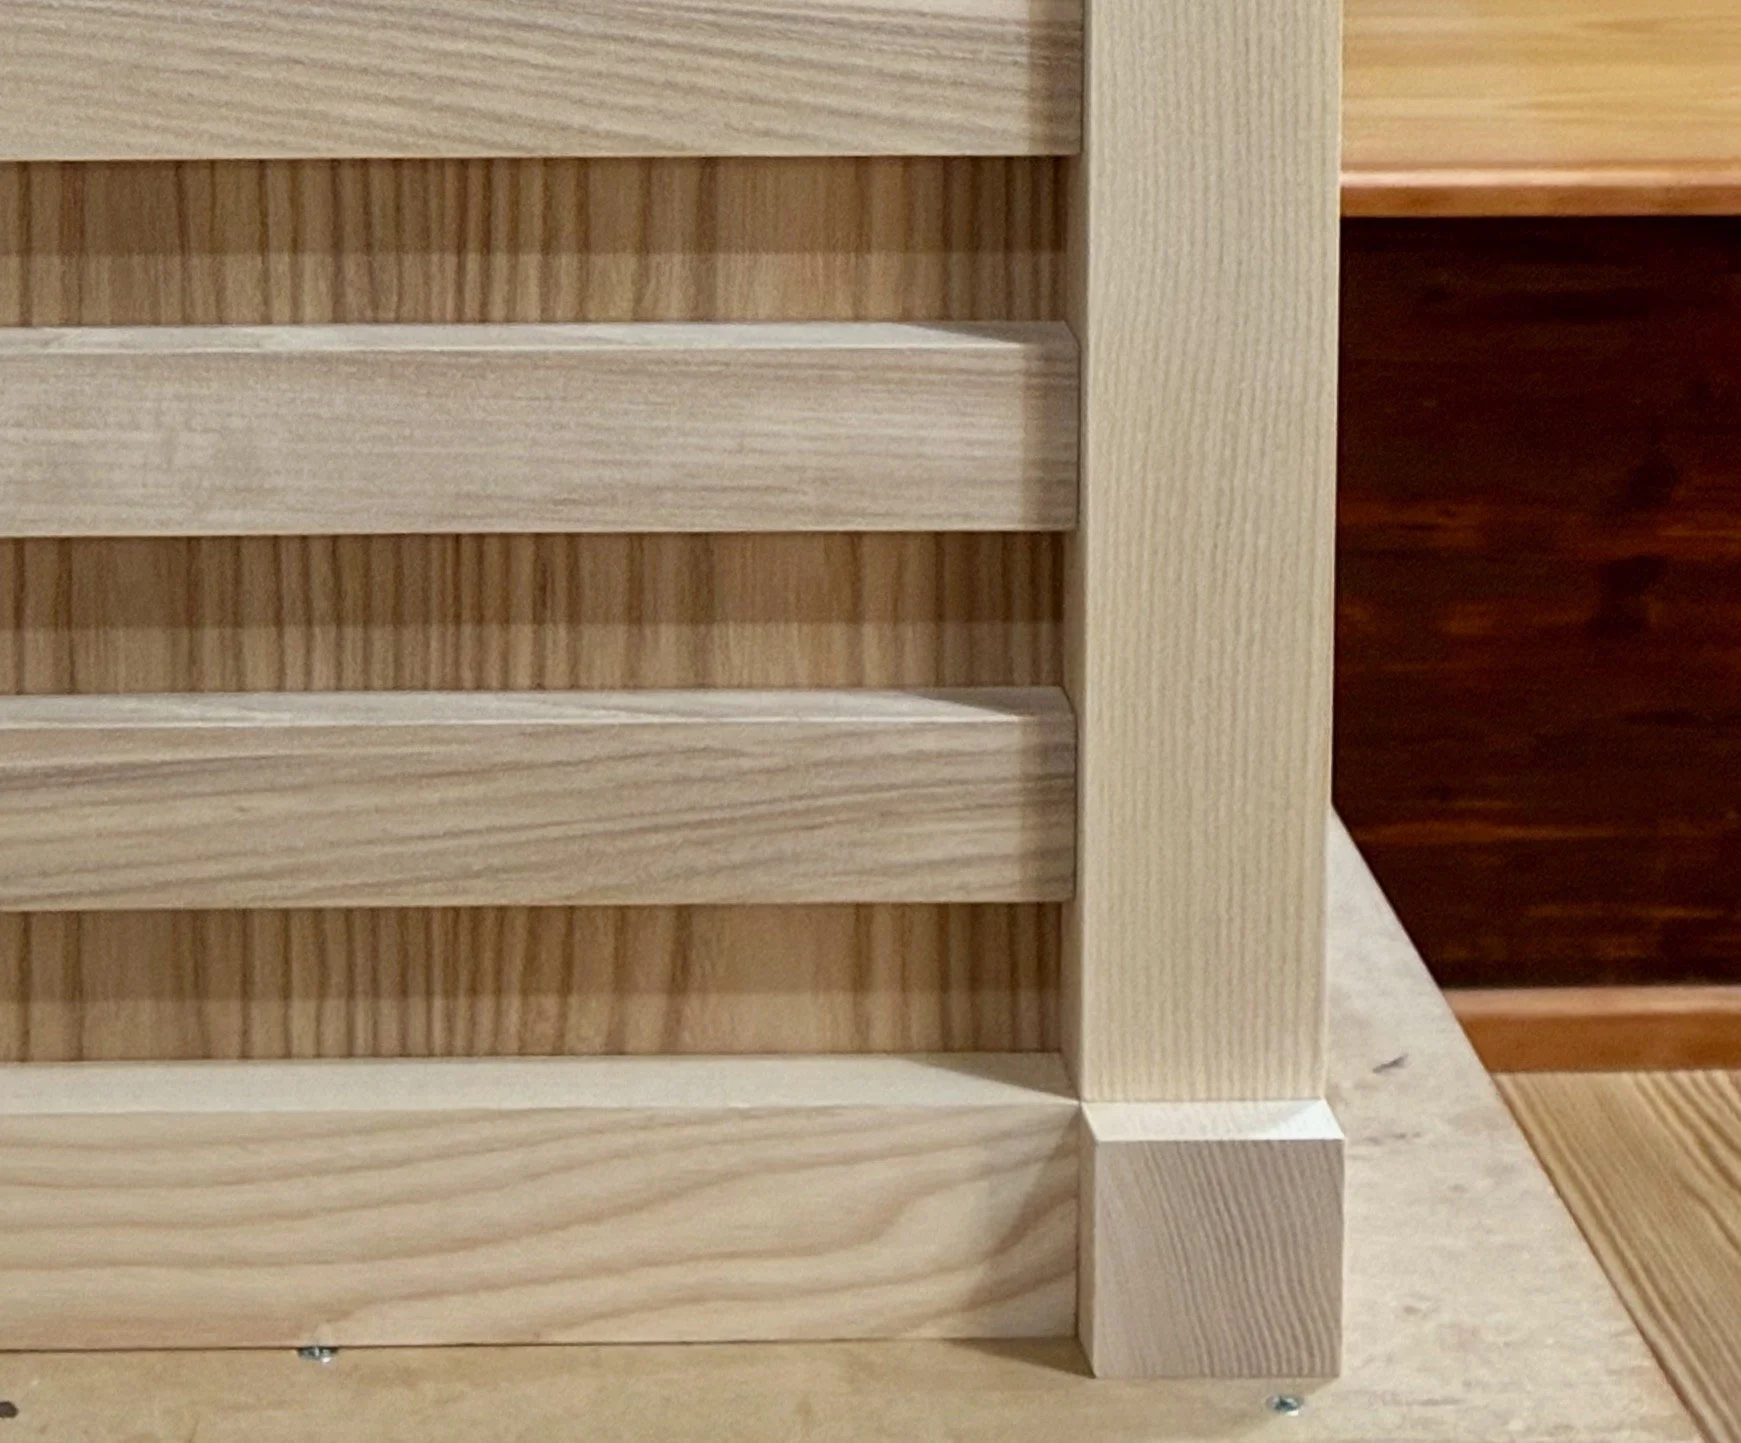
For model #2 the runners were trimmed further to a manageable 15 inches in length and then transplanted on to a sleeker, plywood body. The front and back pieces were made of dry, straight-grained 2x4 pine that I had been saving for a special purpose such as this. (Typically, plywood or poplar (hardwood) are used here and I hope my lighter option does not dent and deform over time.) To improve upon the zero-clearance feature I glued a 1/8 inch layer of HDF to the left of the blade. On the right side, I used another piece of HDF that was allowed to slide freely beneath rabbeted grooves on the front/back pieces in order to tuck-up to whatever blade was in use. I put a screw bolt along the front to secure the sliding board into position, but this was probably not required as the fit was quite snug. I also inserted the T-track, salvaged from model #1, along the backside of the fence and mounted a wooden stop block to assist with cutting reproducibly identical furniture parts. Sweet! However, none of these features matter unless you have made the back fence of the sled absolutely perpendicular to the saw blade. This is the critical attribute of the cross-cut sled. If not fashioned properly in this one dimension, the jig is useless. There are a number of methods used to make, check, and adjust the backside of sleds during construction. I like the one developed by William Ng. This guy not only learned his high school geometry, but he remembered it beyond graduation! Using Ng’s method I convinced myself that my sled was off by no more than 0.2/1000 of an inch over a cut of 11 inches. That’ll do for #2.
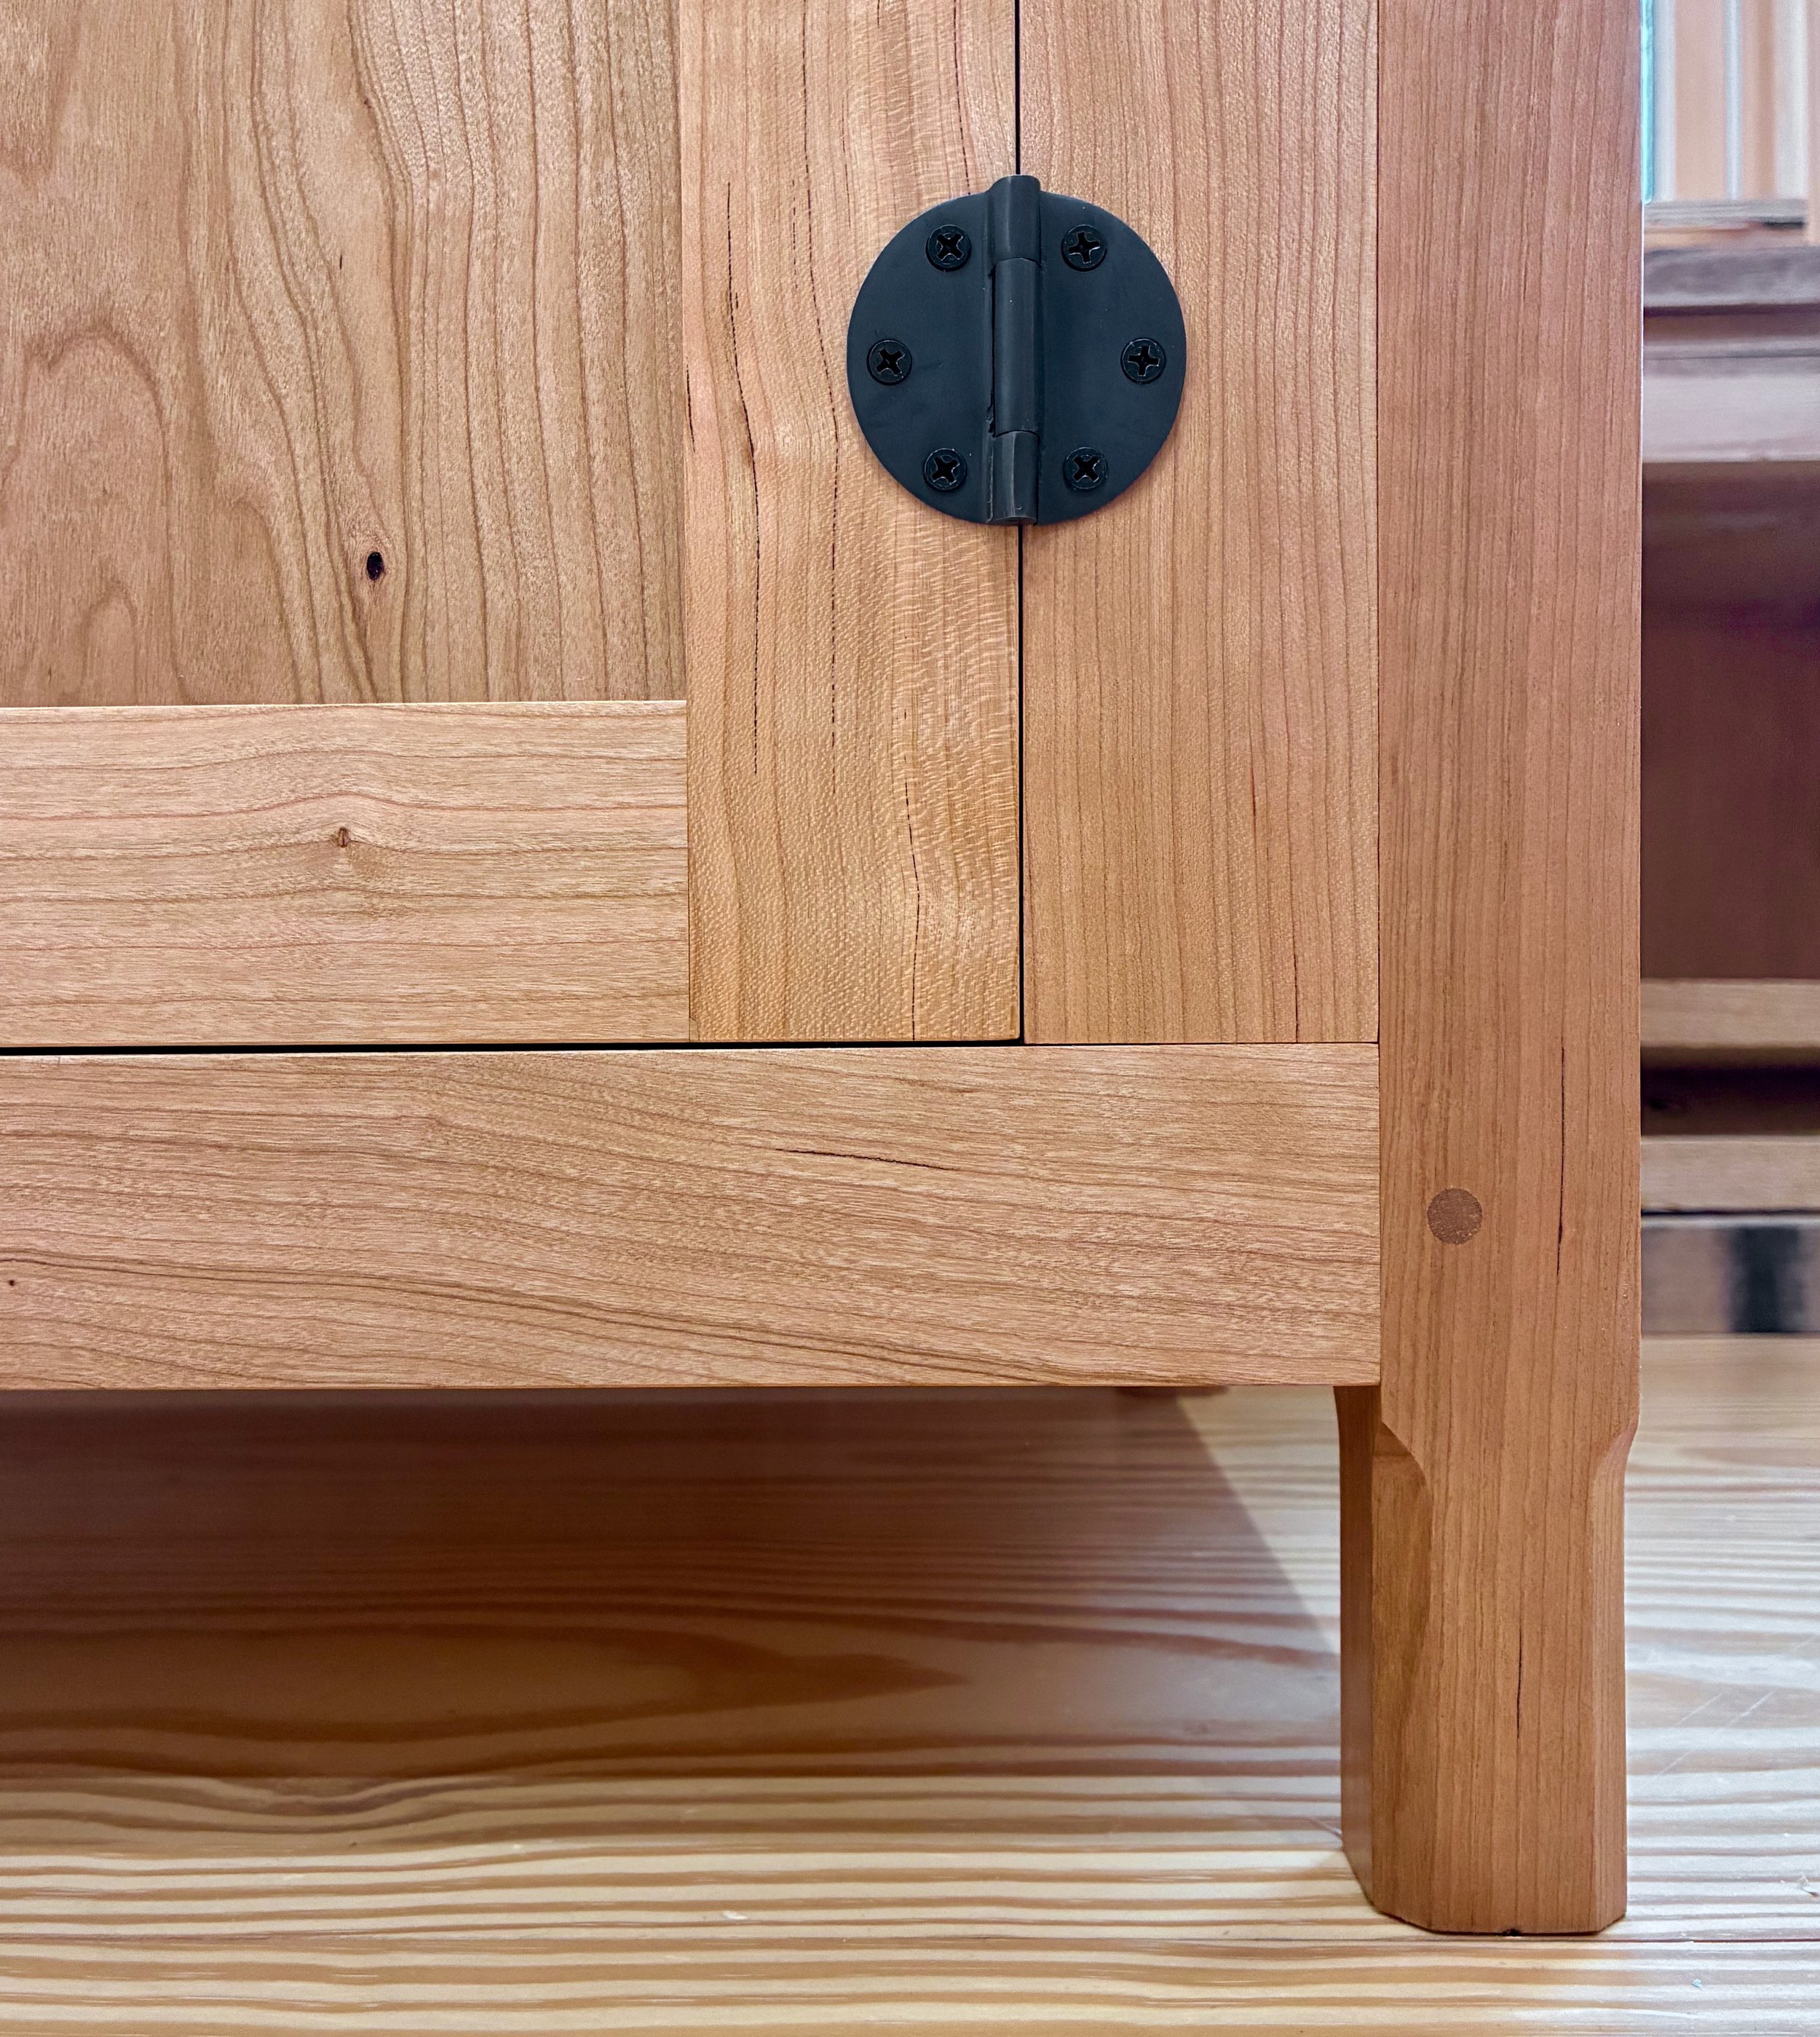
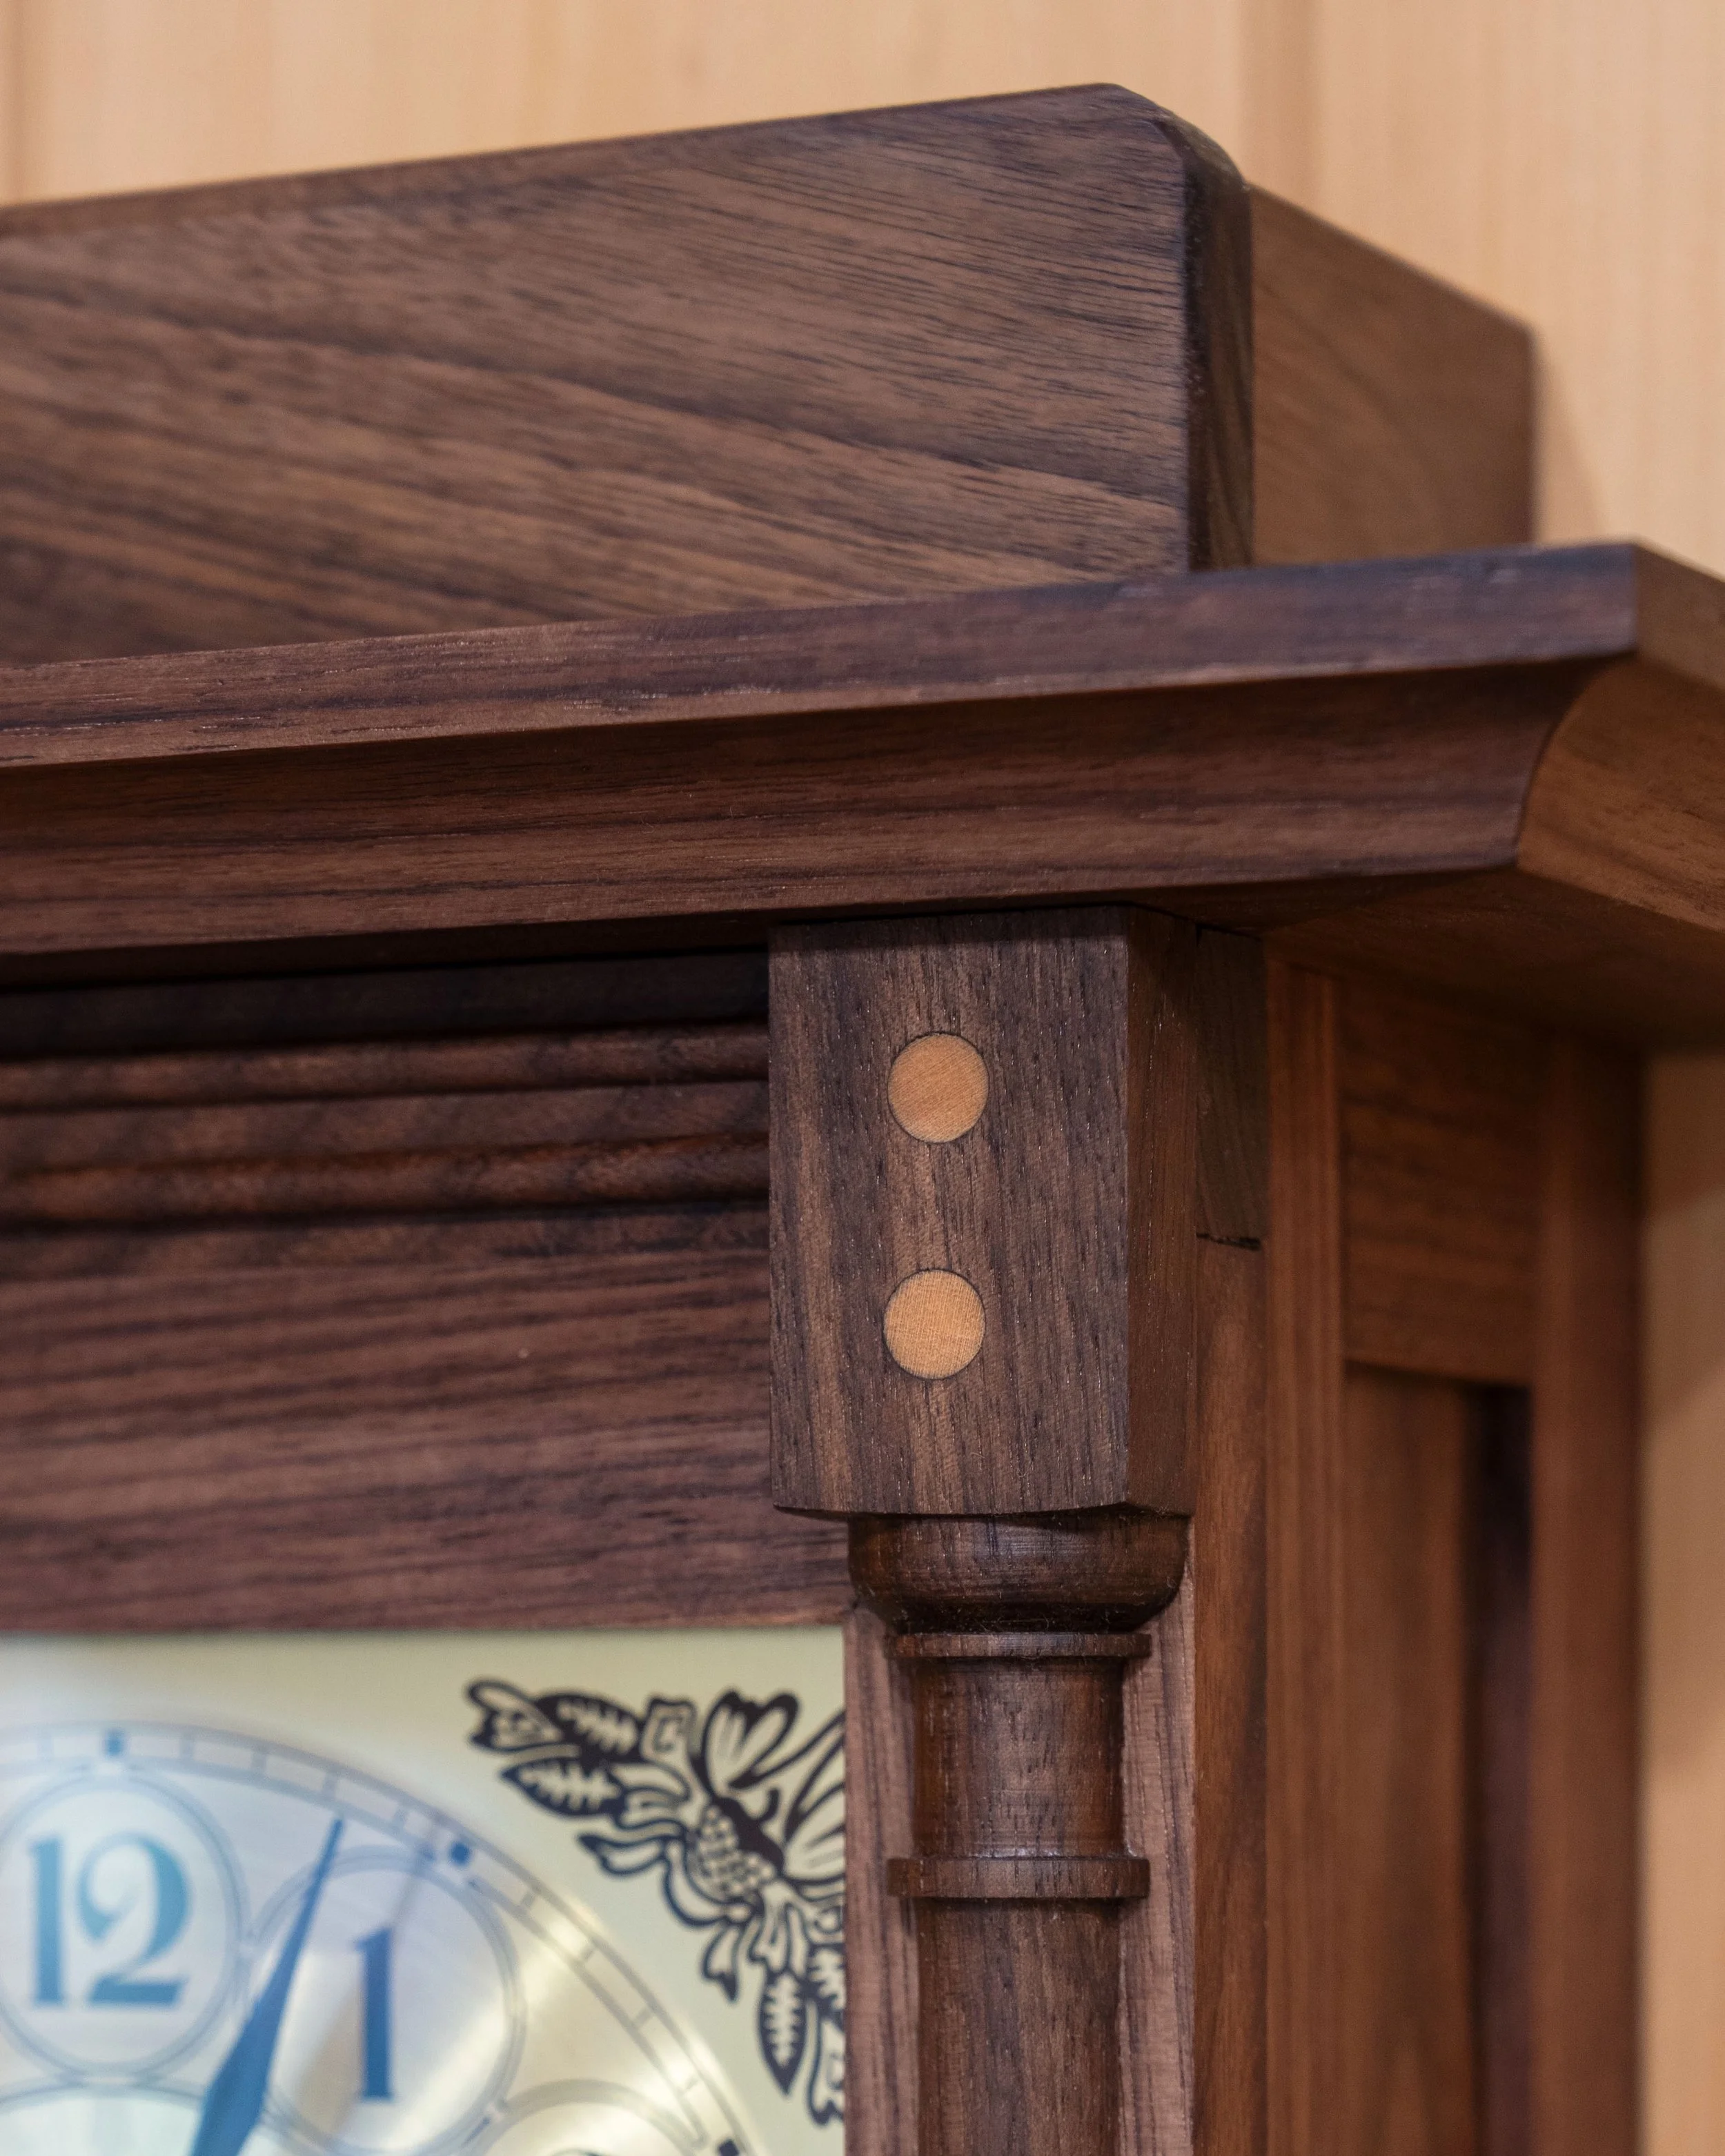
Pretty happy overall. I have a big piece of furniture and a clock in the works, now. Hope I’m still pleased when these are finished.