A Beloved Board
Here’s a new one; a good one, too. Last week I had a customer bring me her cutting board and asked, essentially, “Can this board be saved?”. It seems she uses, daily, the same hardwood cutting board that had belonged to her mother, and all the years of chopping were beginning to show. One is easily drawn to this board. While not an expensive item, the value bestowed by memory made it priceless. You know the feeling. This project is about restoring that beloved board.
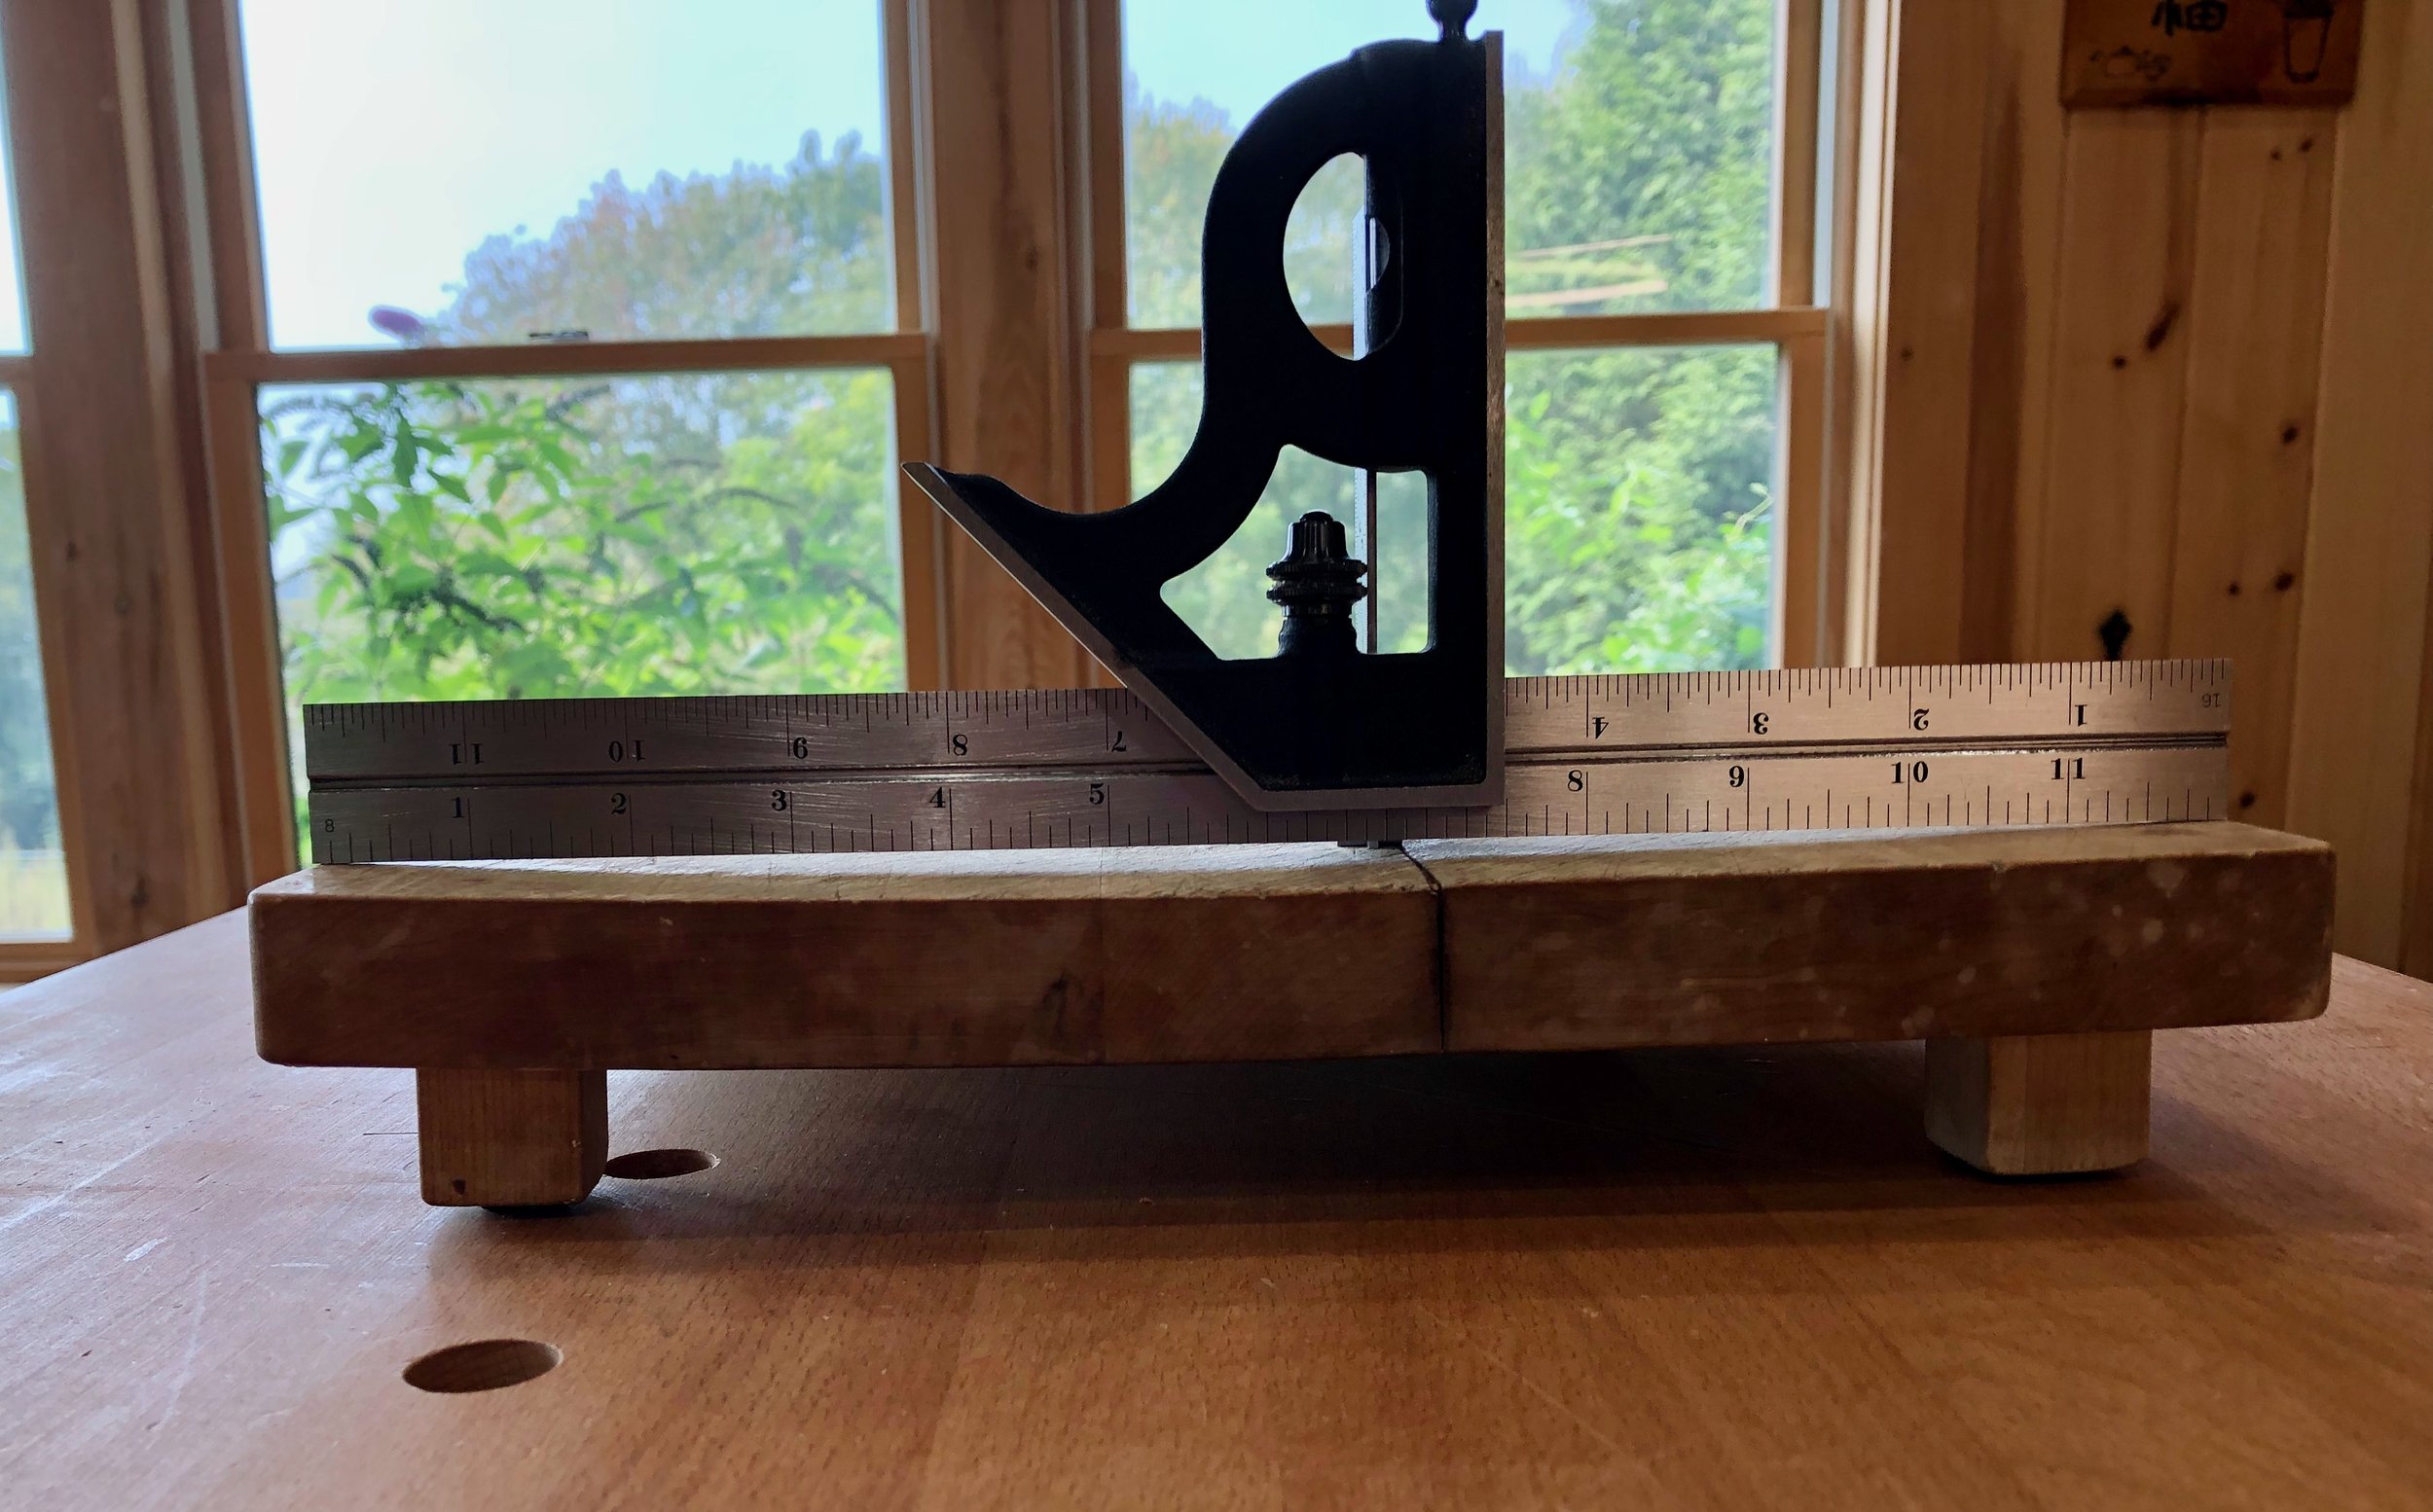
The goal was to make the board “better”, that is, flatter, smoother and less wobbly while keeping the character intact. I started by sizing up the physical attributes and reason for its unsteadiness. Putting a straightedge to the top revealed the primary defect, a 1/4 inch sag over the 12 inch width caused by wear, warp and also failure at the joints. It turns out that this “board” was made up of three smaller boards, which were coming apart at the seams.
Daylight above the sagging board
At this point, all thoughts of cosmetic restoration were abandoned, it now appeared that reconstructive surgery was in order. Sanding/planing, the outer edges deep enough to achieve a level work surface would produce a cutting board with a pronounced belly that still wobbled. The new plan was to remove the legs, slice the board into three at the seams and then plane the top surfaces flat while also removing a layer of worn-out wood. Re-gluing the parts back together and then finish sanding would give a flat, and hopefully attractive work surface for a few more decades of service. I would restore the legs, too, but decided to leave the underside relatively untouched to keep some patina and that sweet Dansk® trademark.
The first job was to cut the legless board into three parts at the band saw.
Dissected board
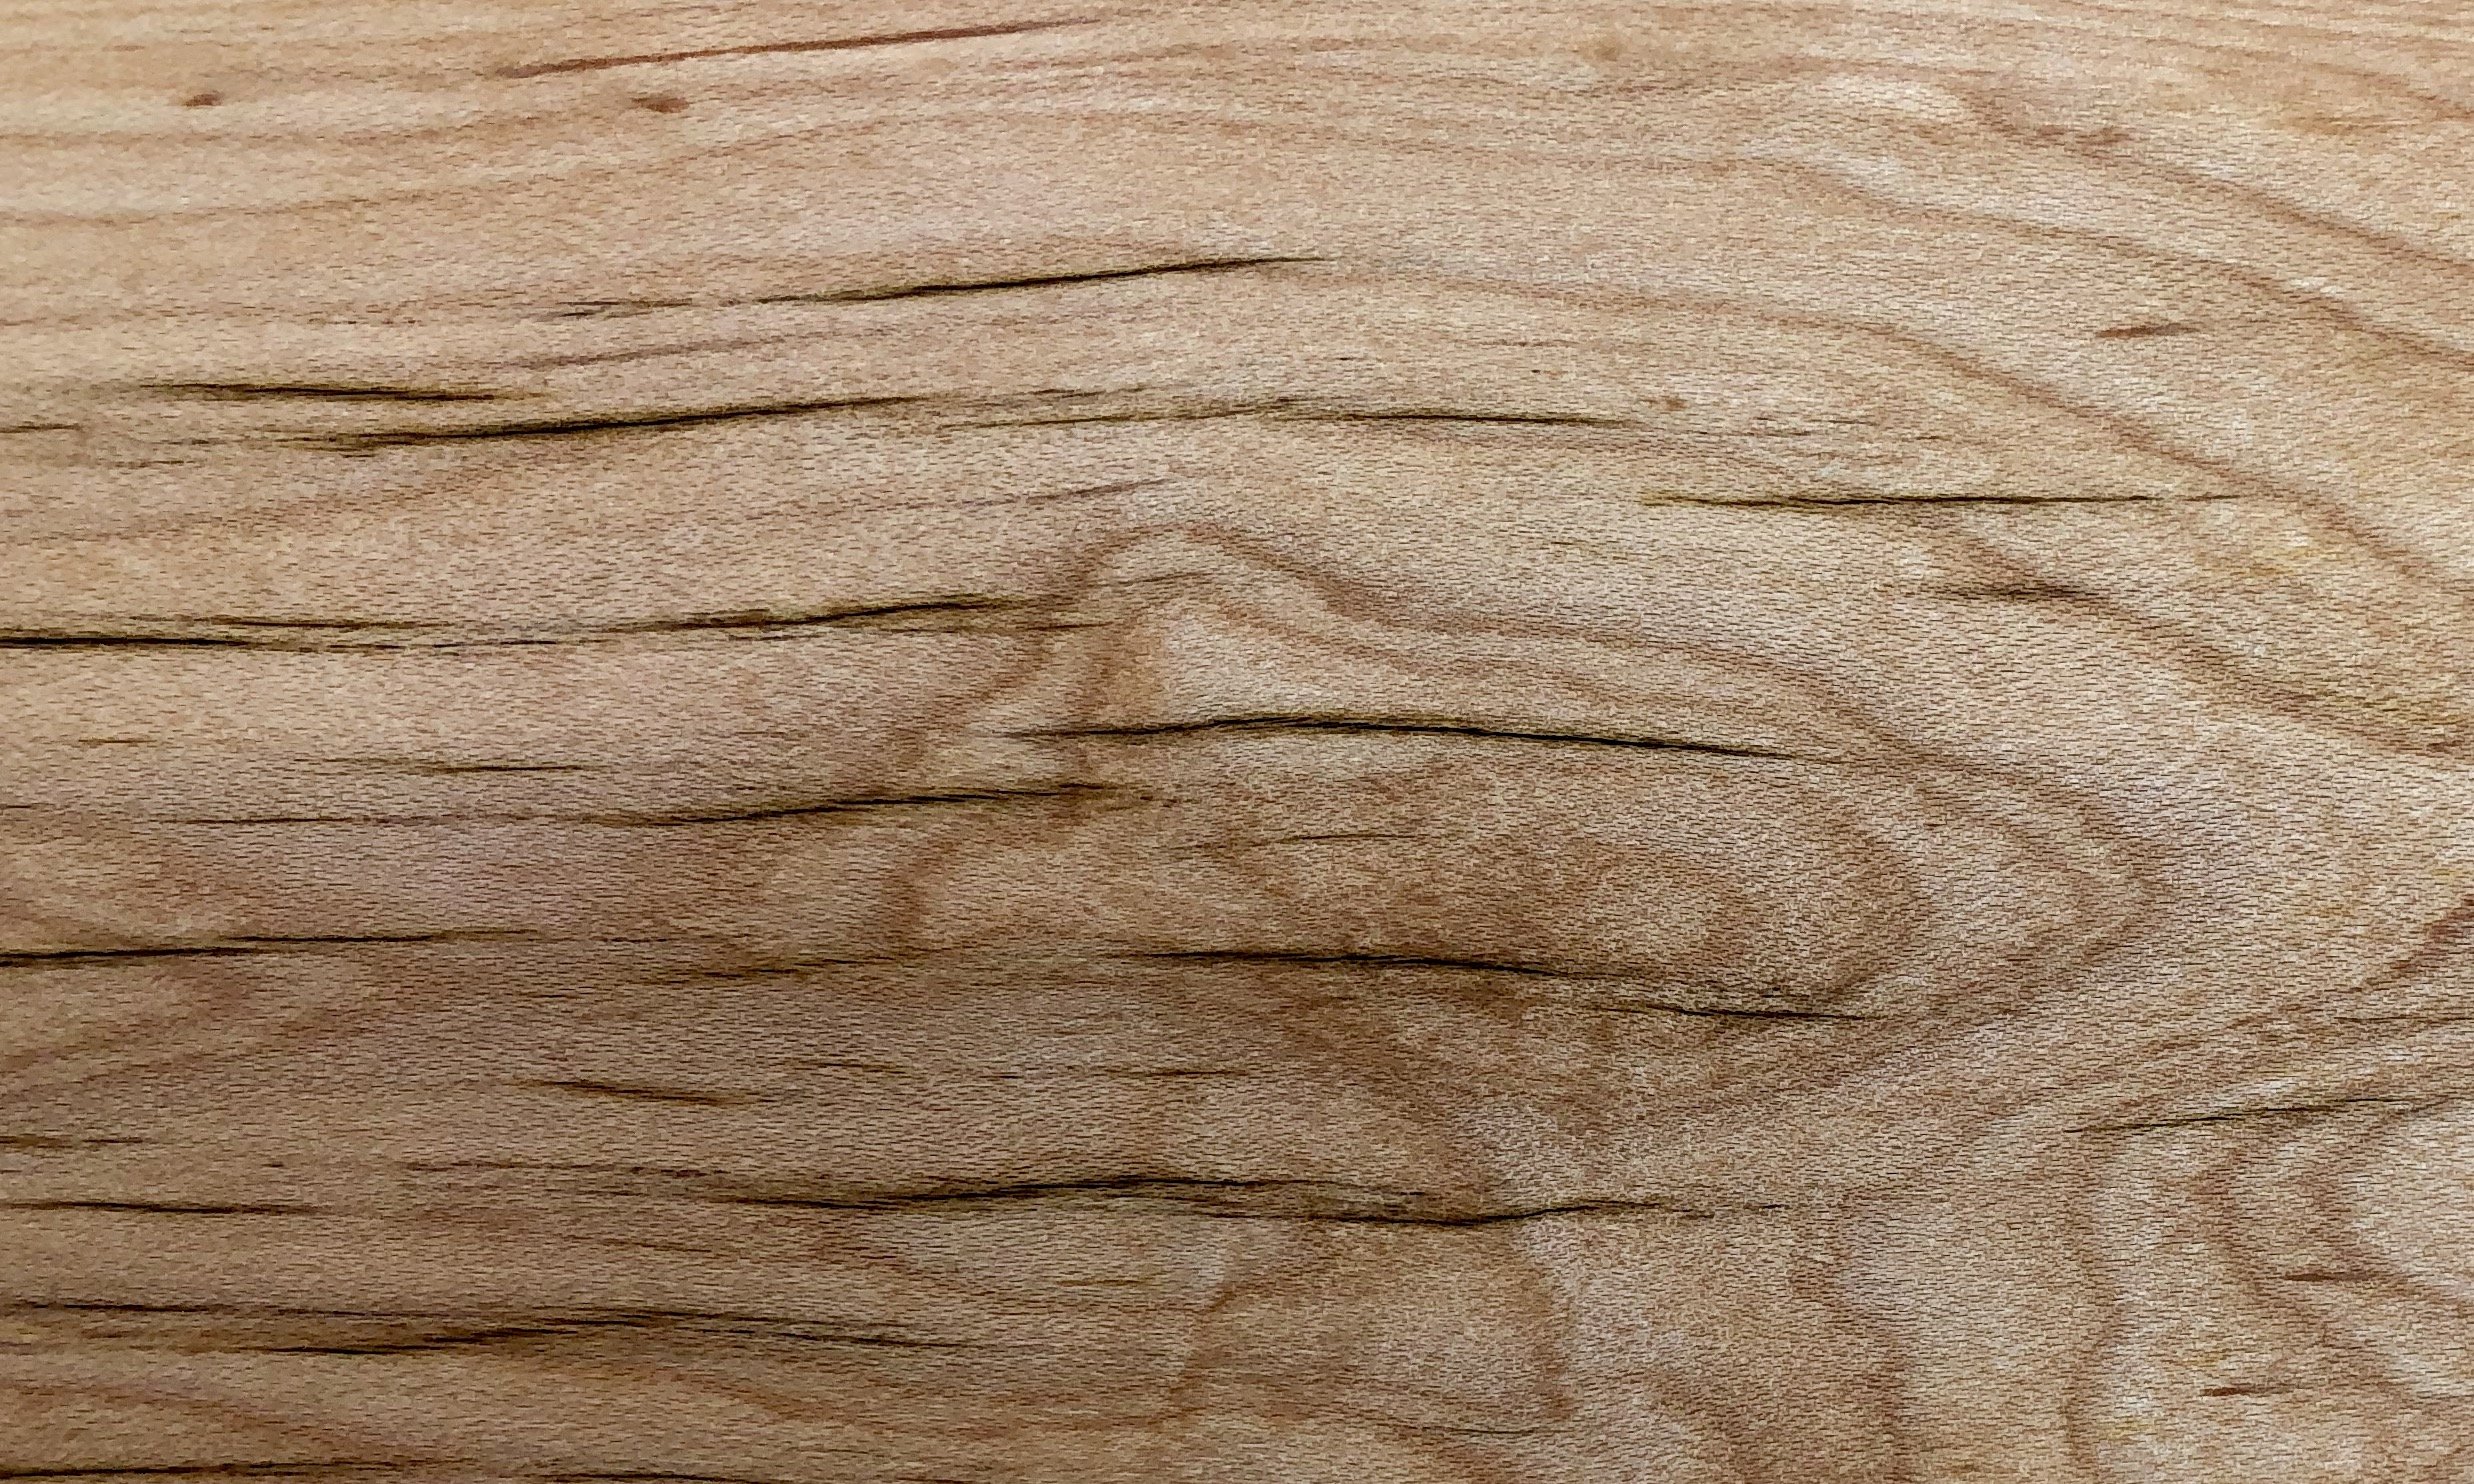
The three boards then were run, individually, through the thickness planer several times. This revealed their composition to be maple, and also produced hard, useable wood on the surface, again.
With a clean, flat surface in hand, the rough, band sawn edges were then made square at the jointer. Next, the undersides of the boards were skimmed lightly using an orbital sander to clean the surface, and then, to give the new joints a better life, I decided to add some biscuits before glue-up.
Biscuits in their slots
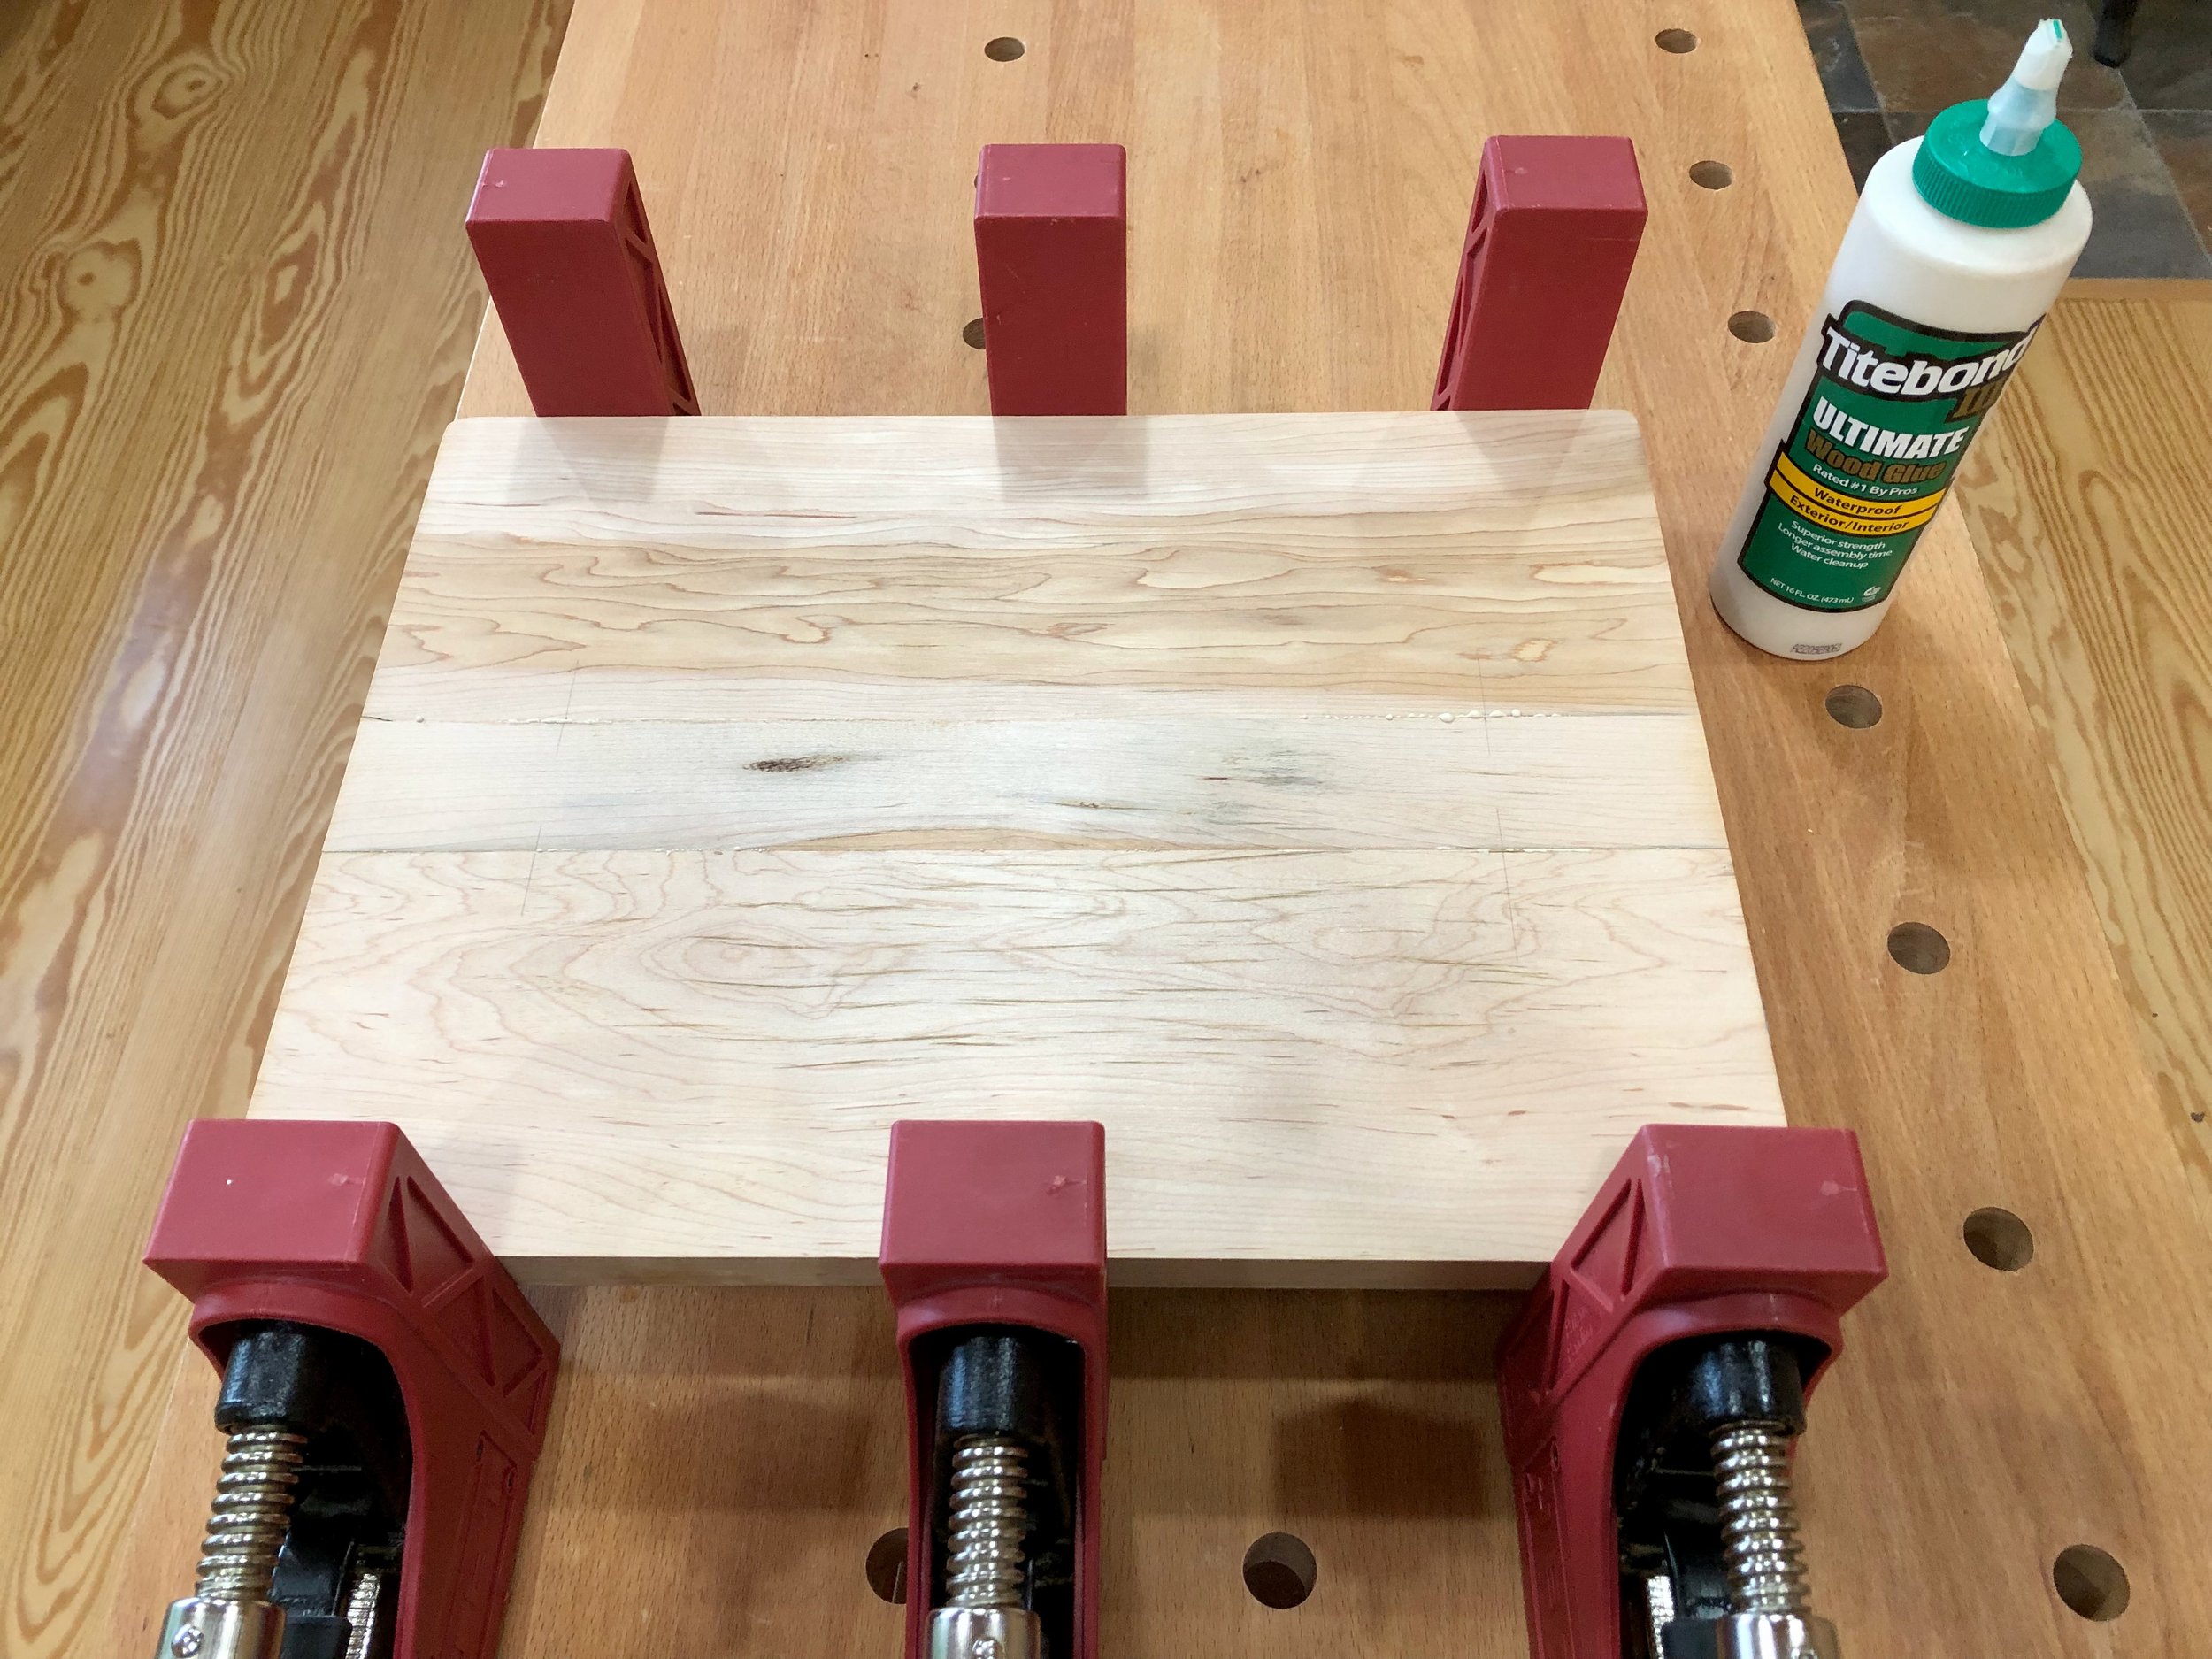
Reassembly using waterproof glue
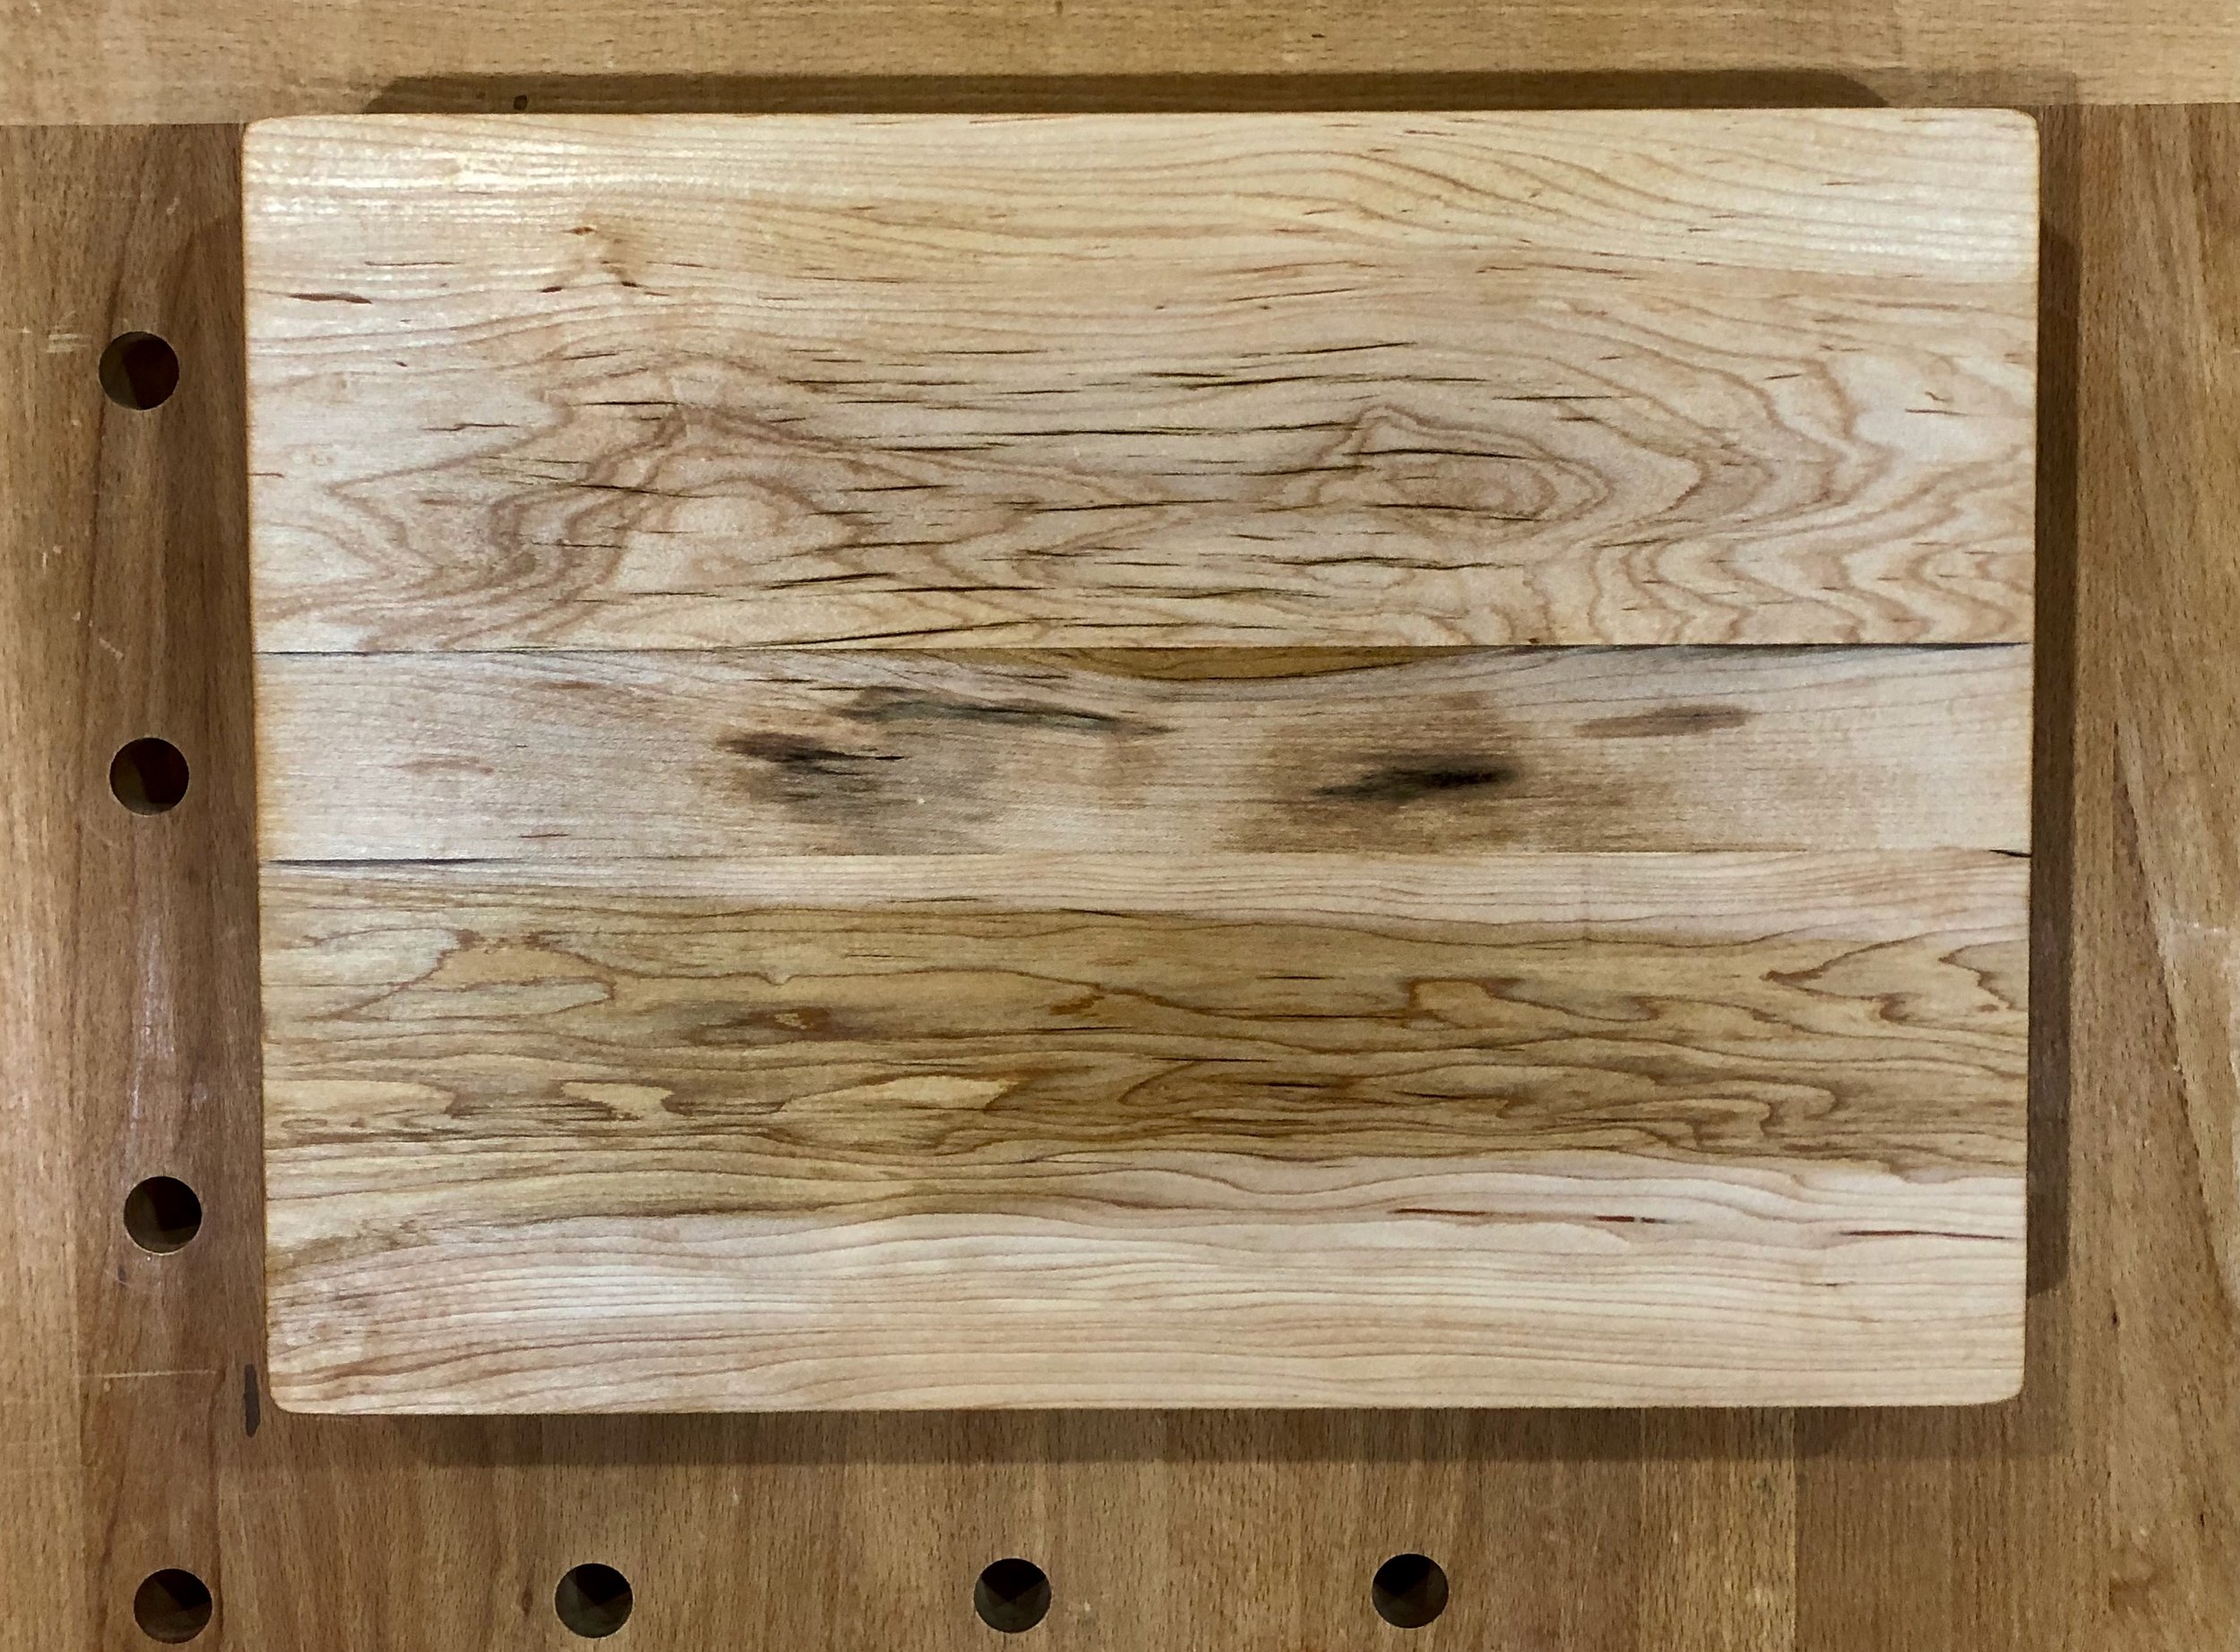
Once the glue dried, the surface was card scraped to level the joints and then sanded smooth to #220 grit; the edges were treated similarly. Next, I scrubbed the board using a mild detergent and let it dry. This served to raise the grain, which was hand-sanded smooth again. Finally, all of the corners, made sharp by the resurfacing process, were rounded-off.
The legs turned out to be a lost cause. Like fossils within a rocky matrix, the recessed rubber feet had petrified over time and became one with the wood. I found it was too difficult to chisel-out their remains without also damaging the frail wooden legs. And since those feet would need to be replaced anyway, it seemed best to just create four new legs from some scrap maple lying about the shop. This also permitted me to make one of the legs slightly taller than the others to compensate for warp at one of the corners. Stainless steel screws were used to mount the legs and feet which now sat square and firm on the bench.
Standing proud again
A couple treatments with food grade mineral oil, smoothing with a red Scotch-Brite pad in between, completed restoration of the beloved board.
While not the typical Project, this was a very satisfying effort. After witnessing the metamorphosis my wife put in a request for her boards be sanded and reshod, too, so the story has two happy endings. What shape are your boards in?


