

The Alarm Clock
I have always appreciated alarm clocks. In addition to keeping time, these fellows let you, the user, enhance function by programming their works. This sets up a charming, human machine symbiosis which is the reason why we buy them instead of the less functional alternative. The current Project is an alarm clock restoration, of sorts.
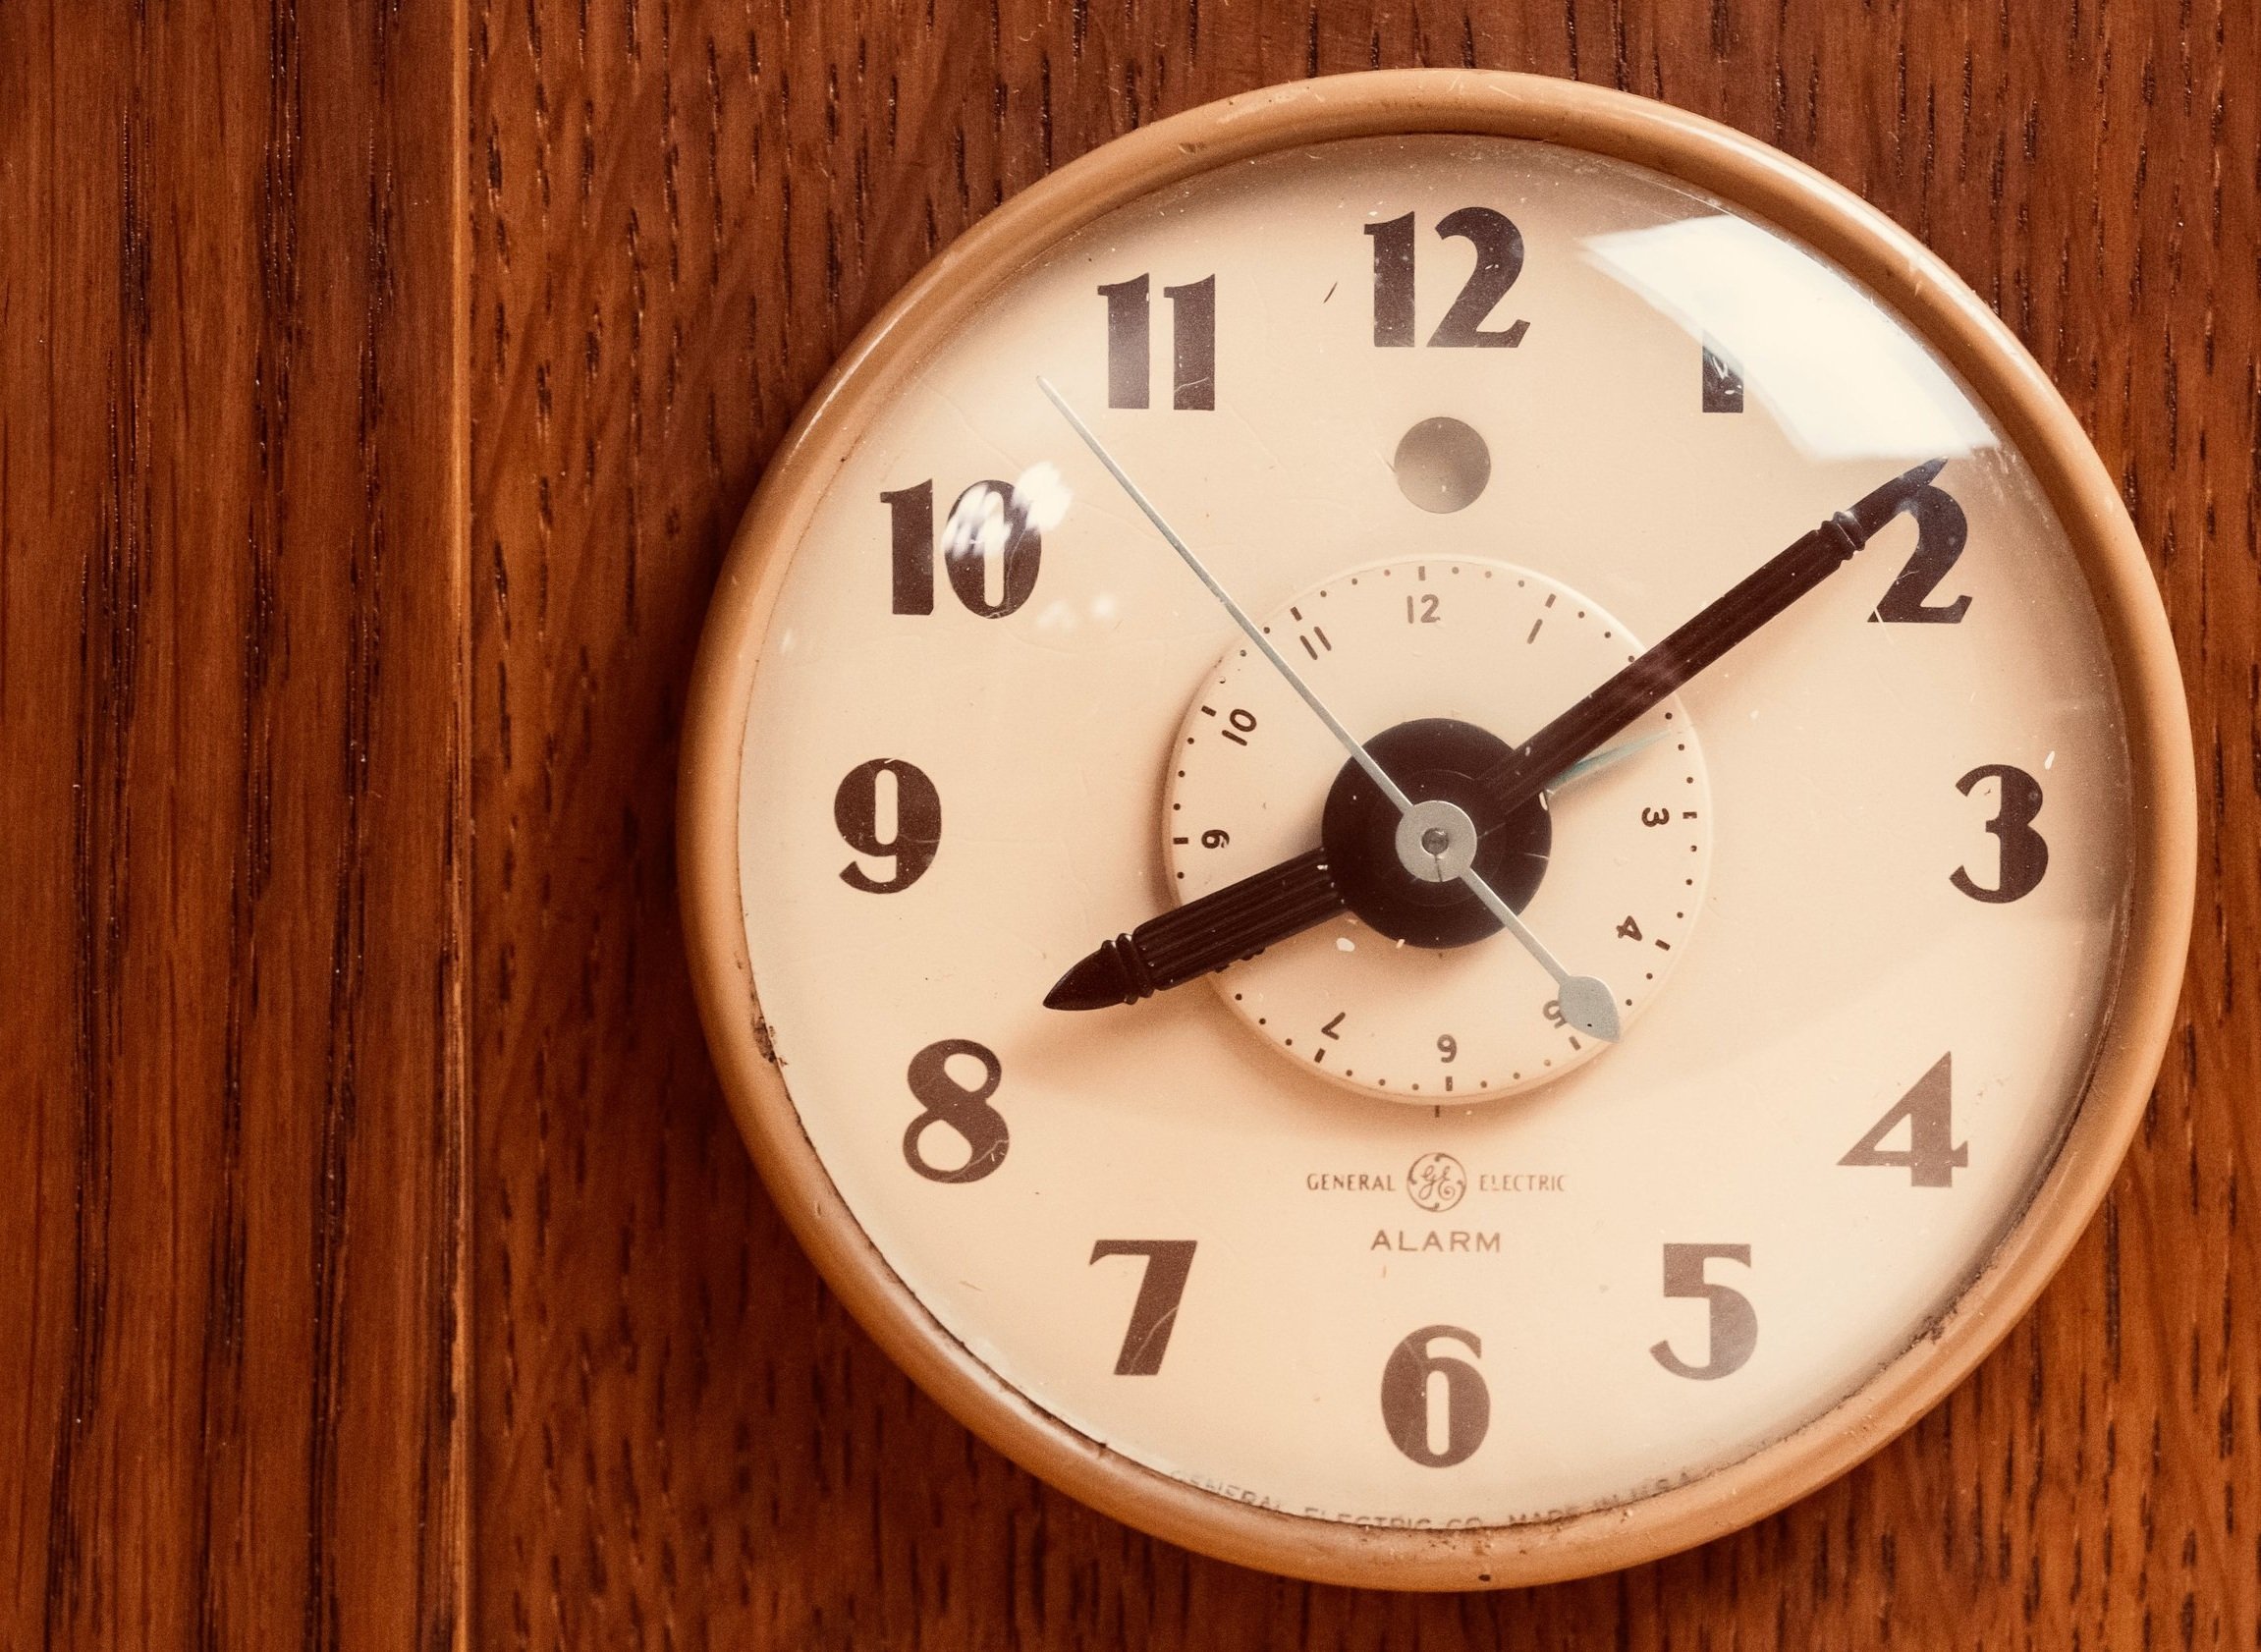
It seems that among the family artifacts & heirlooms my brother, Mike, happened to acquire the guts of an old, 1940’s electric alarm clock that once belonged to our great uncle Louis. As with many family keepsakes he doesn’t remember how he assumed ownership, and I only became aware recently when he presented me with the naked works and a request to build a new case for them. The clock would have been originally clad in Bakelite, that early plastic which we presume was somehow damaged beyond repair, however, the clock face was unblemished, and it appeared to keep good time. This motorized timepiece would have been purchased shortly after electricity arrived to our area of rural Michigan and so I imagine that it was an extra special item in its day. Here’s a picture from the internet showing its original form.
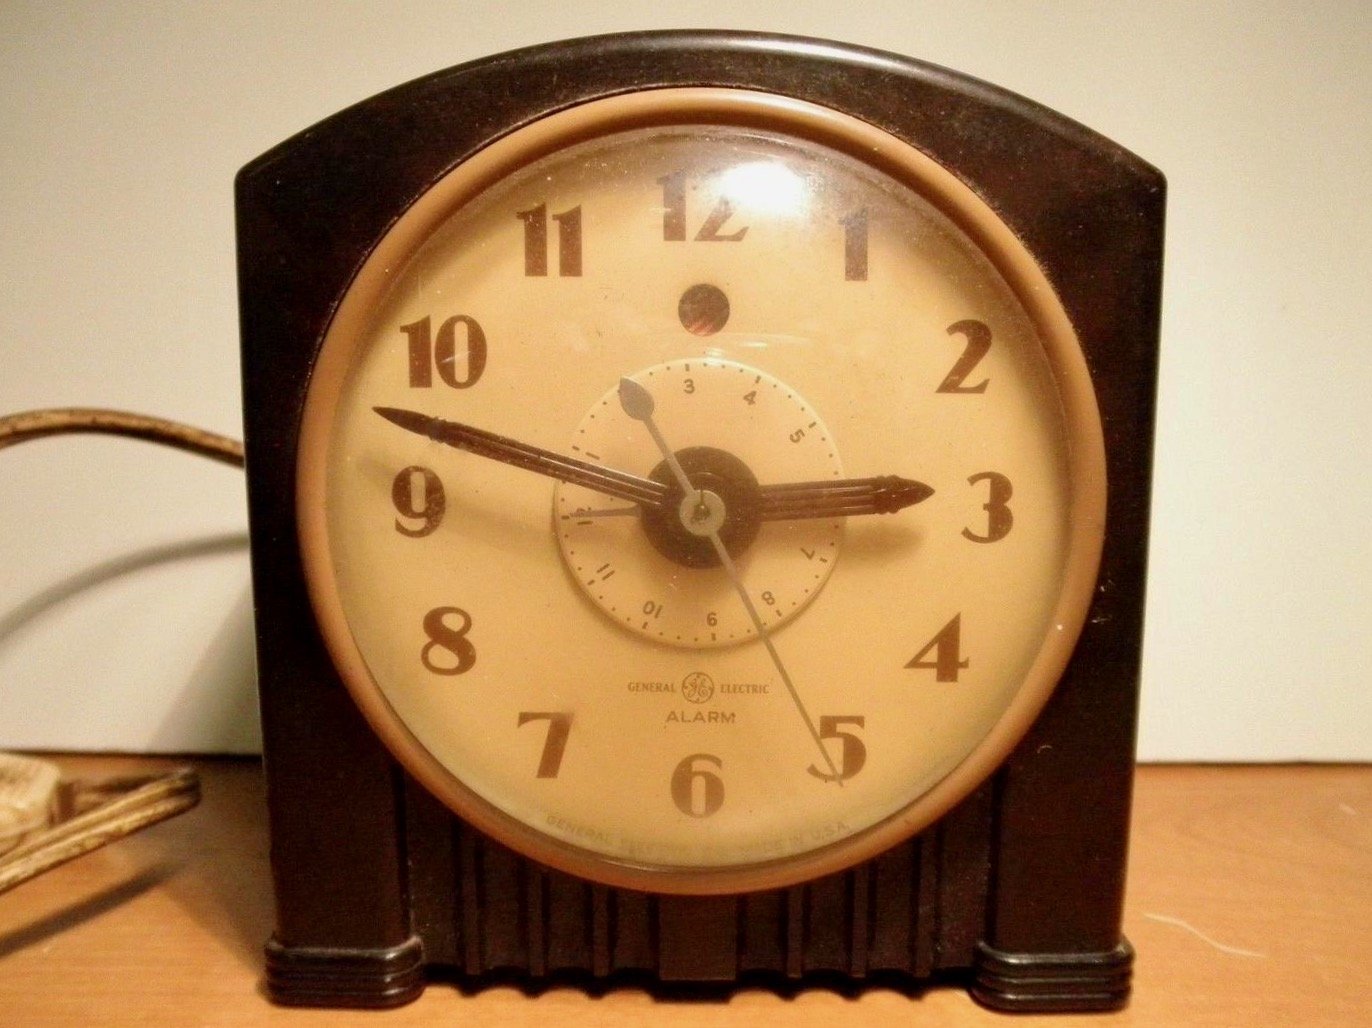
General Electric clock model 7H154
Design
The art deco styling of the original evokes an era of home cooked meals and evenings by the radio. We wanted to preserve that feel, but an exact reproduction, replacing plastic for wood, was not the answer. First, the stocky 4 x 4 inch bedside form would look out of place on a shelf in my brother’s study and, more importantly, I was not sure I could execute the curved case top with success. The solution was to keep the curve element as part of longer, more pronounced “pillars” framing a rectangular chamber that would house the clock mechanism. While still a square 7 x 7 in. on the face dimension, it was anticipated that the illusion of verticality provided by the dominating pillars and the offset dial mount would give a more appropriate look. The motor on this clock generates heat and so the plan was to forego the box bottom and also leave a gap between the sides and top to promote cooling by convection.

Rough plan with front view showing two possible variants of the curved pillar
Materials
The mechanical part of this build was in hand except for two missing bolts used to mount the works to the case. Replacements for these were obtained at the local hardware store. For wood we chose quarter sawn white oak, that mainstay of solidly built furniture from this period. And in the spirit of Reclaim•Reuse•Recycle, a few leftover scrap boards from past Projects would be used.
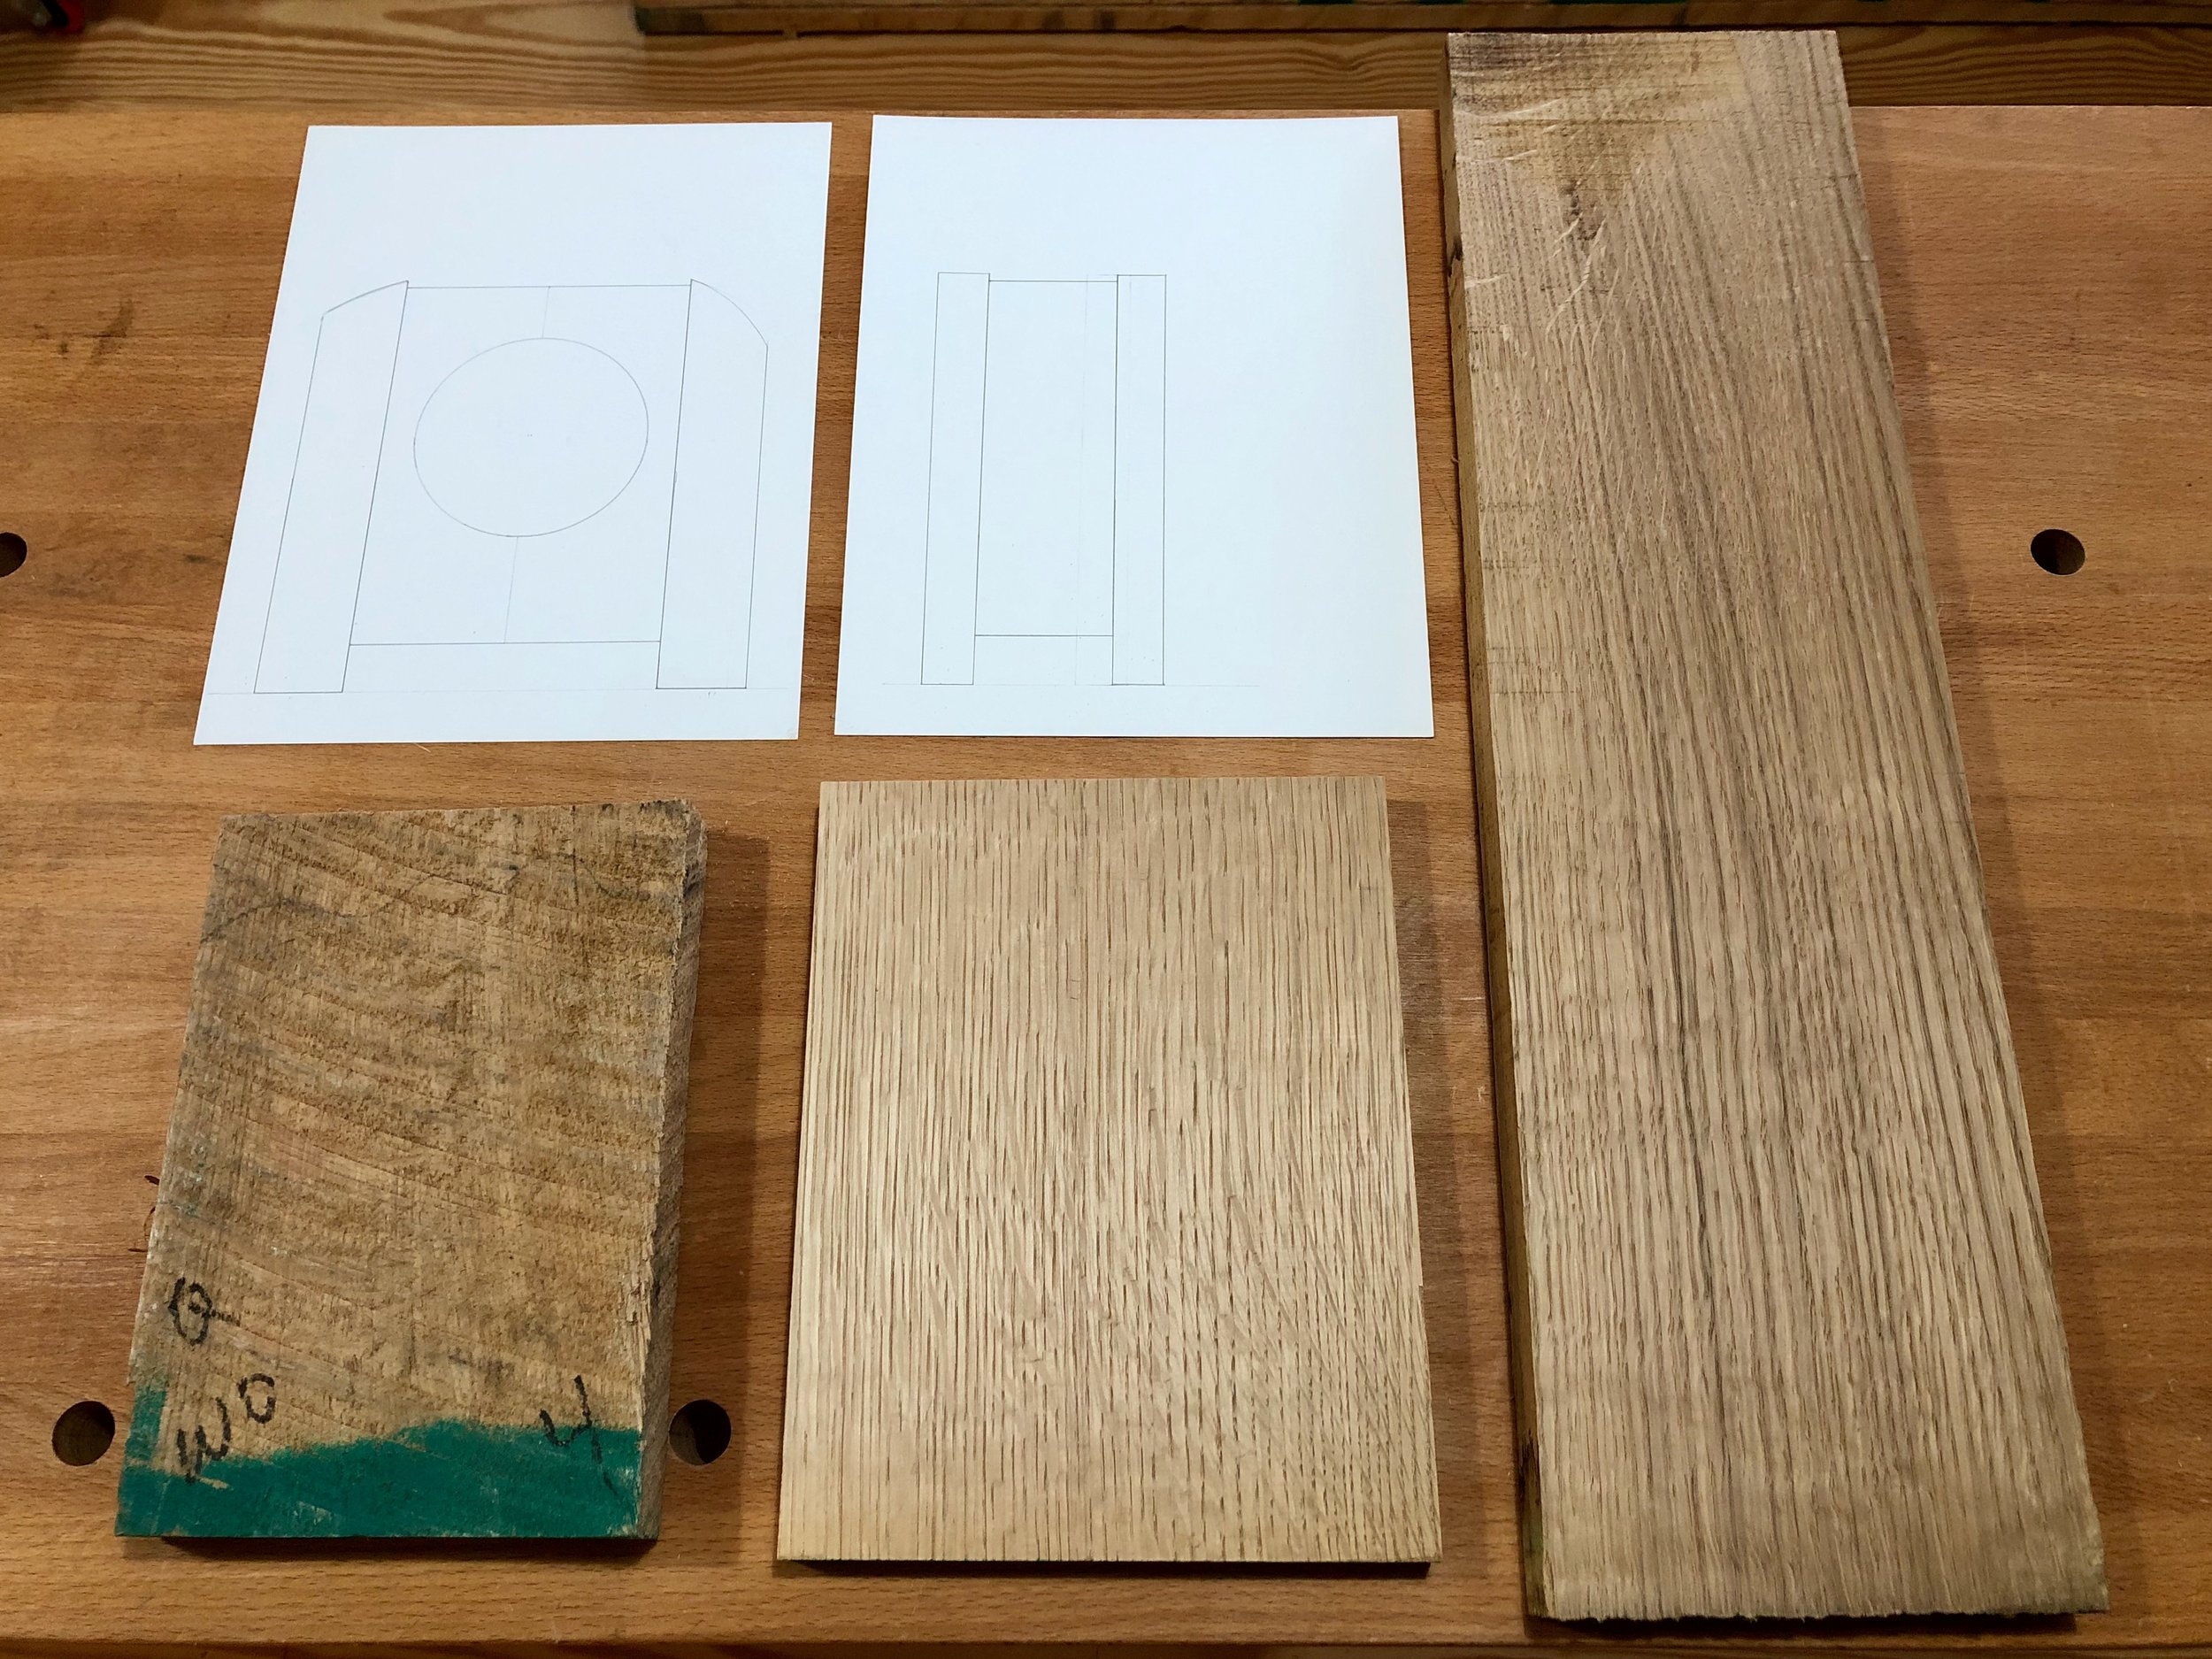
White oak boards
Dimensioning
The parts for the case were easy to make. I needed four pillars (1 1/4 x 3/4 x 7 in., W,D,H) and some flat panels, thickness planed to 1/4 in. in depth. Some grooving in the pillars would hold the panels, and the seams along the top would be mitered. Just as with the plastic case, this construct would expose no joinery. Although “easy to make”, it required the use of all nine of the heavy power tools in my shop to do so. This included the smaller bandsaw, which was used to cut both the circular opening in the face as well as the curved pillar ends. Can’t have more fun than that!
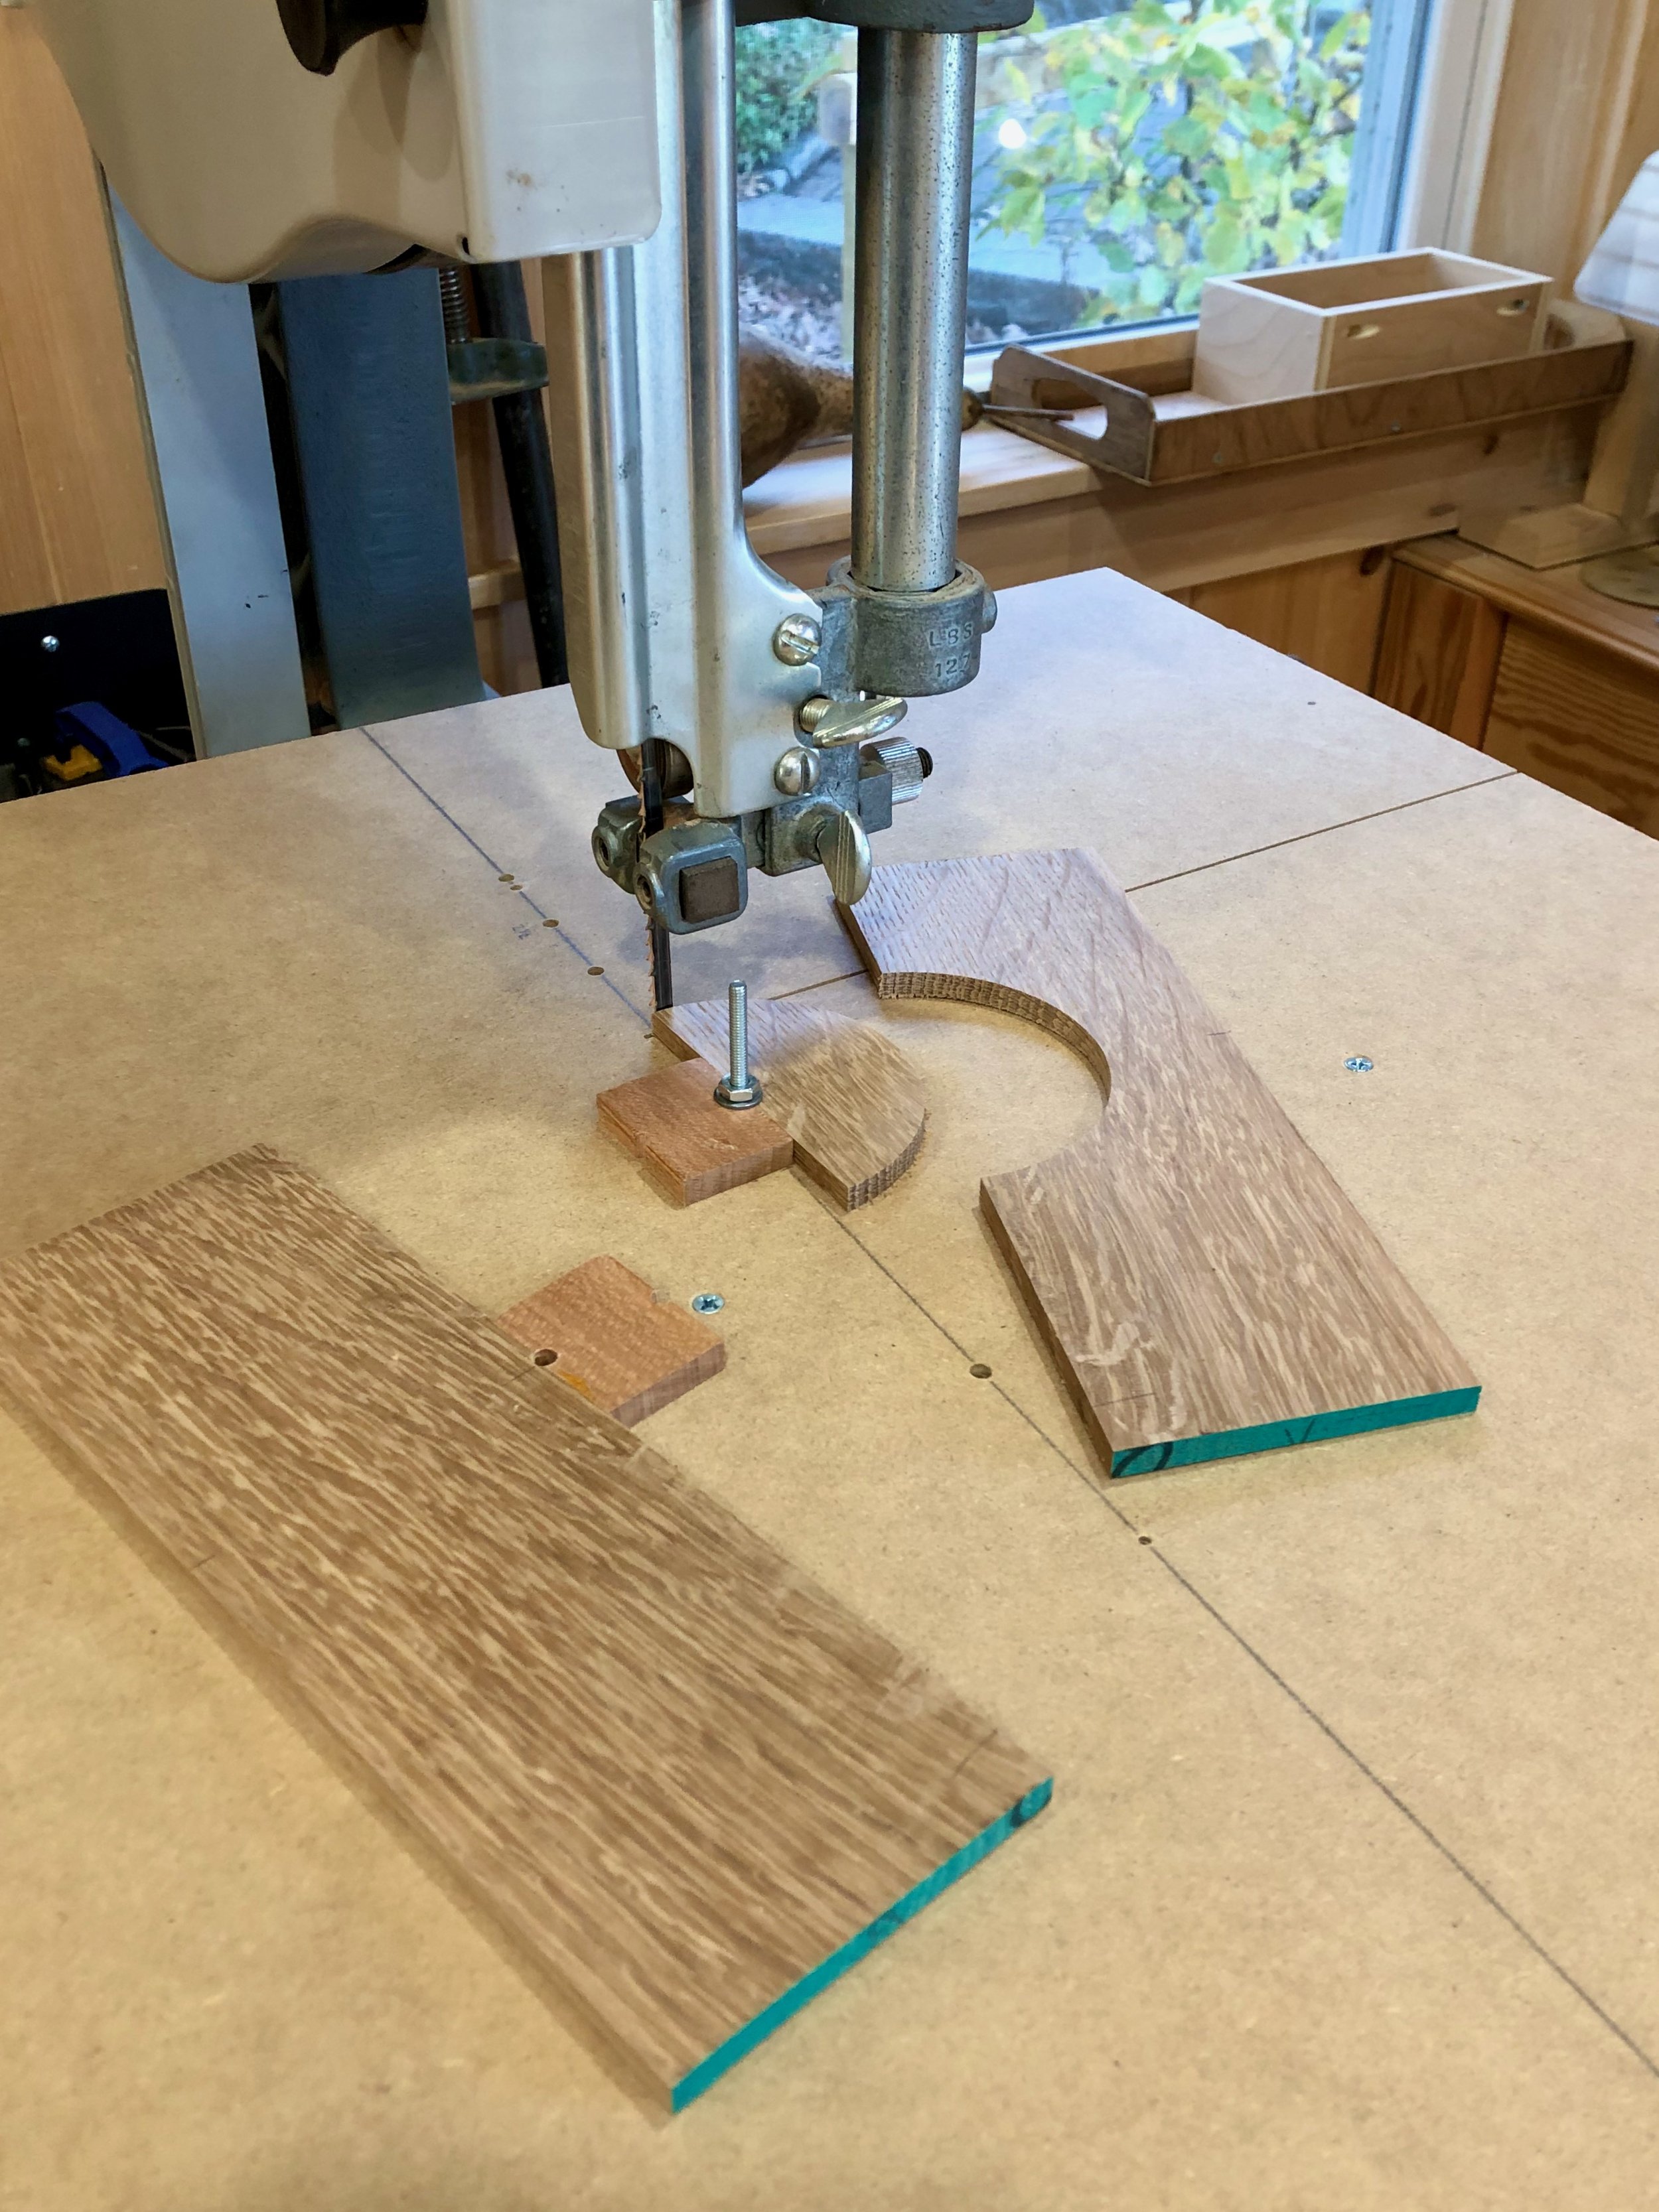
Cutting semi-circles out of the half faces using a homemade bandsaw jig
Hand planes, rasps and sandpaper were used in the bench room to further refine the pillars and to establish a tight fit of the panels in their dadoed slots.

Test-fitting the front and back panels
It all came together rapidly up to this point. The next step was to create a top to be joined with the front and back panels. The plan was to use mitered joints for this, which meant cross-cutting these pieces to their exact lengths on a 45° angle at the table saw. I cut the top first from a longer board in order to practice getting it right. Next, the front and back were cut to identical lengths. To get the whole thing fit together I also needed to chisel out a small section of the pillars. After marking the cuts with a knife I used a pull saw to make incisions where possible. I then placed a supporting plywood scrap into the groove and chiseled-out the remaining waste. It all went well.
Removing the top corners with a chisel
With the top settled into place I could make a final measurement for the width of the sides. Two side boards were then cut to size and the entire case snapped together nicely in a dry fit.
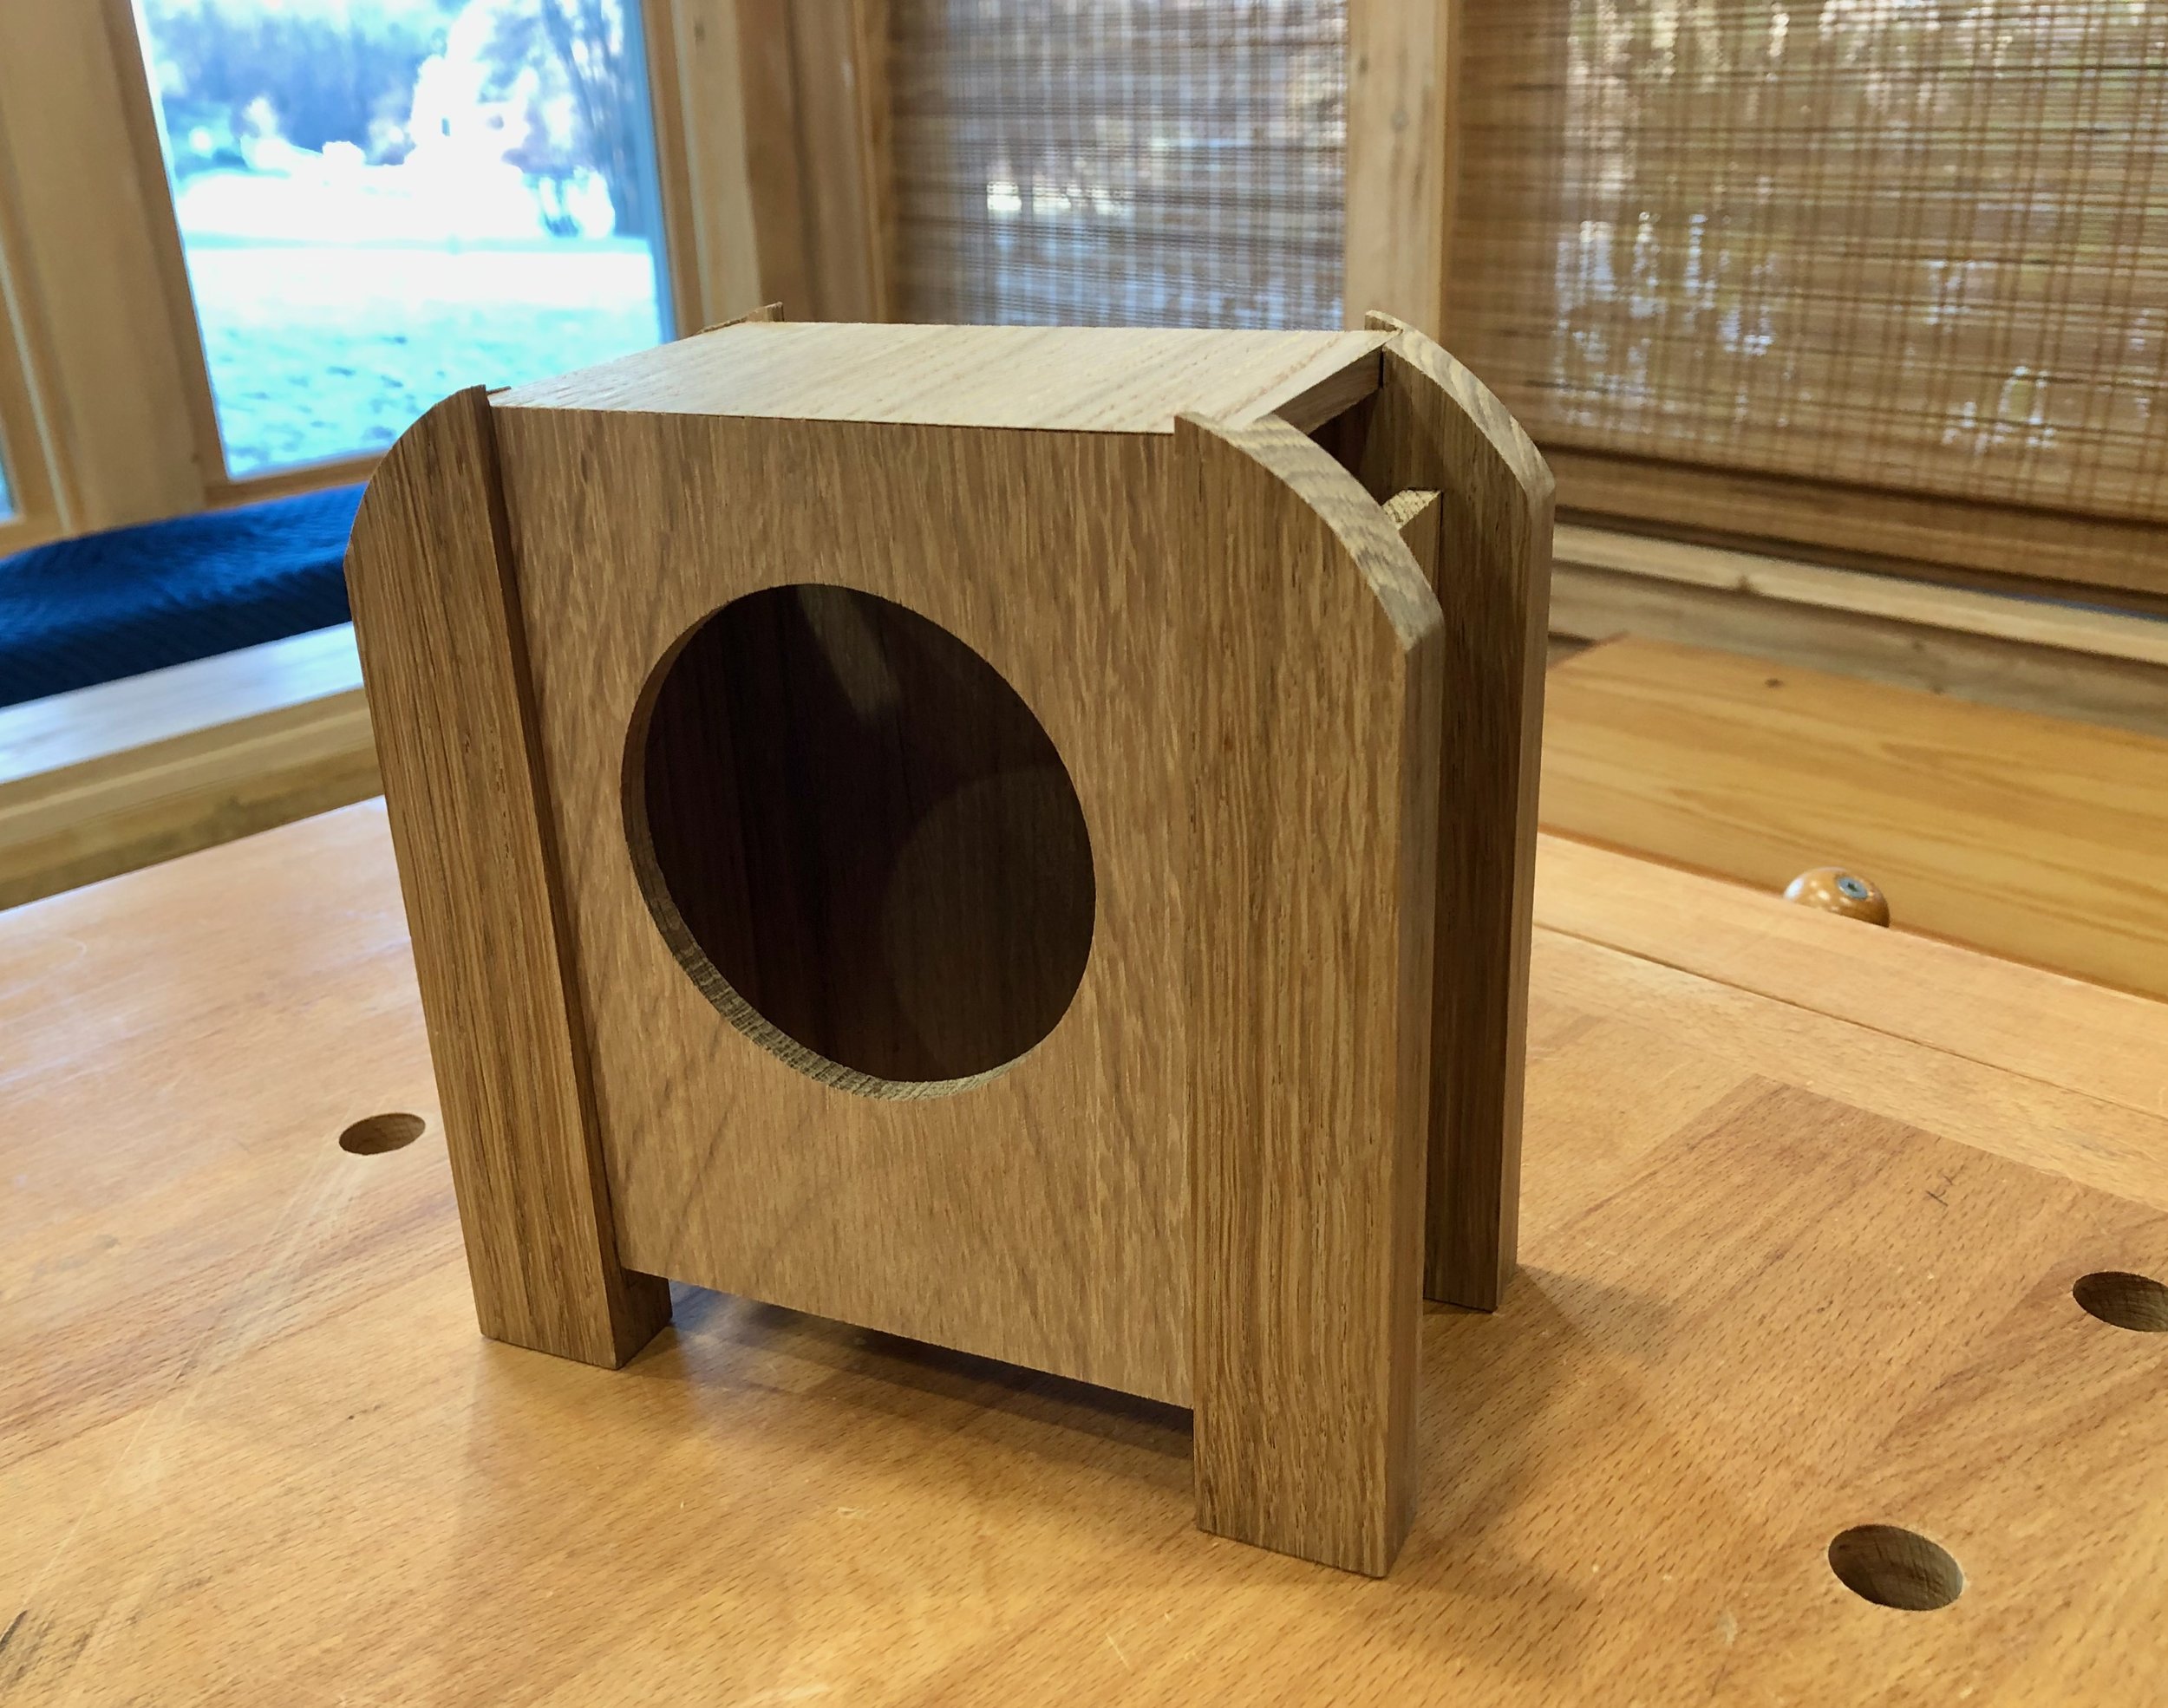
Dry-fit case
Only two operations remained prior to final assembly, both of which I had yet to engineer: mounting the clock works to the case; and creating a back door. The original clock used two bolts to mount the works to the backside of the case, and that backside contained three openings from which protruded the knobs and buttons used to set the clock and alarm. During design I had ruled against this solution as it would necessitate making the 7 inch tall clock a narrow 2 1/4 in. in depth and I was going for a different look. This look would necessitate a doored opening to access the control knobs. I could still use two long bolts to reach the back of the clock, as designed, but they would need to mount so close to the door opening that it was not considered a robust solution. The chosen method was to mount the mechanism to the front of the case by way of a couple wooden blocks glued to the interior, through which the bolts could be tightened.
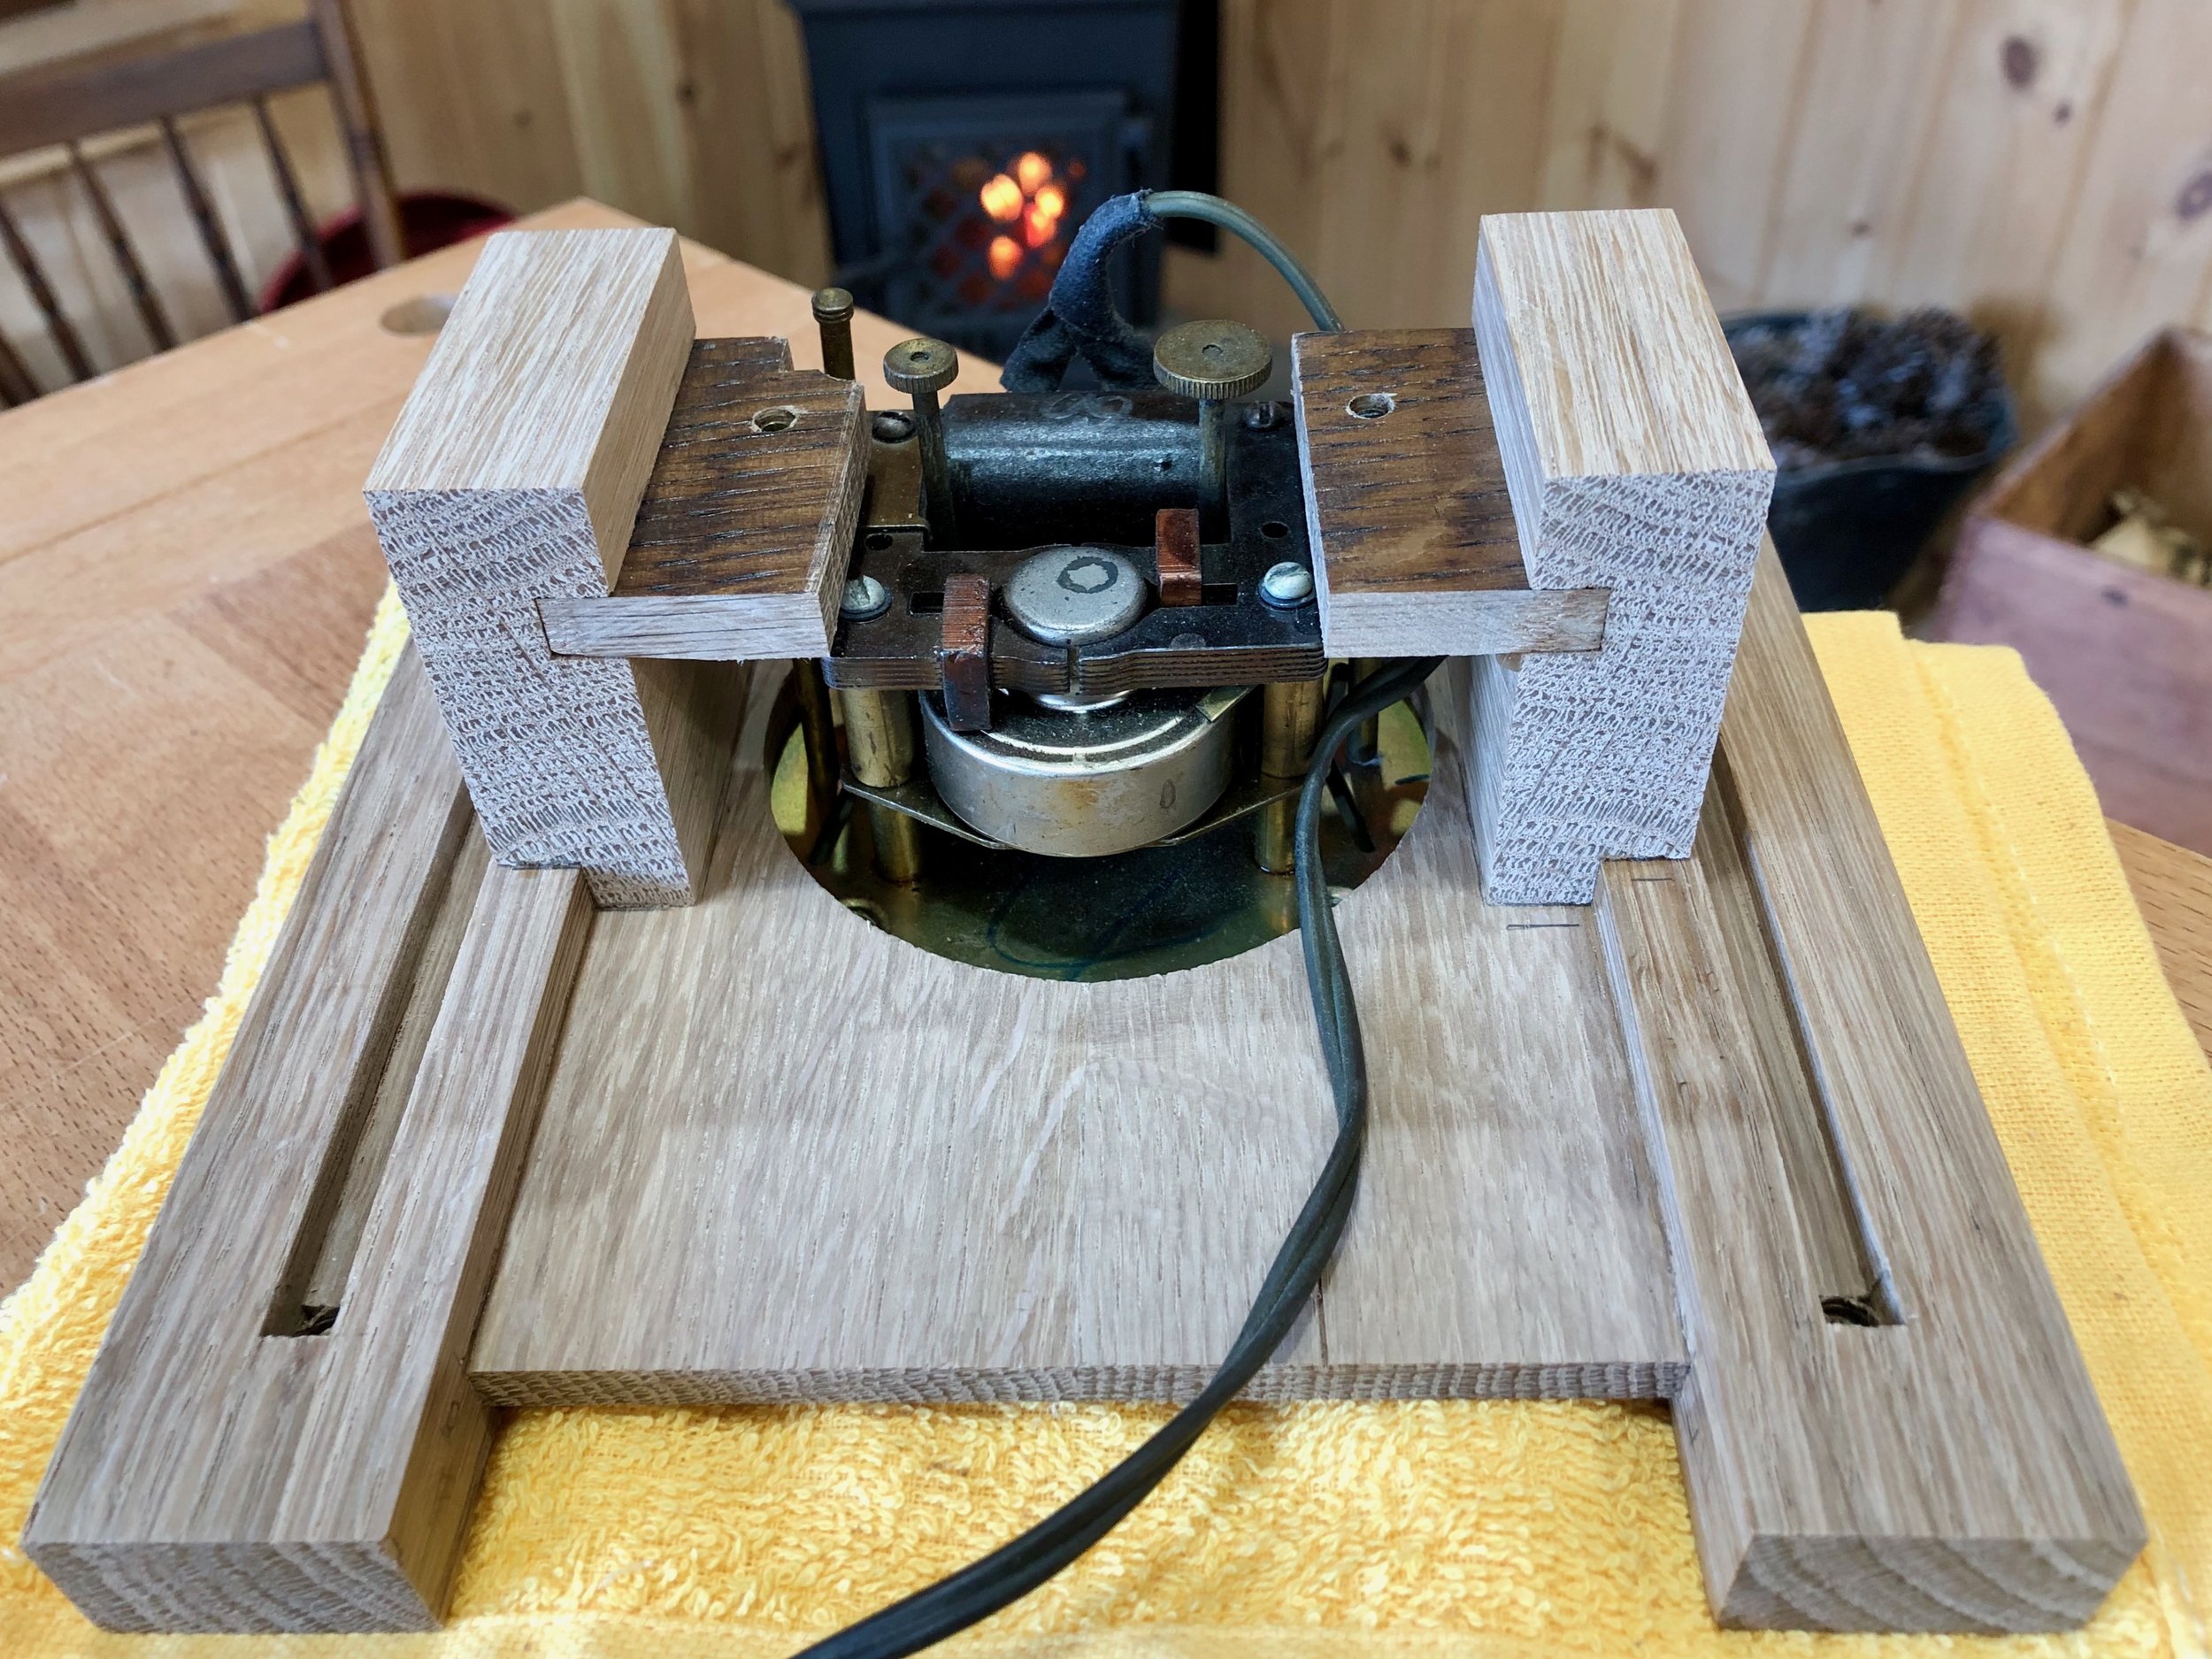
Clock works mounted to the front board
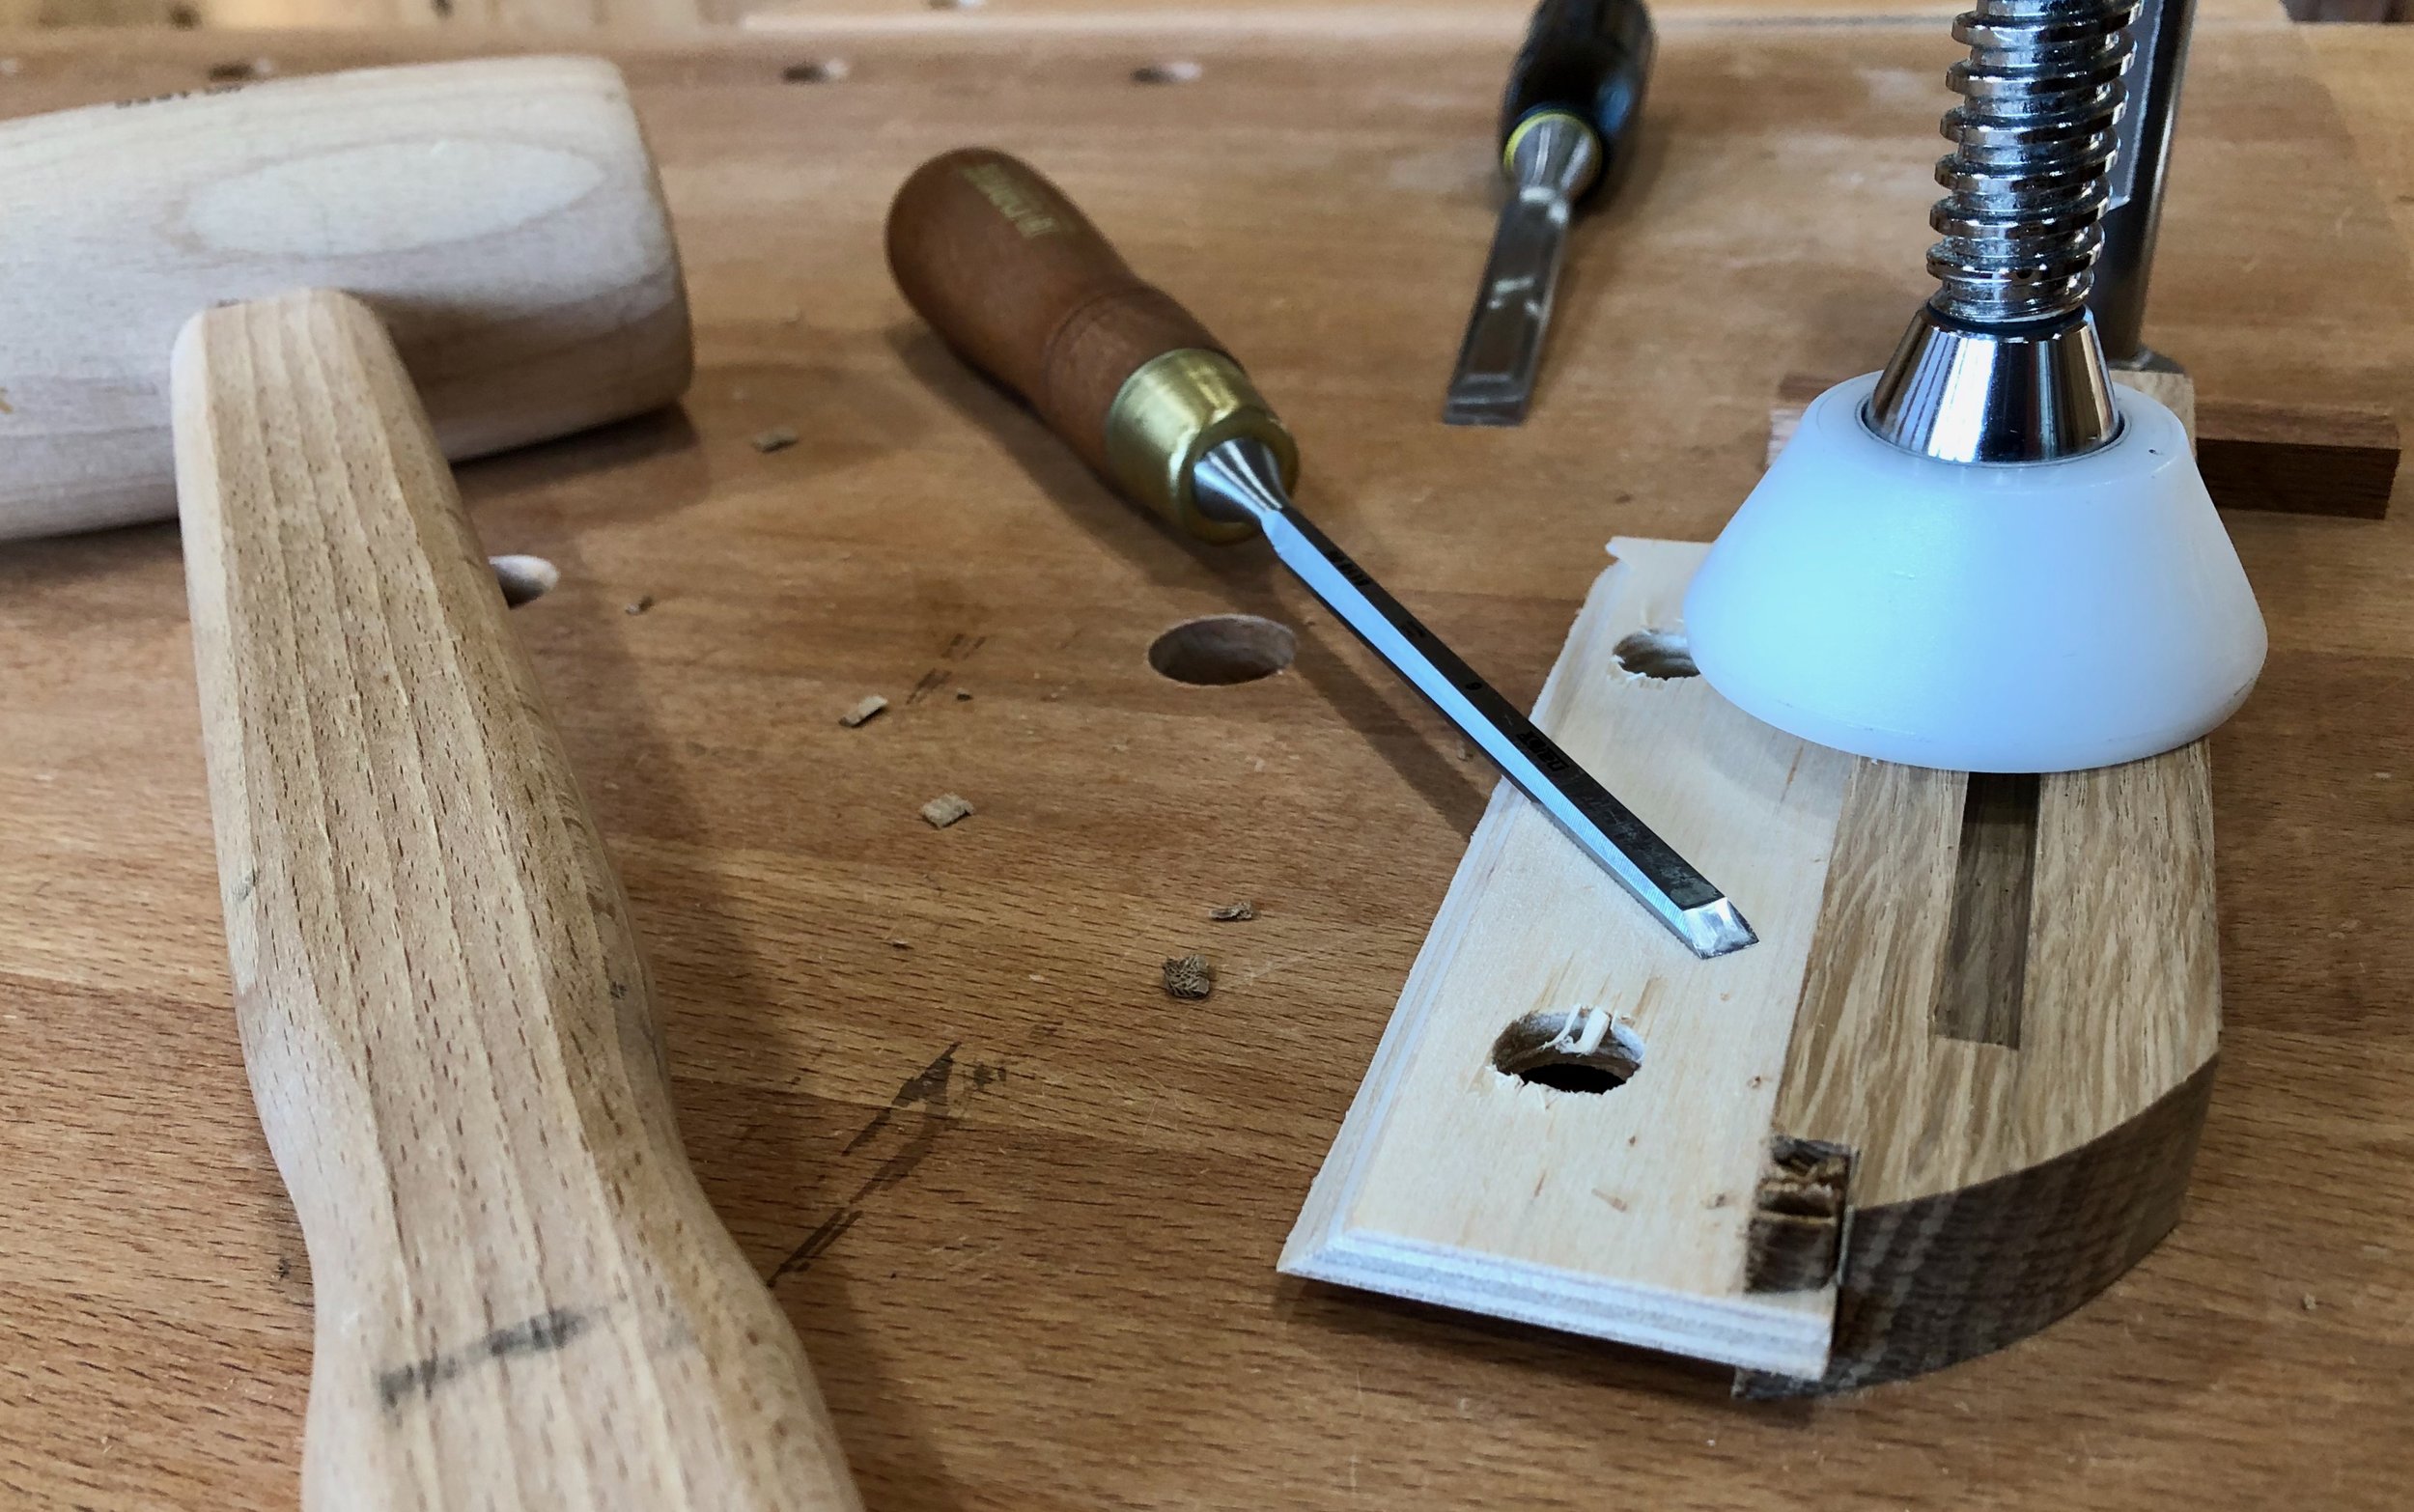
Finally, on to the access door. The back panel, having already been cut to size and fitted, was now a high-value component so getting the door right on the first attempt was important. It was decided to cut out an opening in this part and then source the door from another piece of oak, rather than use the waste material for this. However, with no other framing, that door would need to fit as if it were a cut-out and so the plan was to establish the opening and then trace this pattern onto another board to define the exact door shape. A Forstner bit at the drill press was used to bore holes in the back board along the perimeter, followed by a chisel to define the straight edges of the opening.

Chiseling out the door edge
Next, a door was cut out of a prepped white oak board and then the edges were hand planed and sanded to achieve a uniform interior fit.
Assembly and Finish
Glue-up of the remaining parts was straightforward. Once dried, the miter seam was treated with a burnisher to close-up the hairline gap, and all clamp marks were removed with sandpaper.
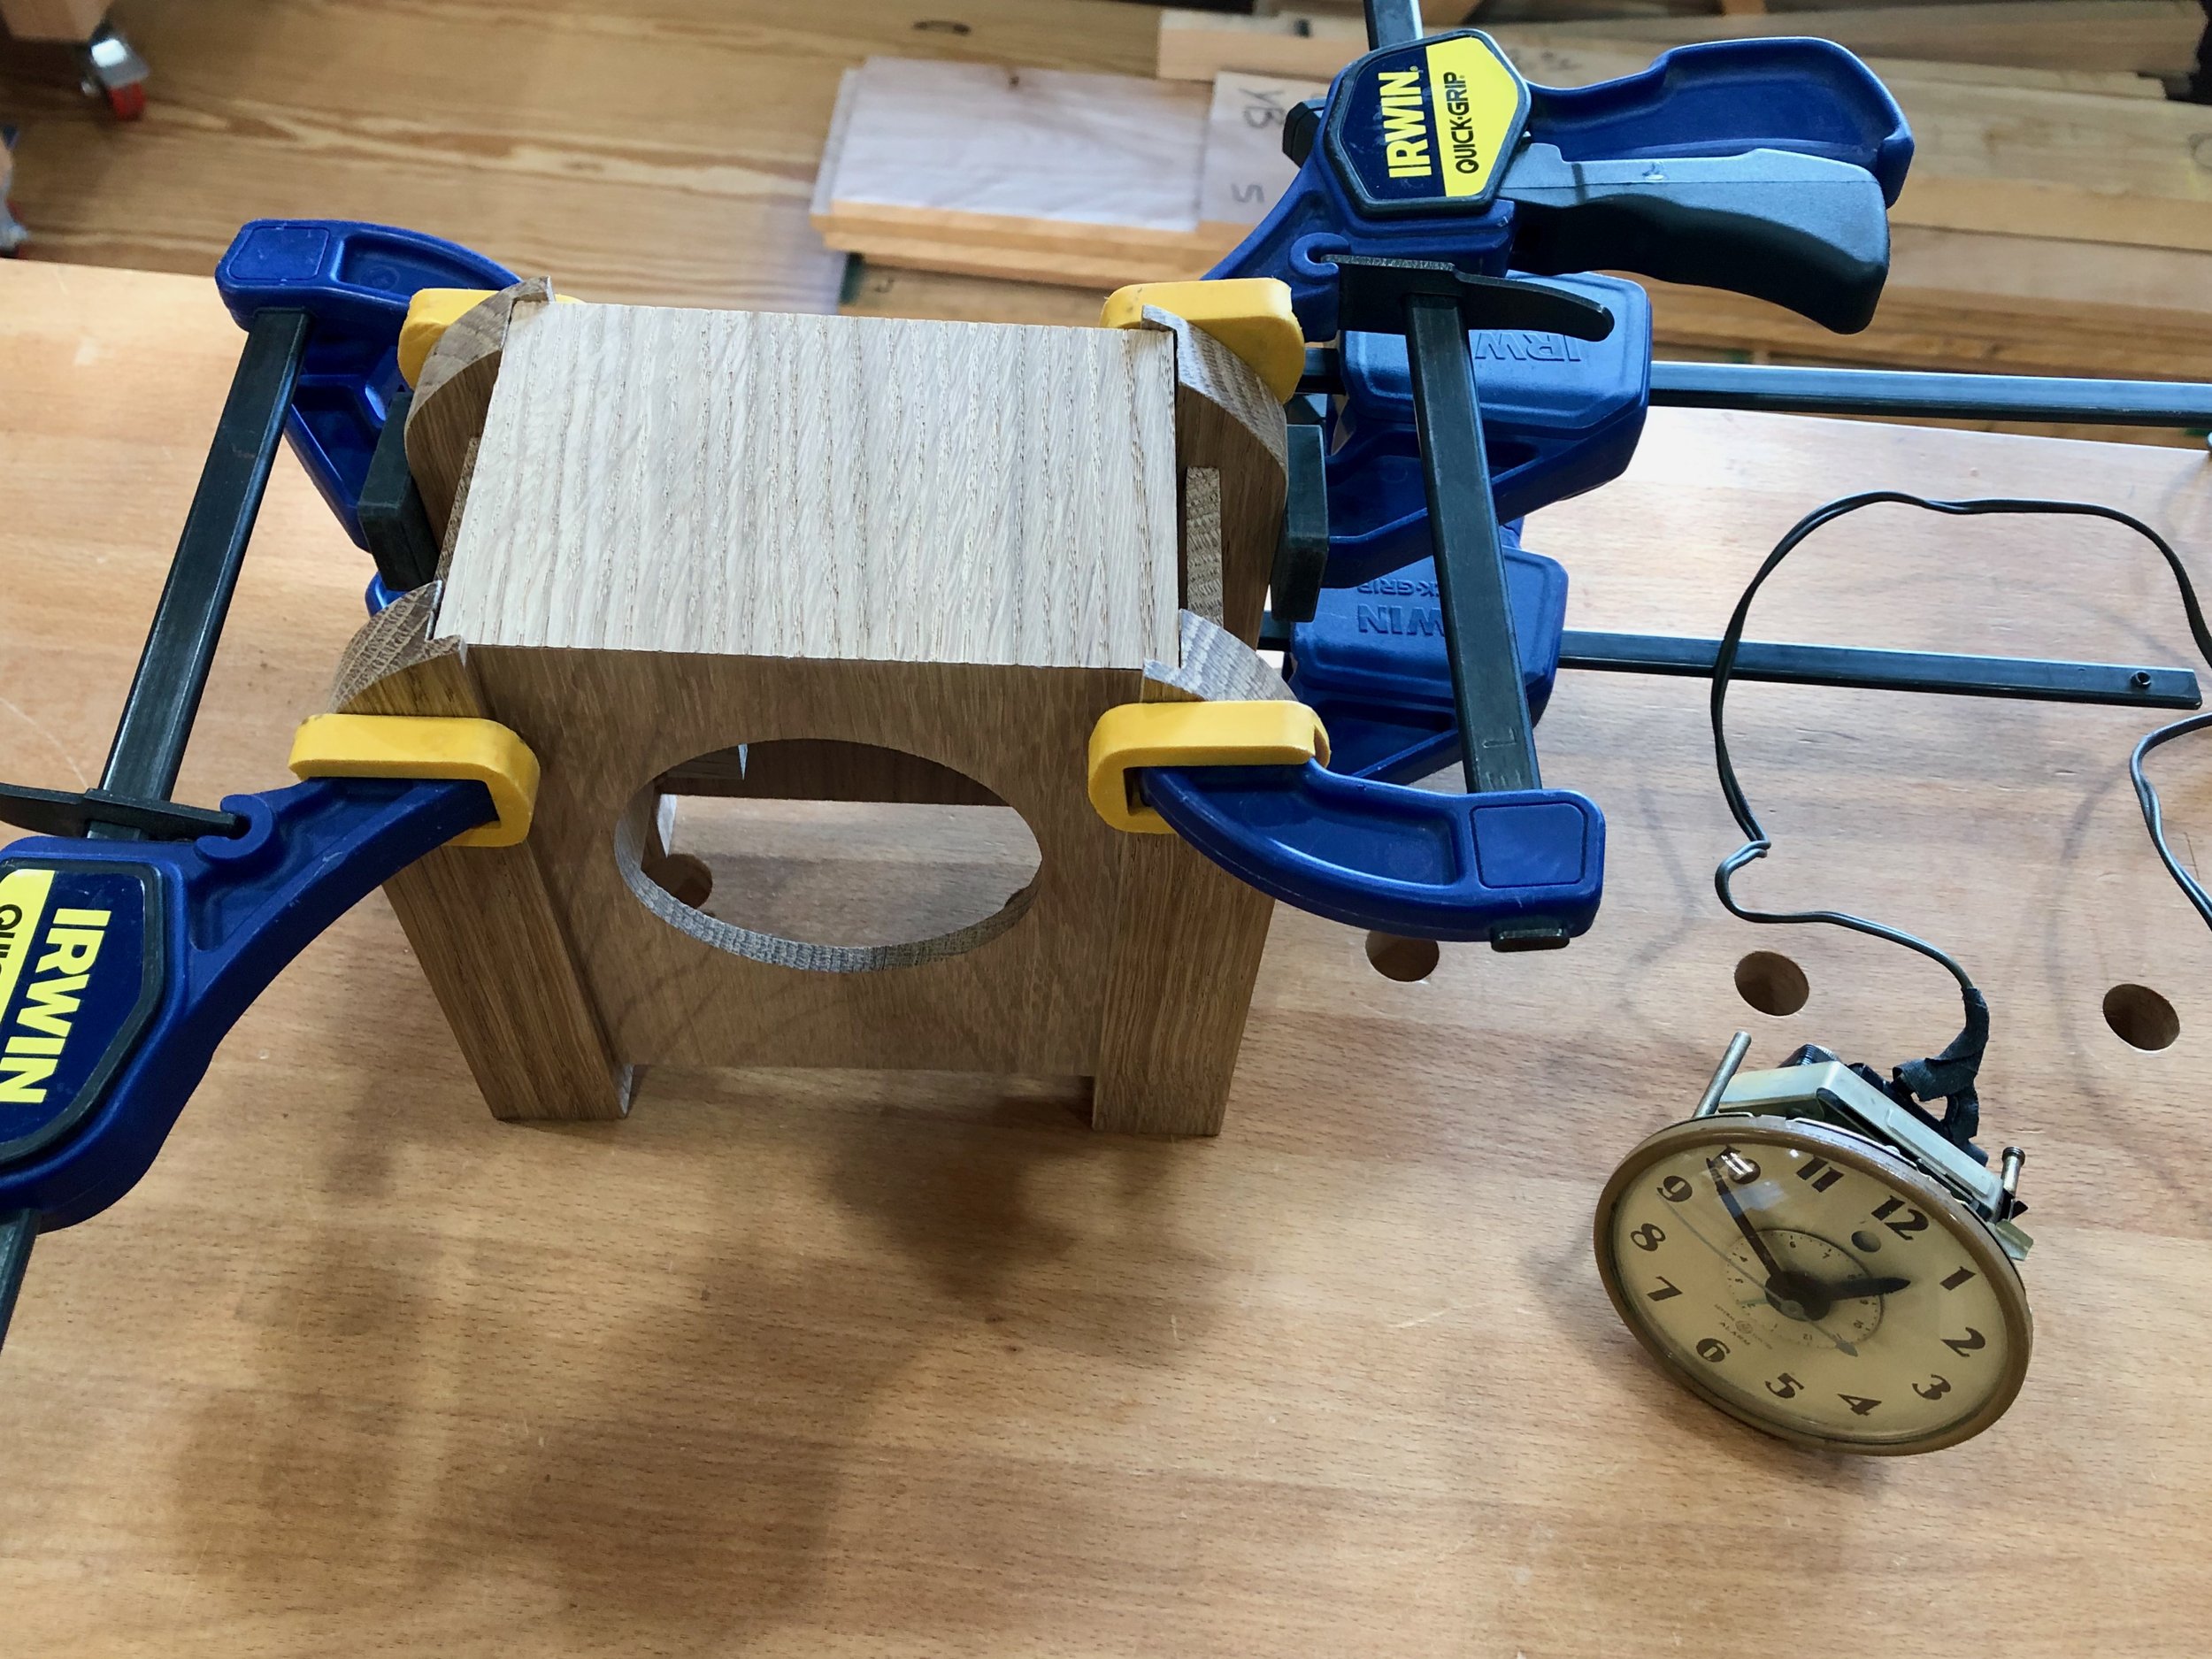
Assembling the case
To preserve the wood I used Jeff Jewitt’s rendition of L. & J.G. Stickley’s so-called “Aurora” finish: medium brown dye, antique walnut glaze, satin varnish. I think it gives the oak a nice warm feel and still lets the medullary rays shine. After buffing the finish, the clock’s works were installed and tested. Finally, a couple of brass butt hinges and a round brass knob were applied to complete the access door.

Back door
Mike’s alarm clock now has a new presence; bold but friendly, and with a hint of nostalgia for simpler times.
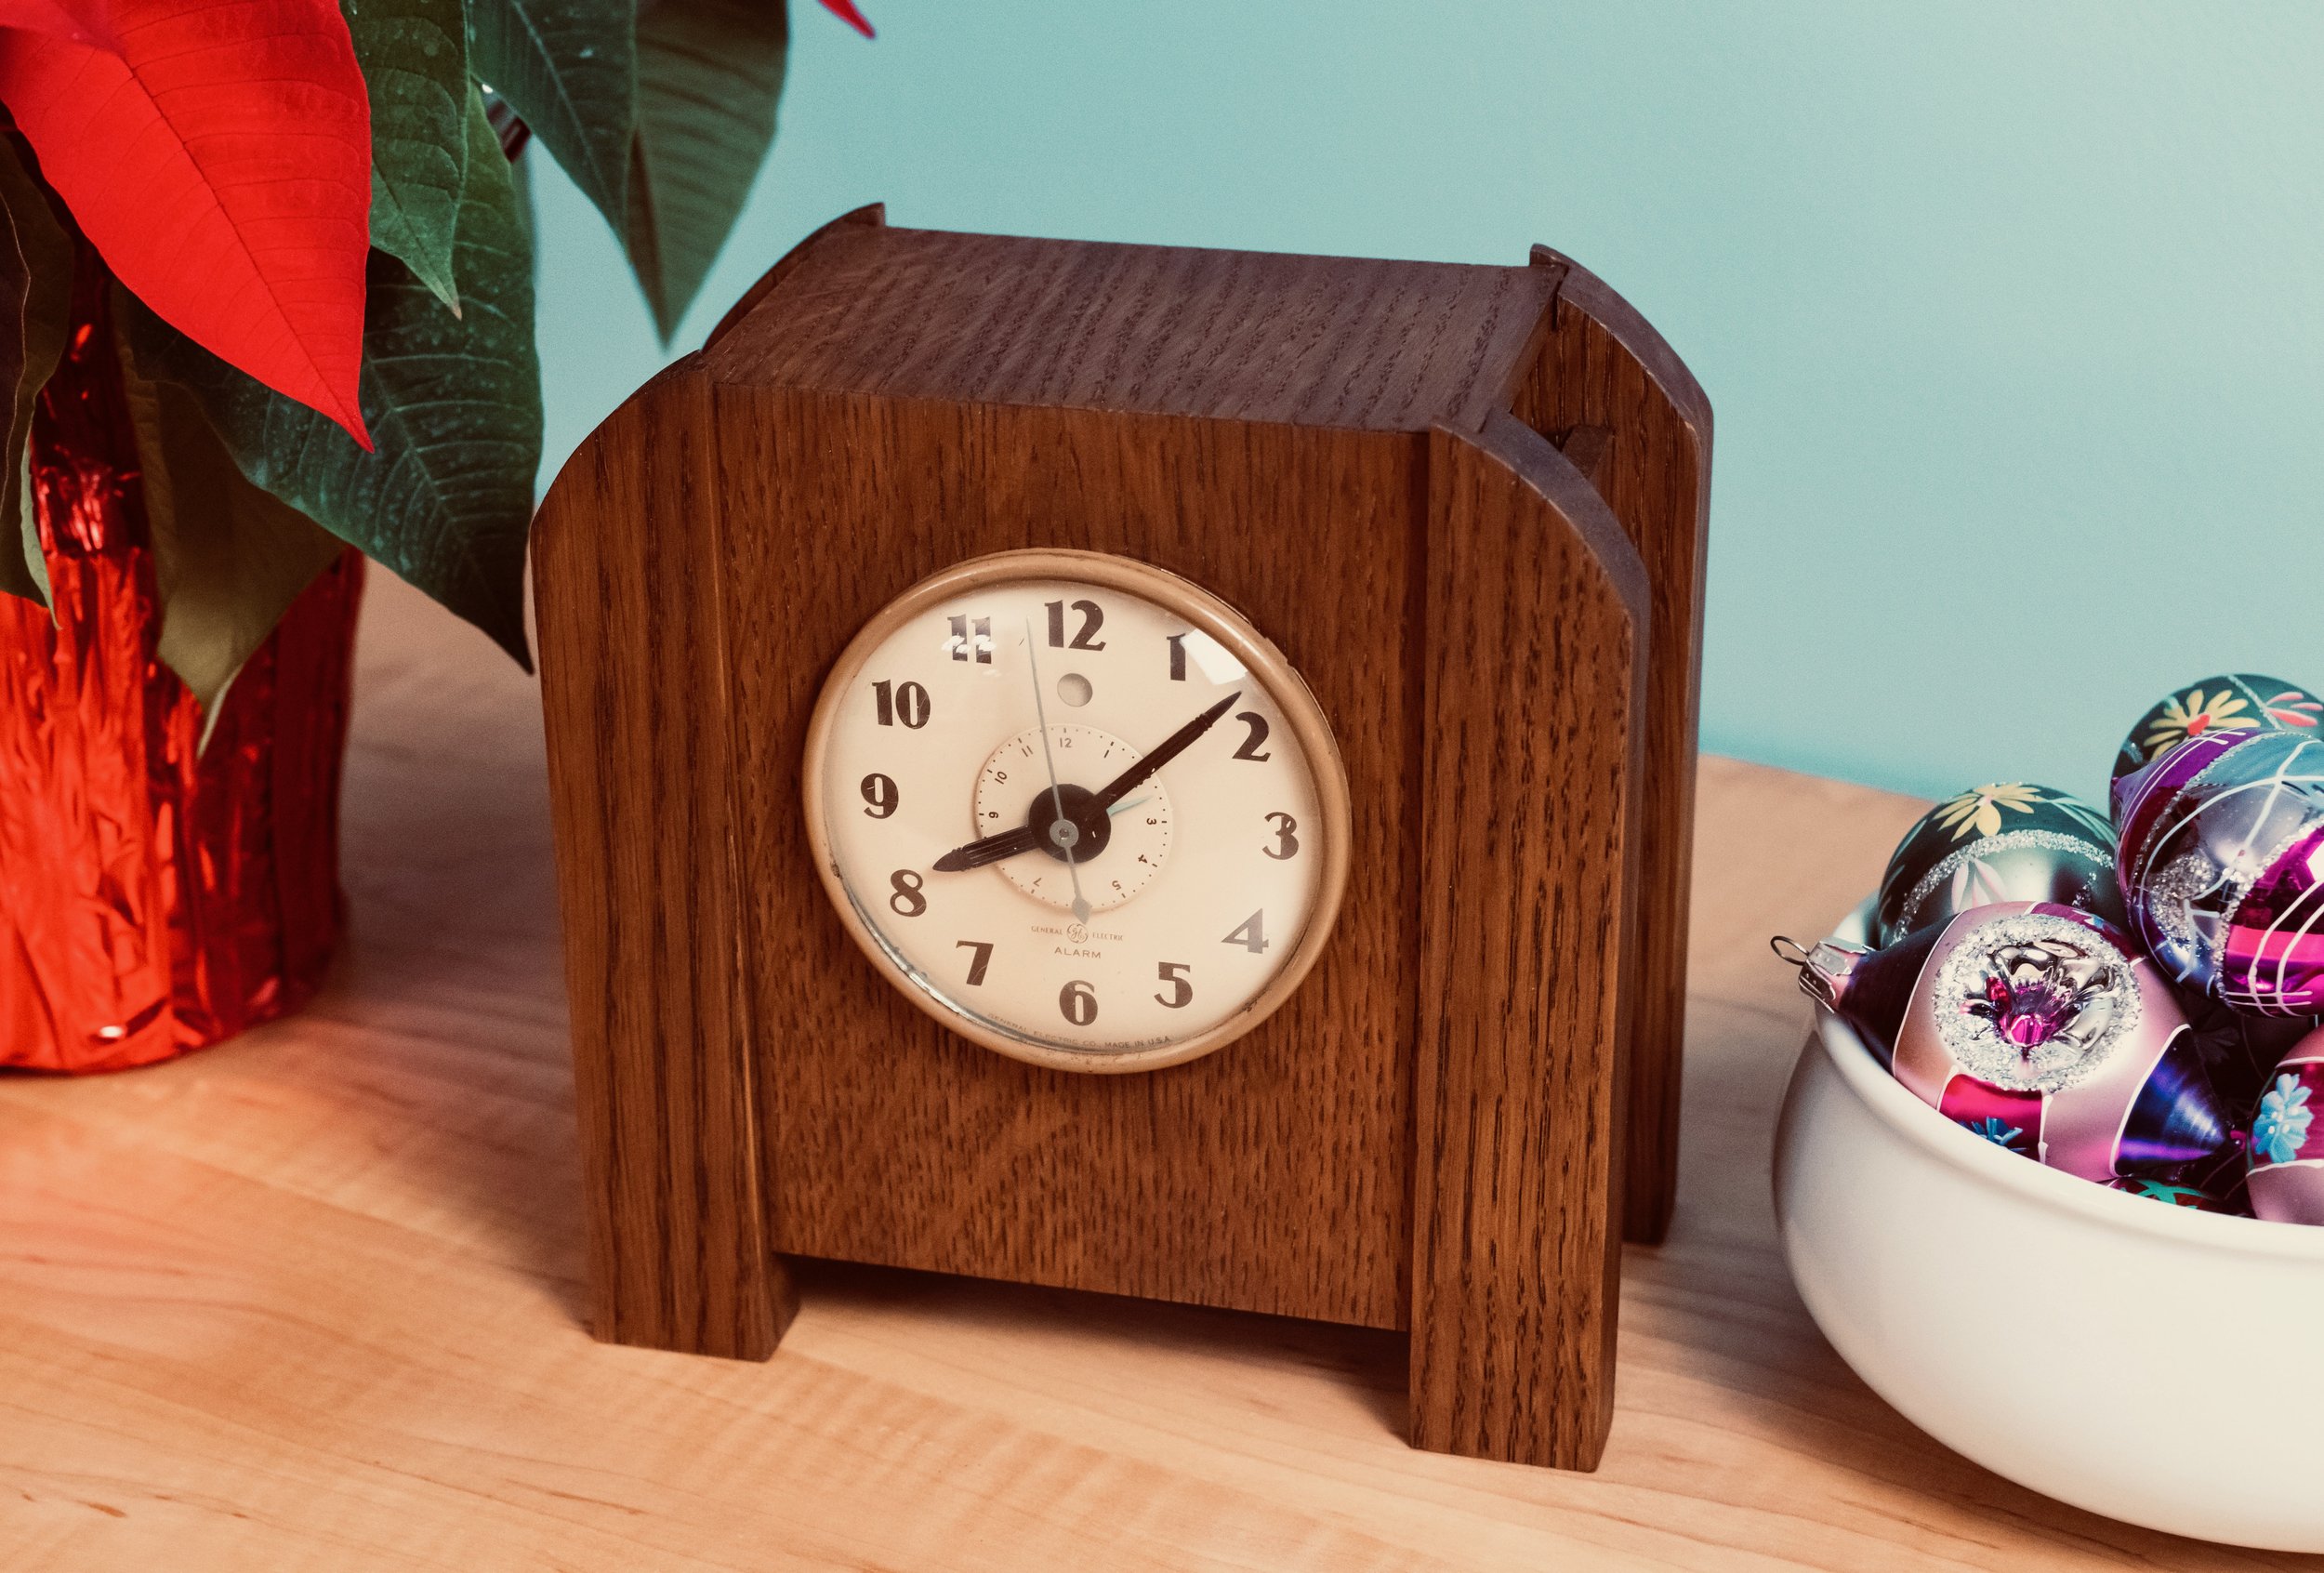
Metamorphosis clock