

The Bento Board

Here’s the story: We wanted to create a Holiday gift for some dear friends. It needed to be small and, since this idea only occurred to us a couple weeks ago, it also needed to be easily made. Recalling their fondness for Japanese culture and looking over a few scrap boards from past Projects I had the idea to build a charcuterie board in the form of a bento box. And here’s how it turned out.
Design
No doubt we have all enjoyed a bento box lunch, made up of small entrees tucked neatly into their own compartments. The Japanese term bento is thought to come from biàndāng, a Chinese word which means “convenience”, and it describes a single portion take-out lunch. In Japan the container for this lunch, also called a bento or bento box, has been around since at least the sixteenth century. This box is a clever invention that utilizes partitions to keep the individual flavors pure and, over the years, design evolution has brought forth dozens of box configurations. What I was looking for was a traditional form that would evoke a bento, even if no compartments were present. If gotten right, this would be a flat serving board that felt like a bento. Searching online I found a picture of a lacquered bento box from The Japan Times that both looked the part and could be replicated with ease.

Bento box exemplar
As far as plans go, a simple reference sketch with dimensions was all that was required.
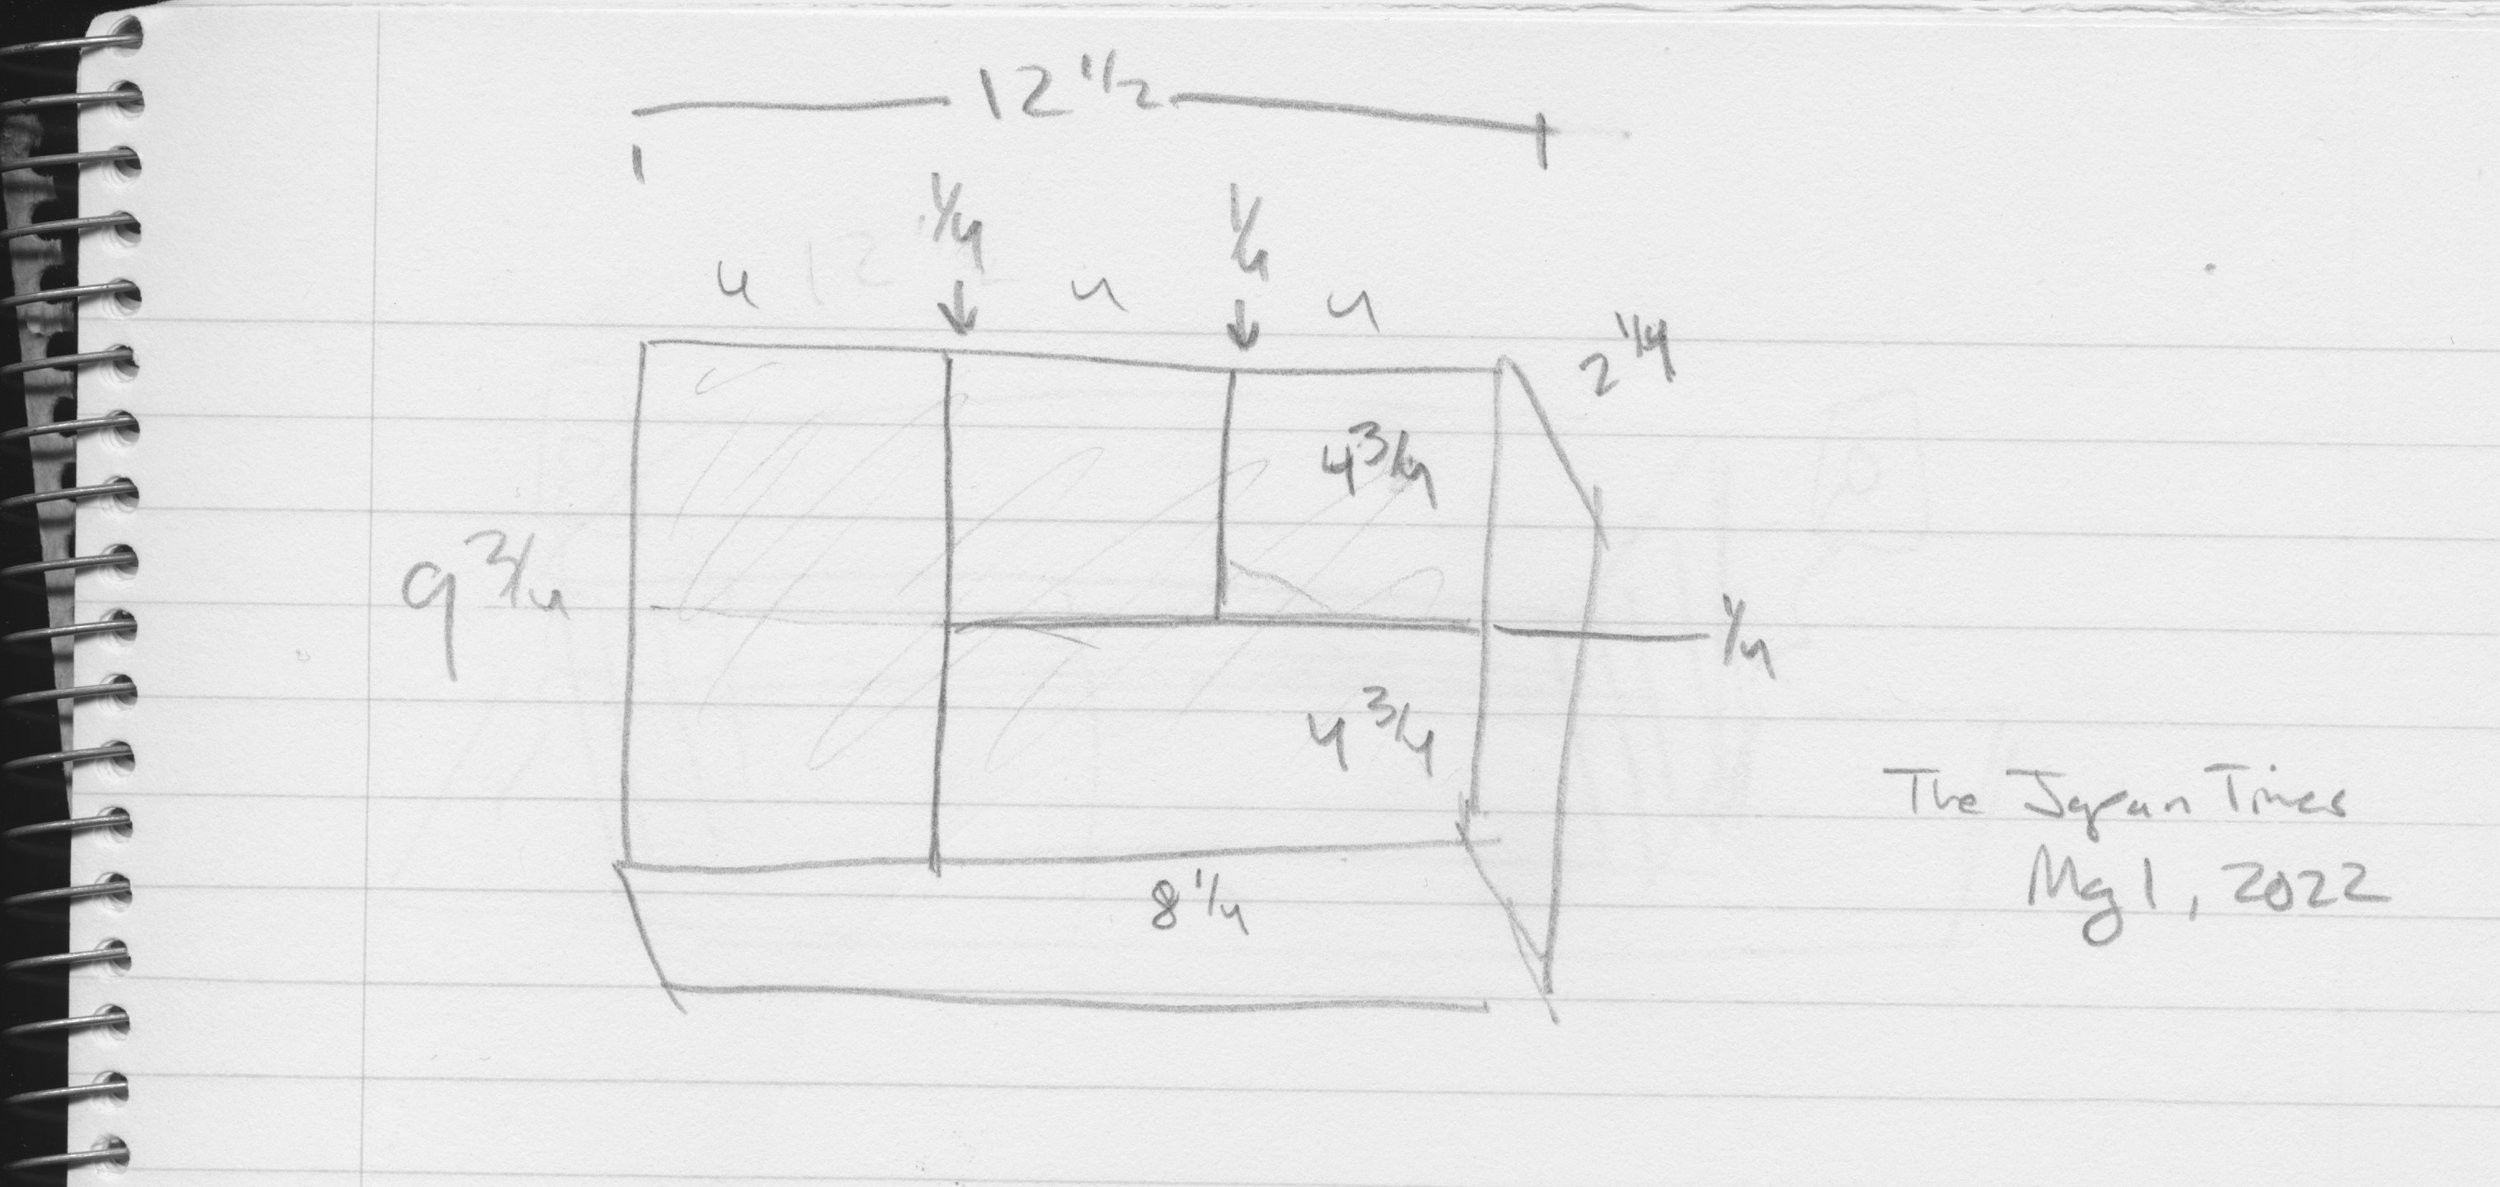
Make this.
Materials
As it turns out, the intended recipients had earlier gifted me a couple of antique spruce boards leftover from their recent home expansion project. These centuries-old beauties were reclaimed from a Boston factory building during demolition and then repurposed for the construction of cabinetry during their renovation. Anyway, the wood was full of character, cracks and nail holes, and a small chunk off the end of one board would serve nicely here. Some leftover black walnut would be used for the sides and inlay, and I would put some cutting board feet on the underside.

Spruce and walnut stock
Dimensioning
The wood was first cut to rough lengths and then prepped at the jointer, yadda, yadda … No time for a blow-by-blow account, but you can follow the narrative with these pictures.

After the spruce was planed to the proper thickness, it was grooved at the router table and then the surface cracks (age defects) were filled using epoxy.
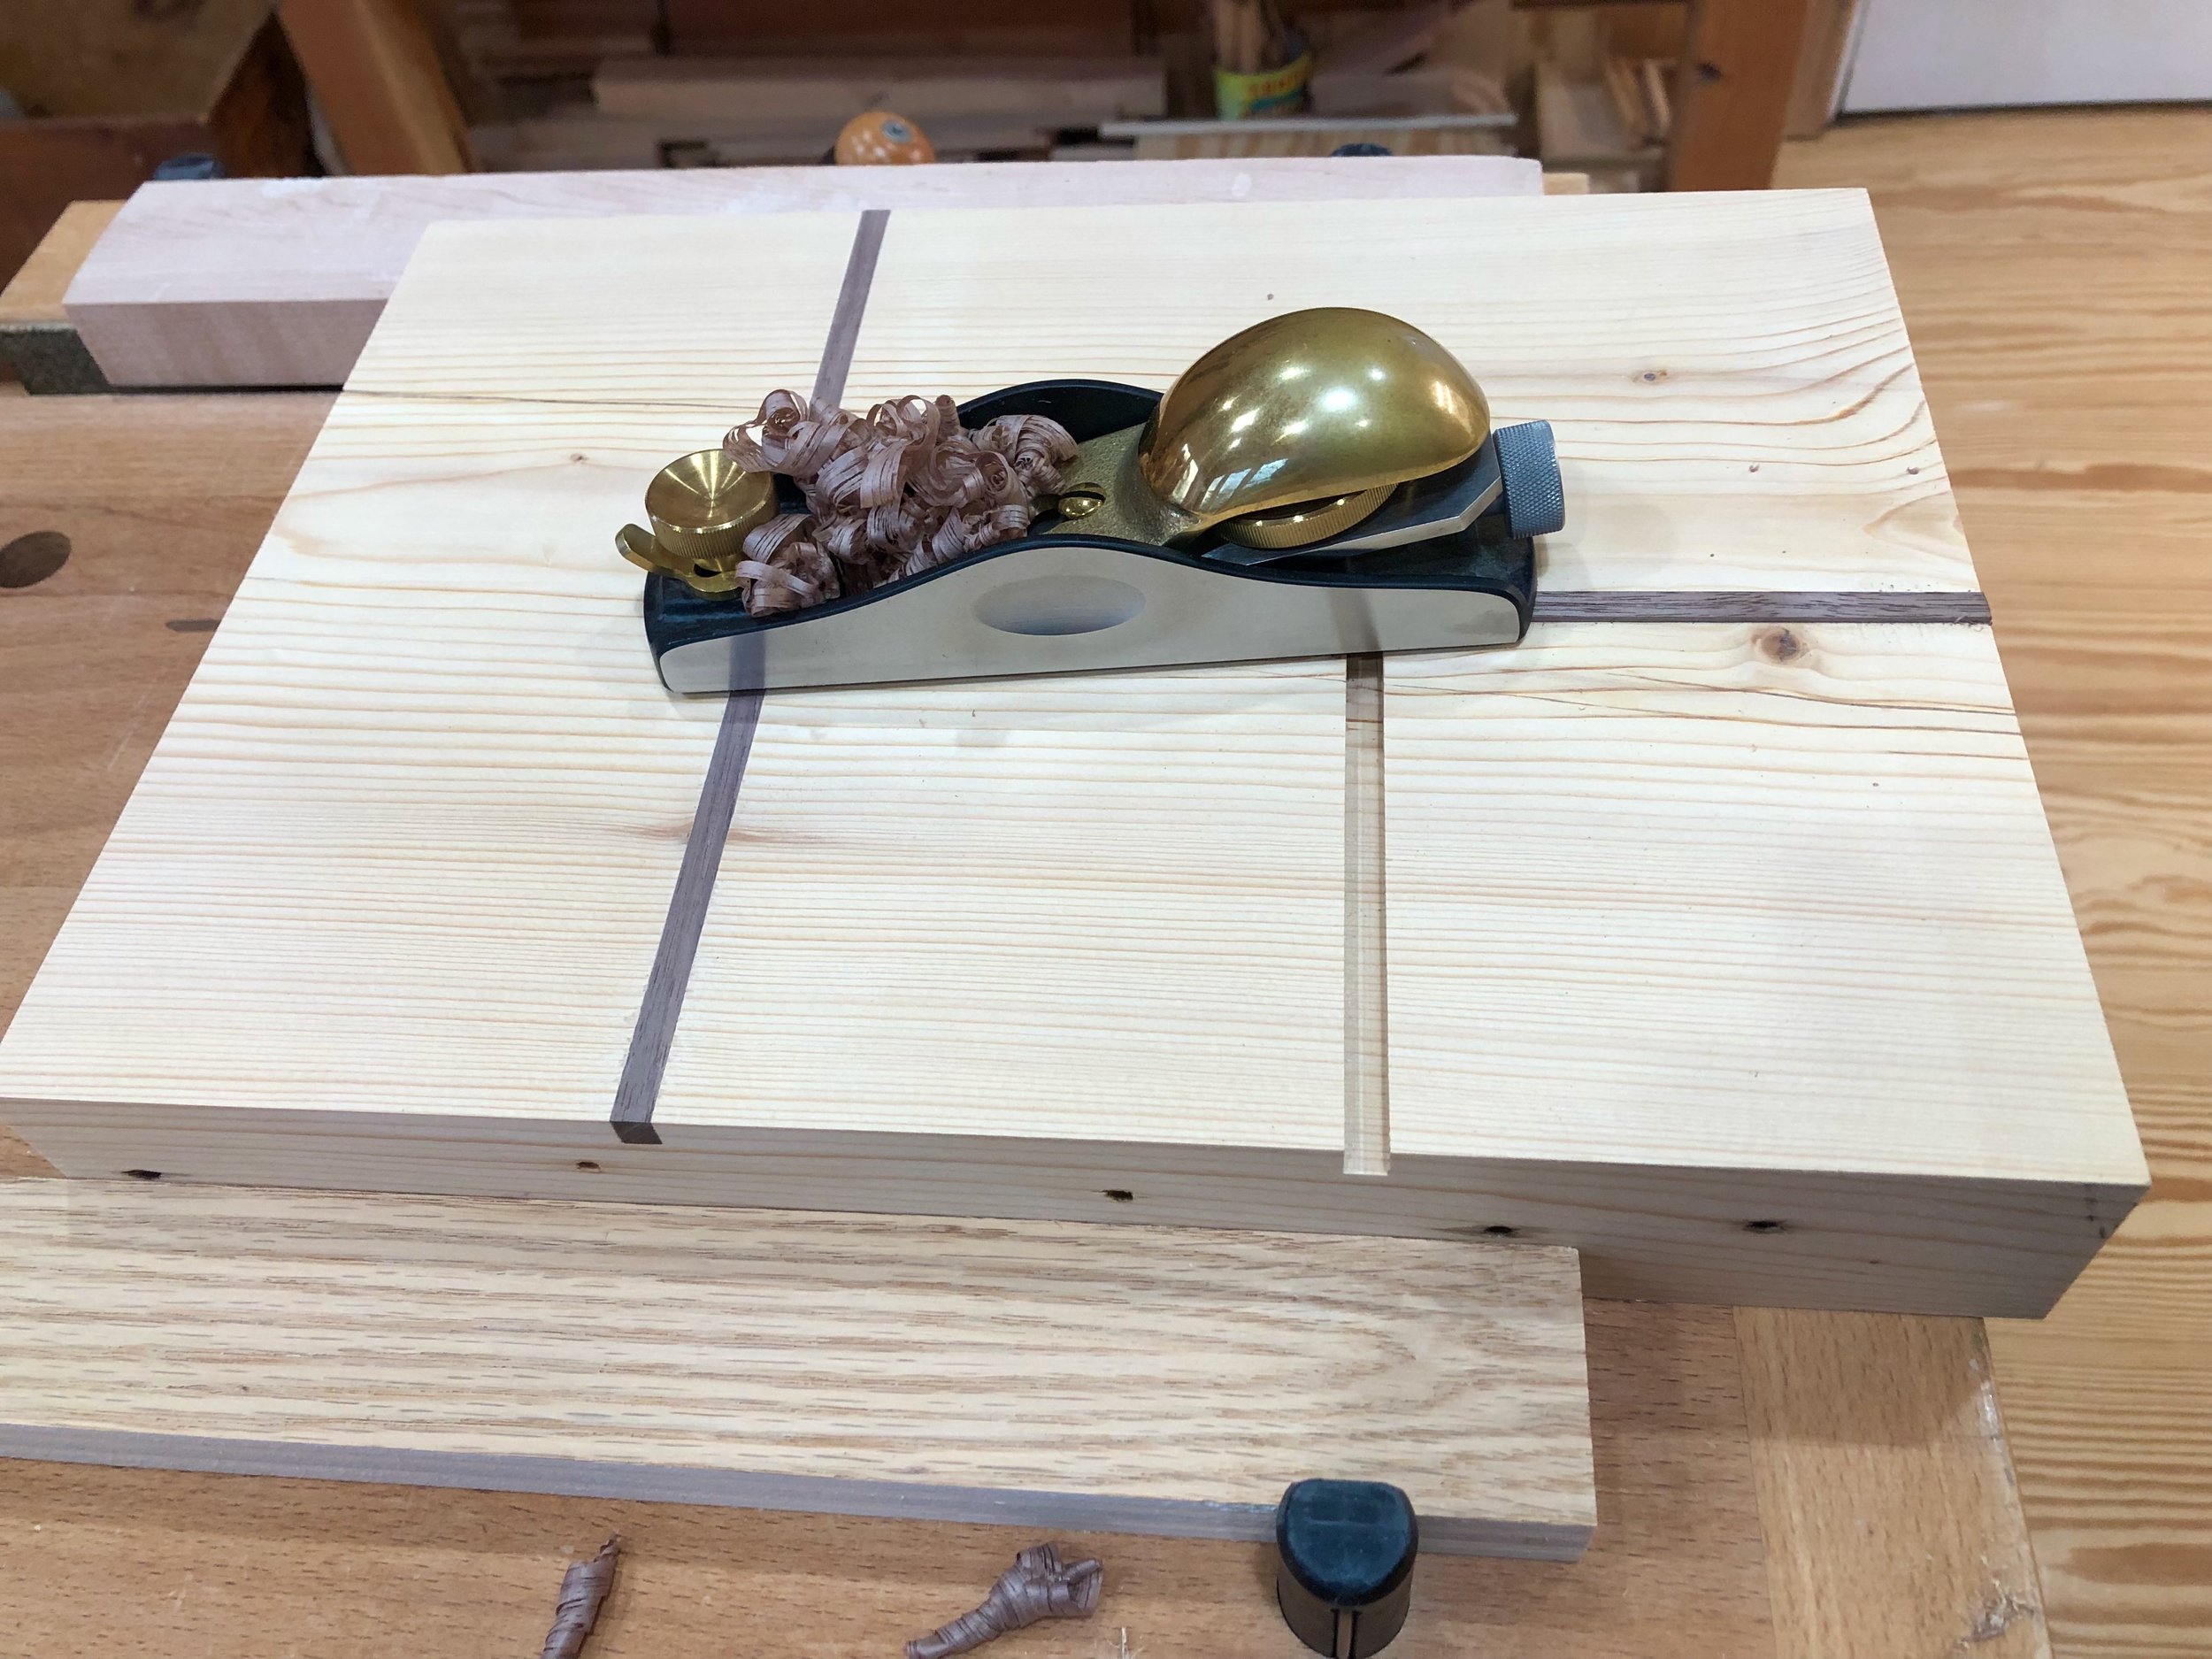
Due to their perpendicular orientation, the inlay strips were glued in one at a time and then hand planed flush to the surface. (Note square cut nails holes on the edge.)

With the “partitions” in place the walnut sides were cut to final lengths on a 45° bevel at the table saw

Glueing up the sides
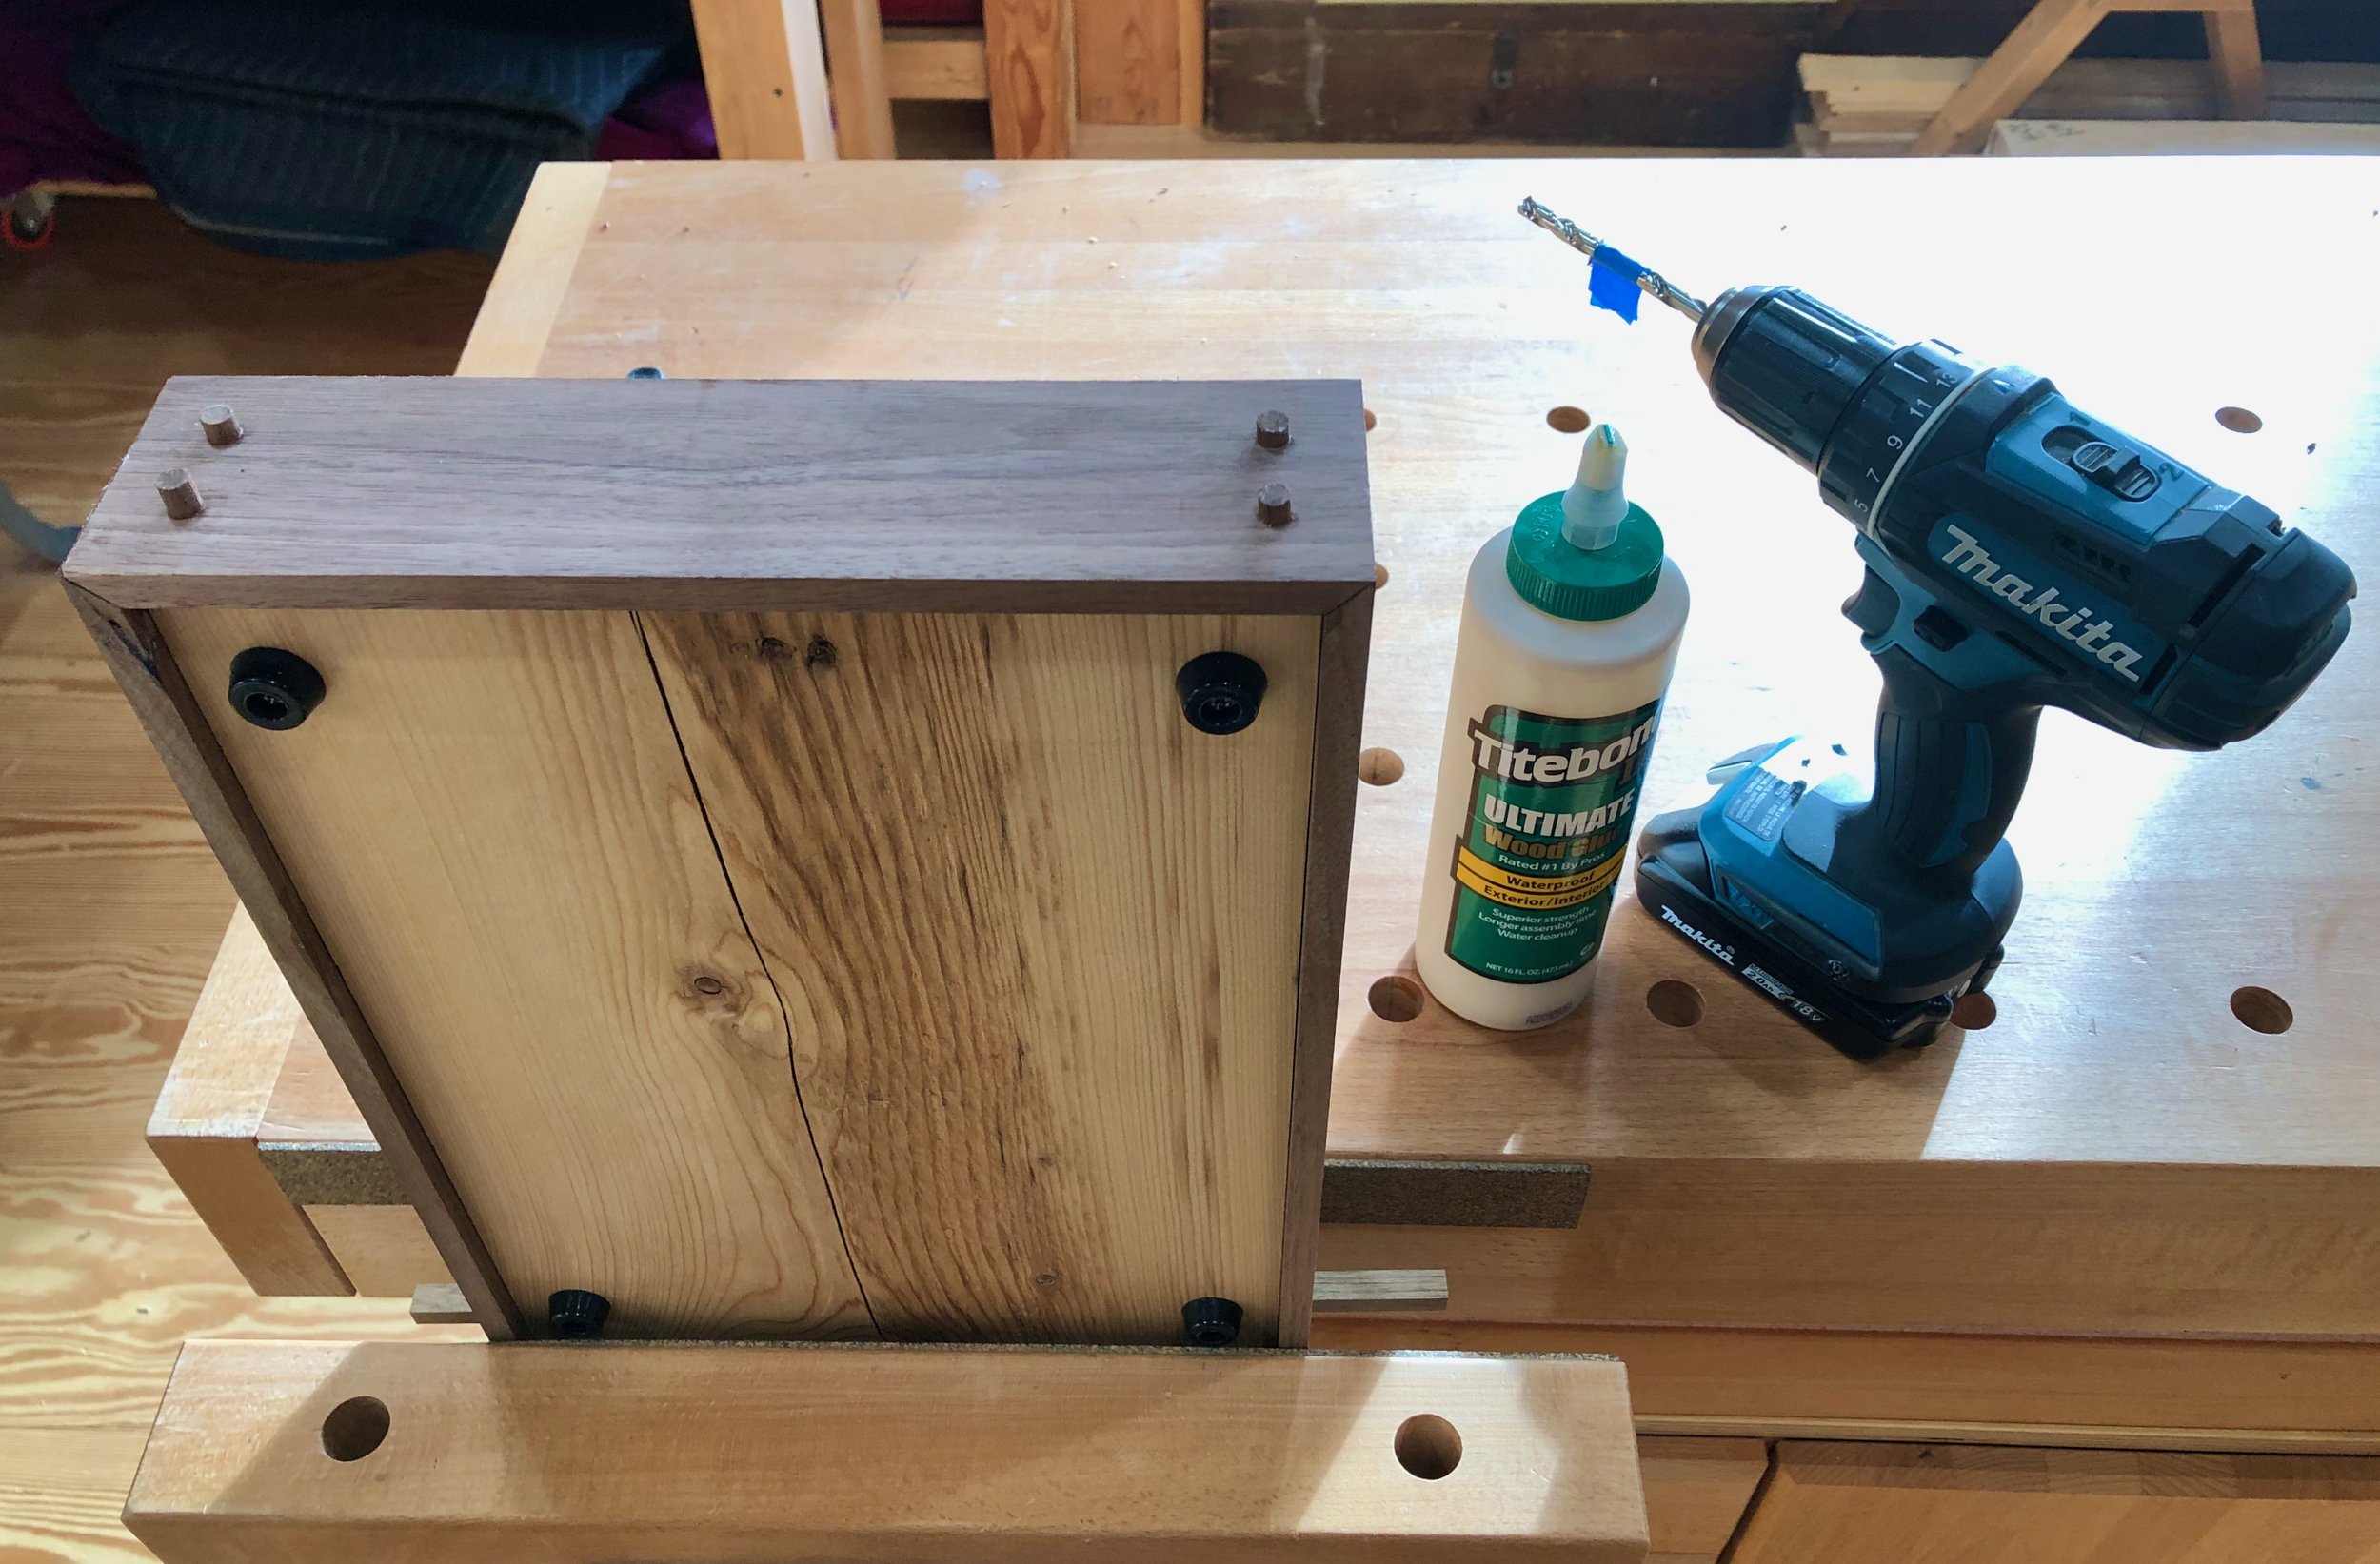
Because the two short sides were glued to the spruce’s end grain I wanted to add some additional fasteners. Walnut dowels did the trick. (Note cutting board feet attached to the underside.)

After a final sanding, mineral oil was applied to the surfaces followed by two coats of a hard natural wax.
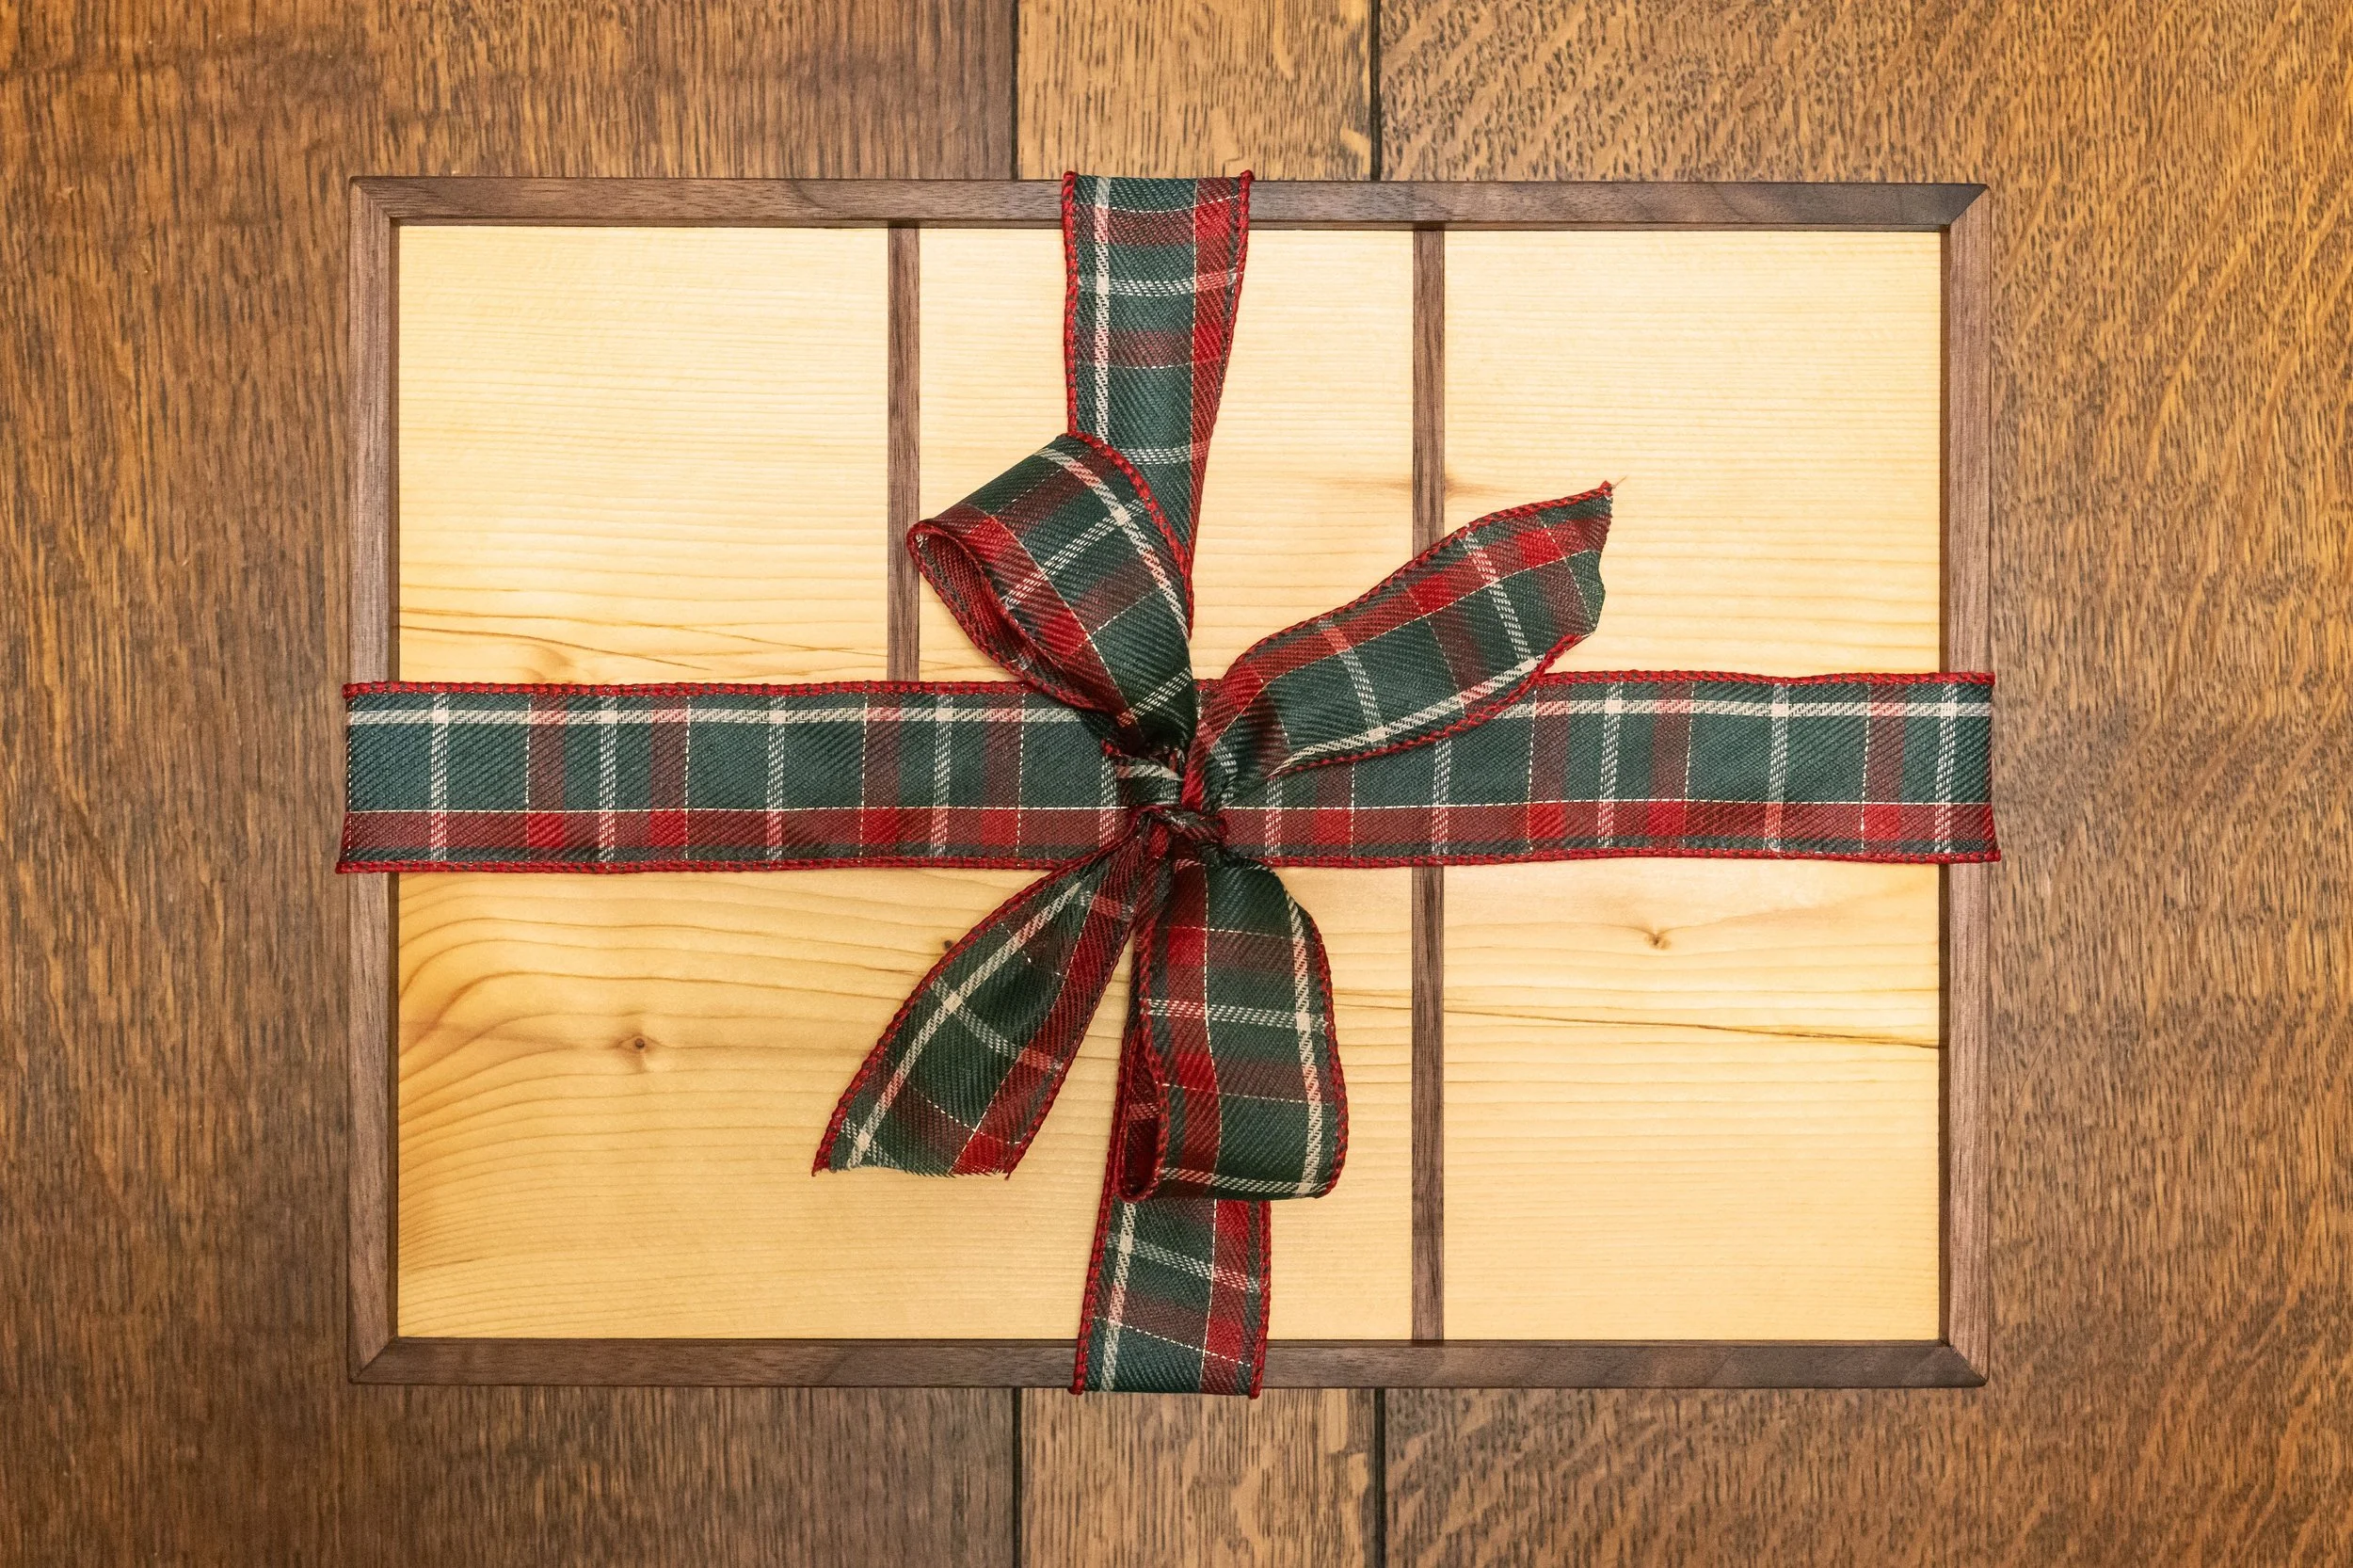
A final buff and a ribbon finishes the Bento Board.