The Railing
I like my neck. Sure, it’s developing that middle aged turkey “thing” but I’m for preserving it all the same. For that matter, I’m rather fond of my wrists and pelvis too, but you wouldn’t know it if you saw me slipping and sliding down the path to the workshop last winter. That’s all about to change with the creation of a new railing.
Background
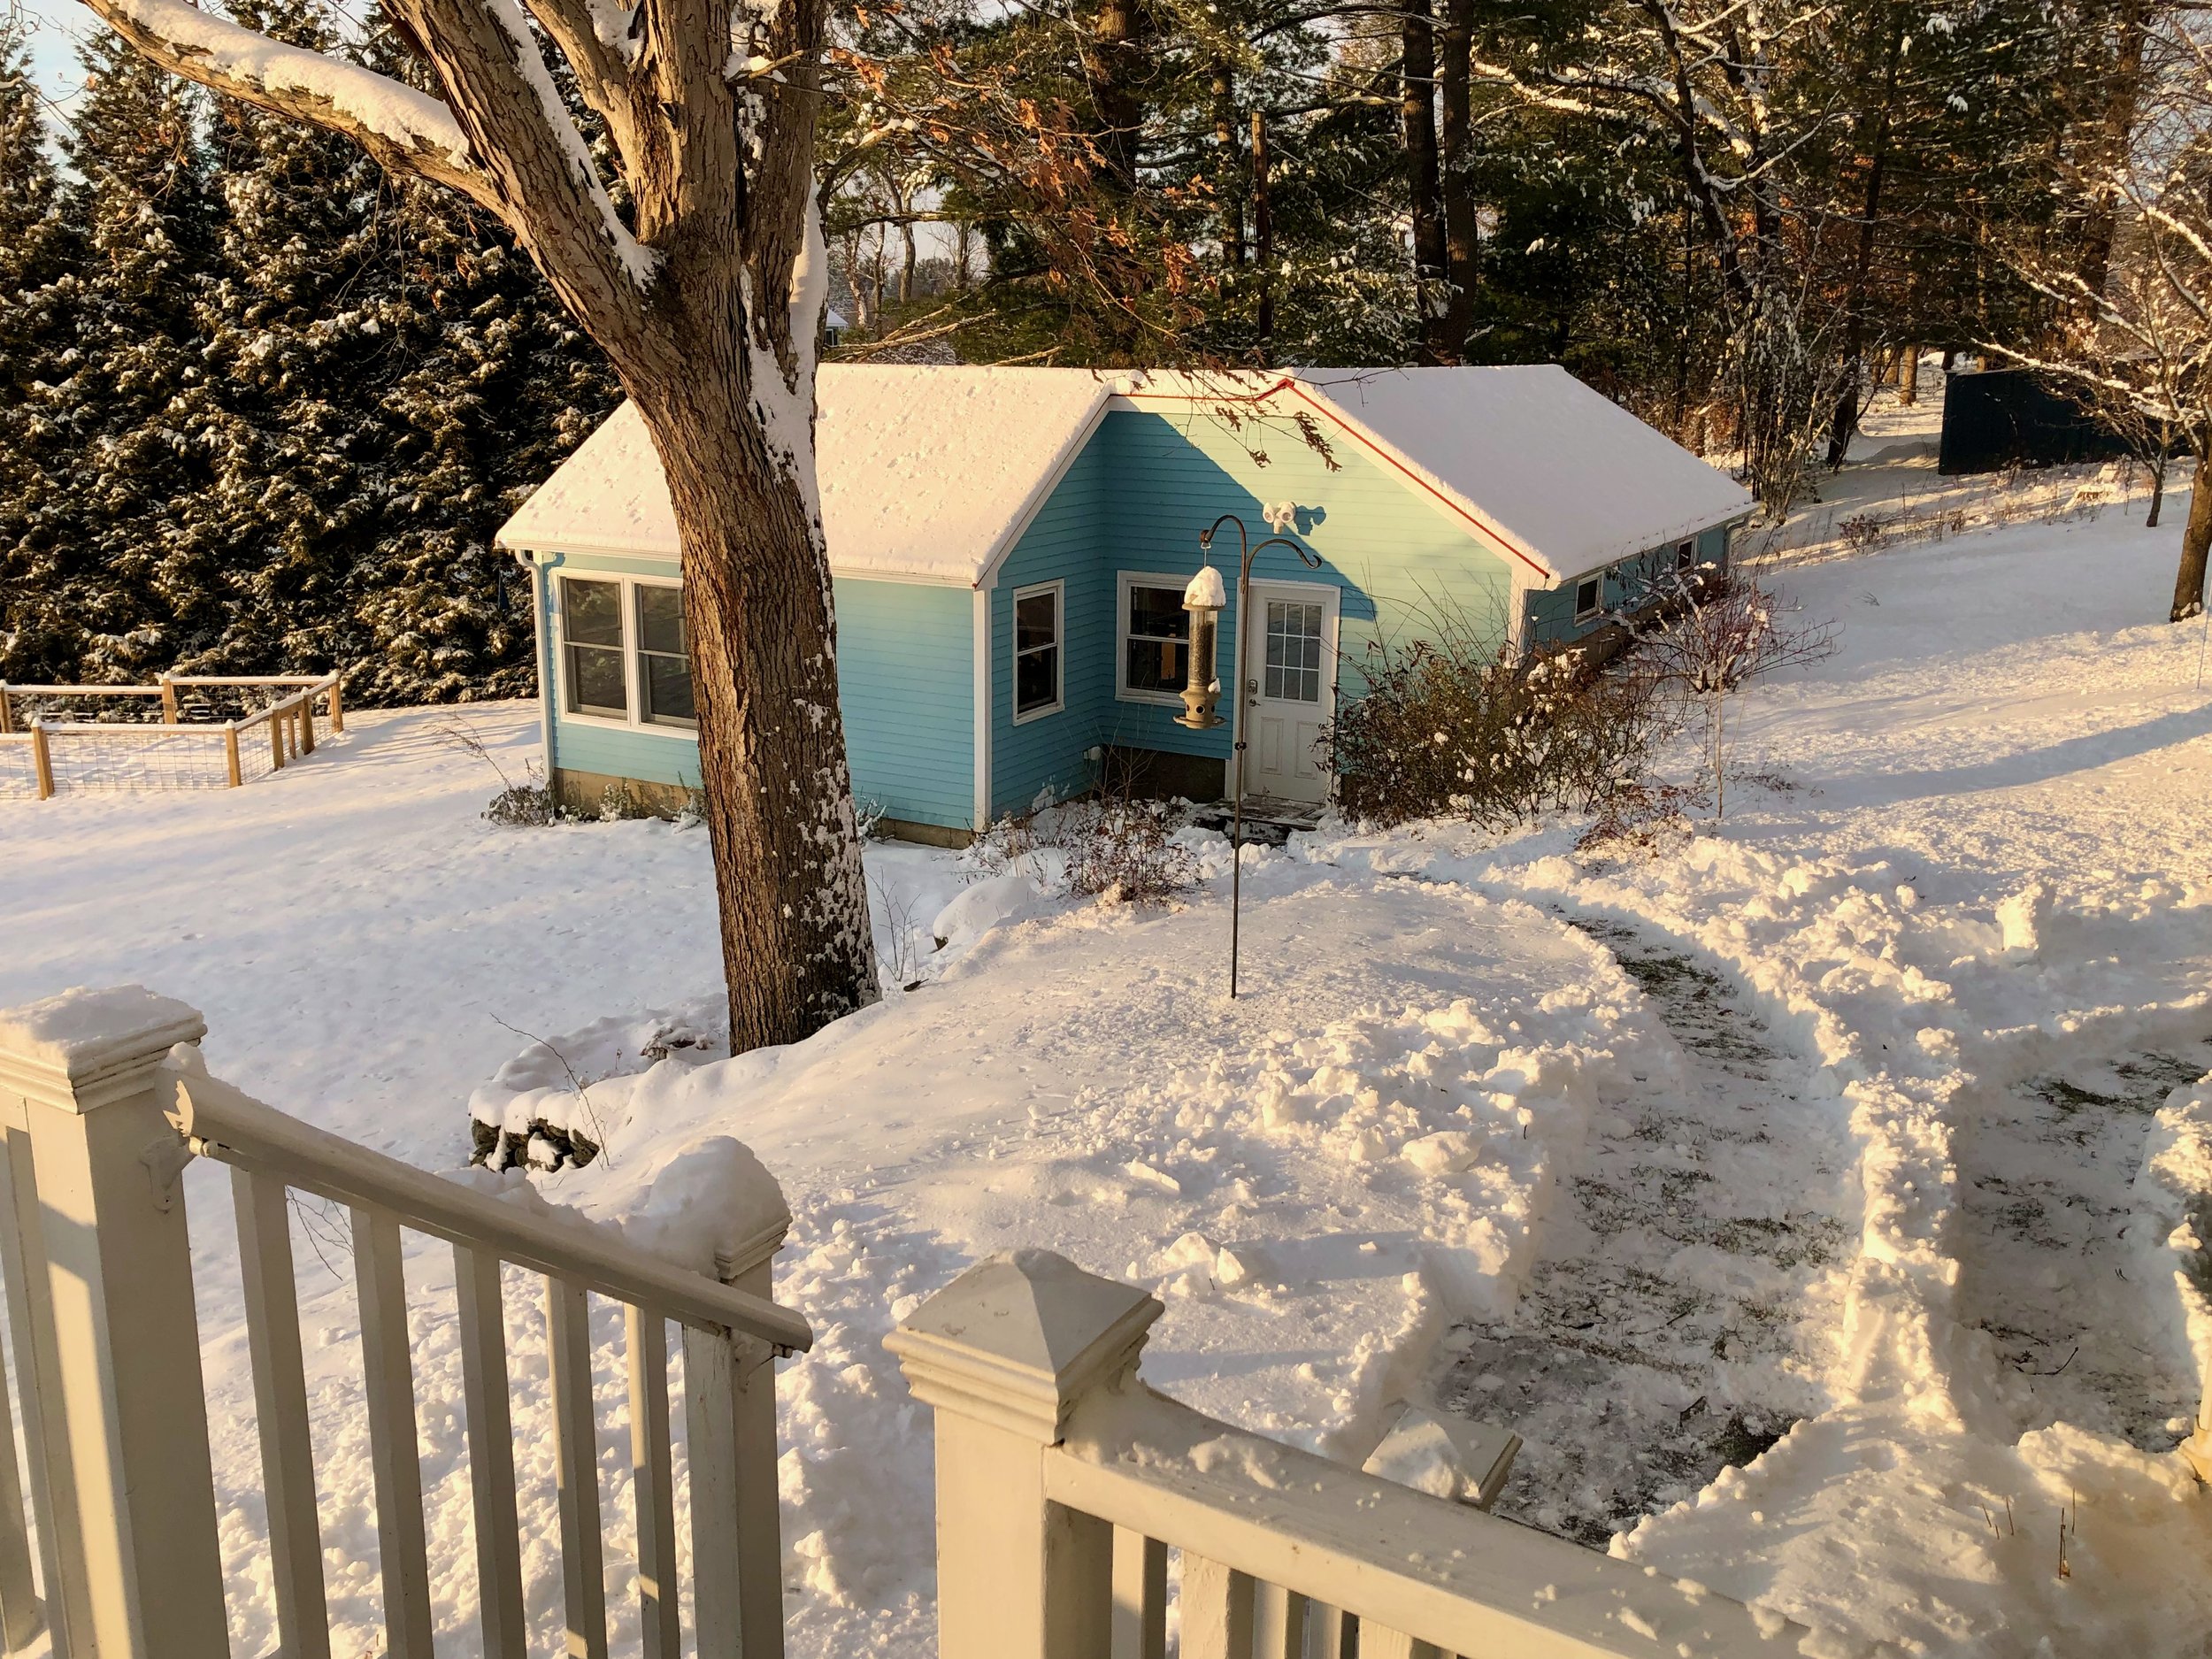
The door to the Red Top Workshop sits maybe 60 feet beyond the steps from our kitchen deck but there is a 6 foot elevation drop over that span, the final 4 feet of descent navigated along a 20 foot long, stepped pathway put in by the former owner. Nice little treacherous walk. In the winter, ice will glaze the granite landing treads at every opportunity and also form a rather slick rink atop the sloping pavered sections in between. I’ve tried salt, sand and chipping with a pick but it is difficult to keep this stretch clean and safe over a New England winter. After a few painful spills I resorted to the use of boot crampons and a walking stick for assistance with traction and balance. The problem is that I am rarely walking that path to the shop empty-handed. Firewood, furniture lumber, coffee mugs; these things don’t get down there by themselves. What I needed was a sturdy anchor to the ground, a railing, to support my frame and cargo during transit. Pretty sure my insurance company would agree.
The winter commute
Design
The plan began, as most plans do, by first ruling things out. I neither wanted nor required a typical split rail-type fence for this short span of walkway; it would be too massive for the task. A black iron porch-type railing would work, I suppose, but that would seem out of place in the understory bird cover that I was also trying to establish here; like an artifact overgrown by jungle. What I desired was a right-sized, simple handrail support that would blend with the setting. It needed to be wooden, of course, and not shy about declaring its function, kinda like Craftsman furniture (wink).
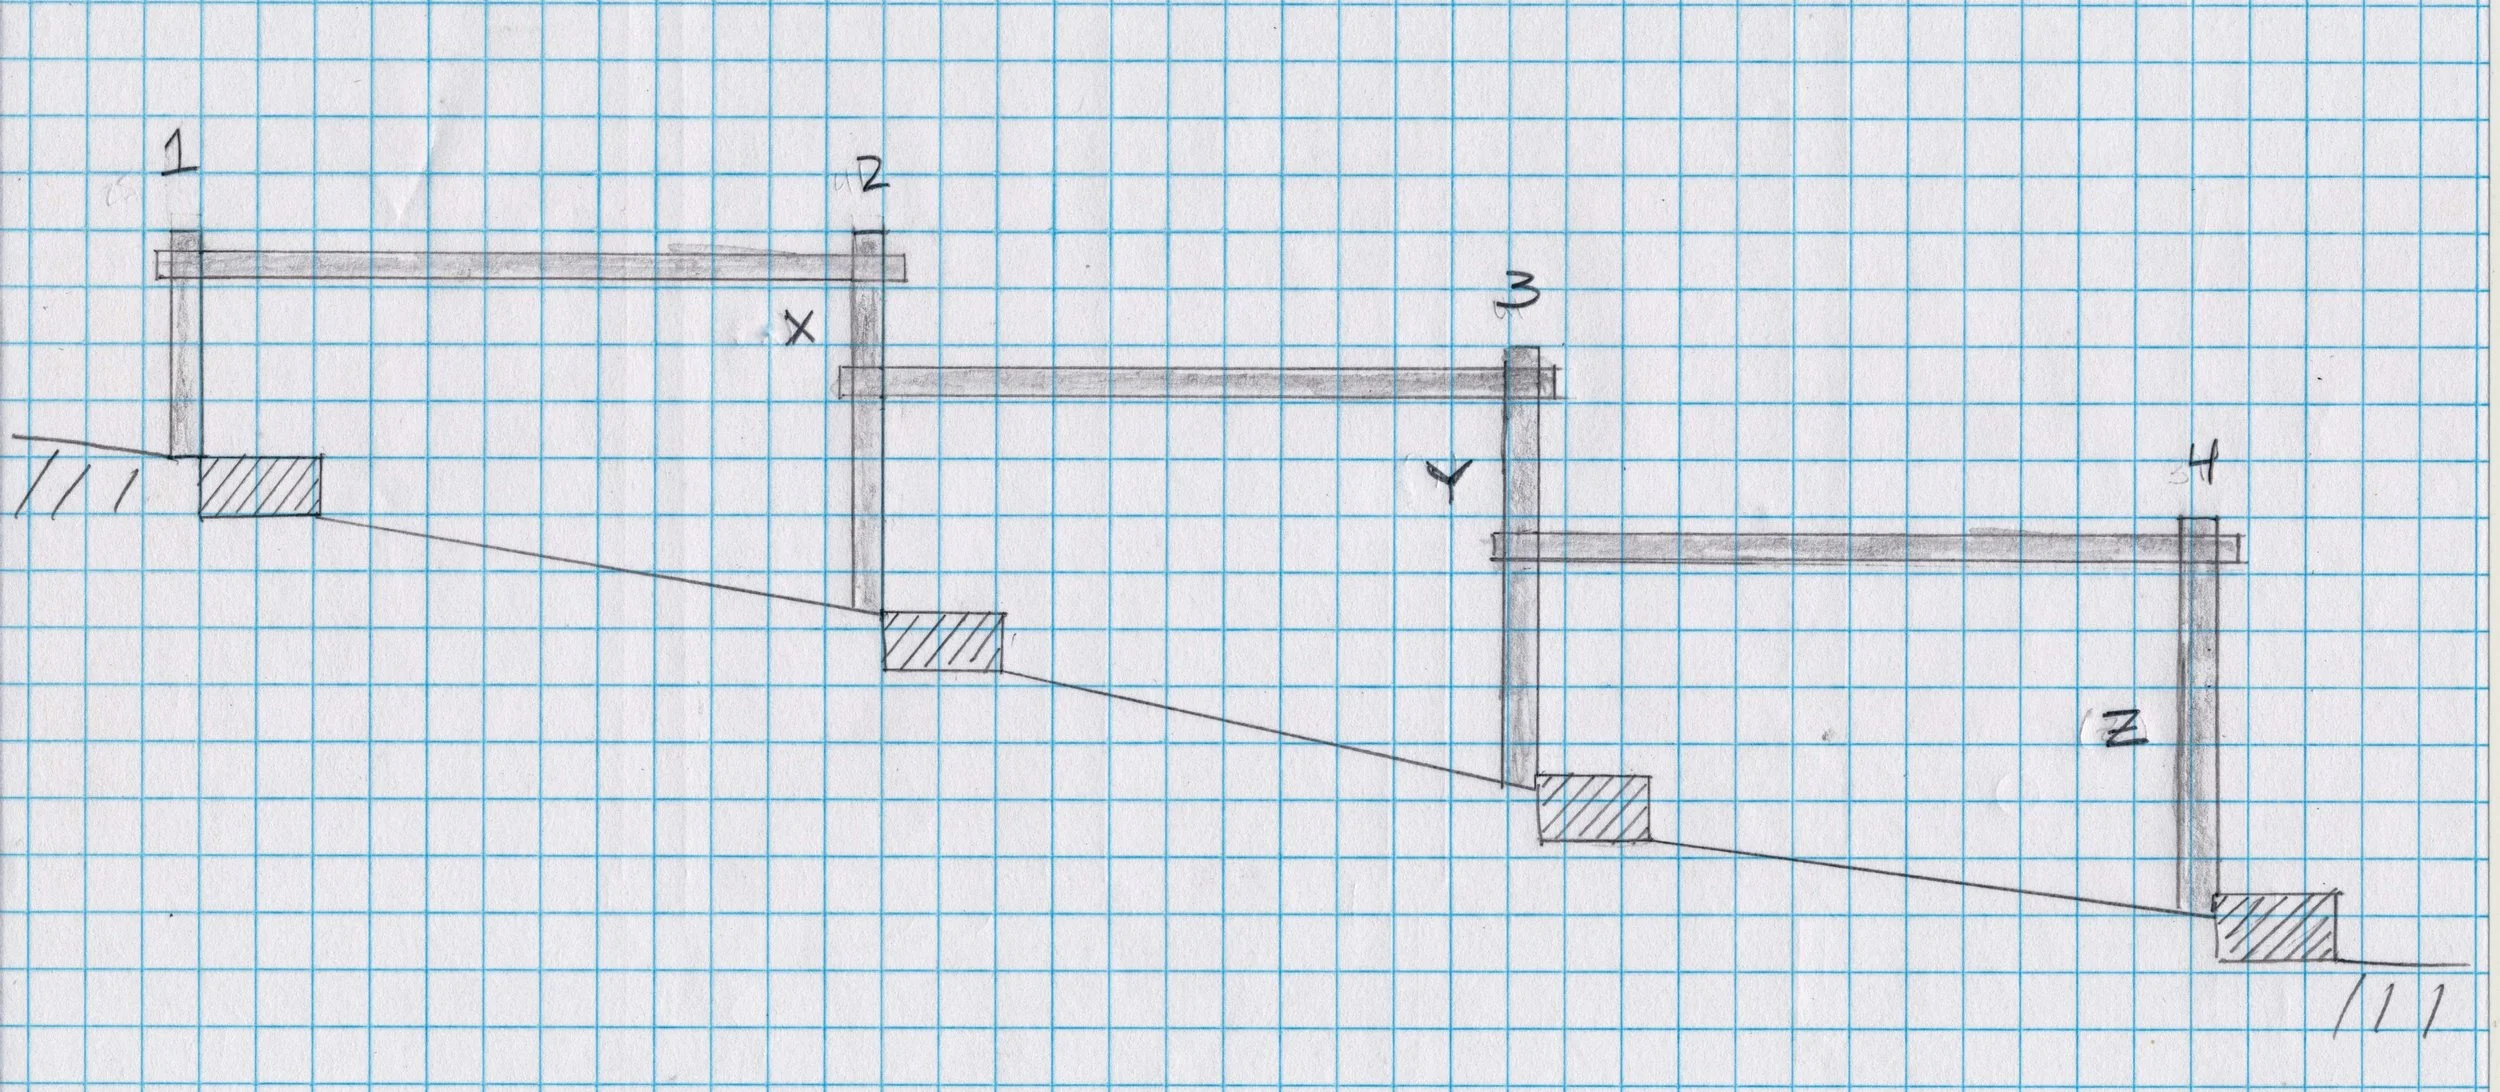
A rough plan meeting these criteria was created on graph paper to verify feasibility and “look”. I decided that the railing should be perpendicular to the posts and not sloped to match the terrain. This might take it out of OSHA compliance but I feel it makes the railing more “fence-like” and naturally prompts a re-grip at each granite lander.
The railing plan
Materials
It turns out that there are very few non-metallic fence materials to choose from at the typical Lumber/Box store. Avoiding split rail pieces and those cumbersome 4x4s I settled on some landscape timbers made from pressure treated yellow pine. These are typically found stacked together on the ground and used as borders but, lumber-wise, I could imagine them to be “live edge” 3x4 inch fence stock. The remaining materials were easy. I would use quick setting concrete for the footings and galvanized carriage bolts to join the members together. Material costs came in just under $100; about the price of an office visit and X-rays, deductible met.
Landscape timbers in lock-down to combat warp prior to construction.
Construction
Structures such as these are made in cooperation with their environment and, as such, ground preparation, rail fabrication and installation would proceed as a loosely-choreographed dance. This adds to the excitement, and if you’ve ever done a garden project you’ll know what I mean.
The un-railed path
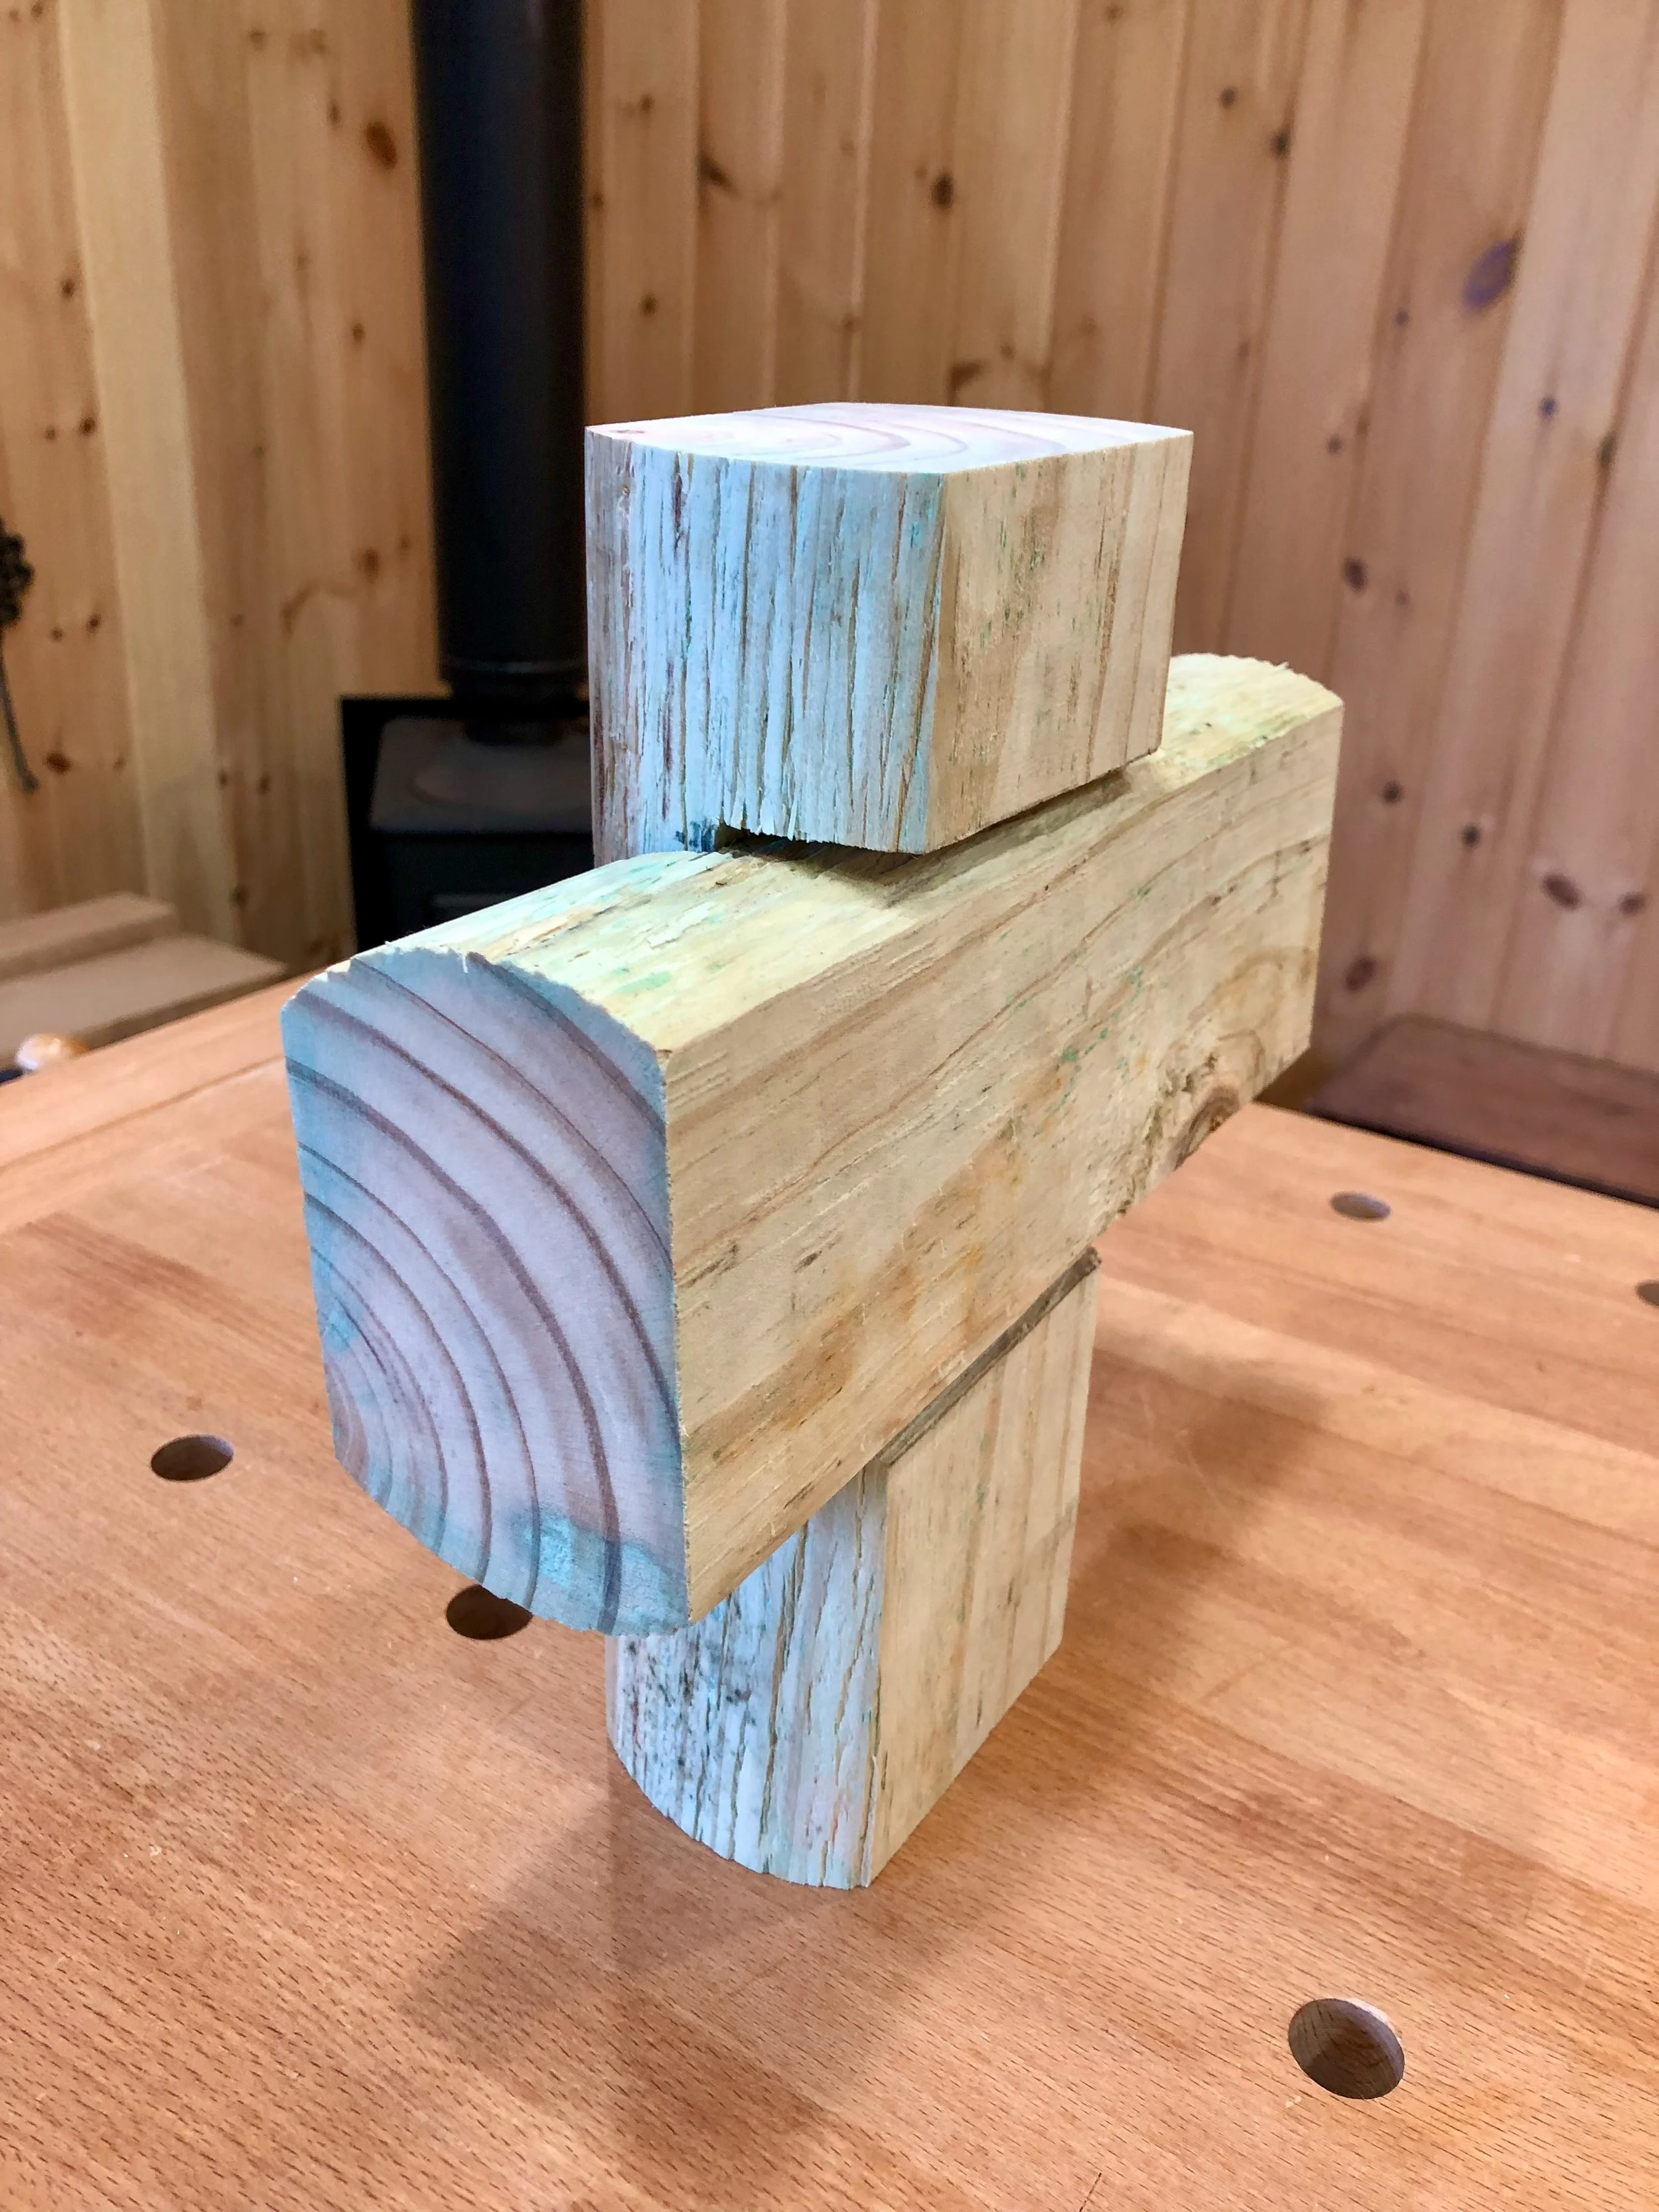
While the basic design was set, I still wanted to test some joint options before deciding on the post orientation (i.e., in which direction should the flat sides point?). Detail-wise, I planned to use a cross-lap joint to marry the railings with the posts. This would keep the profile slim and make it all look more purpose-built. That left me with four permutations for how the edges should meet depending on whether the flat or round edge of the post mates with the flat or round rail edge. To decide, I mocked-up the favored option (flat post on flat rail) and then, given the amount of work it took to build this one, assured myself that it was the best and no others need be sampled. The “flat-on-flat” variant would face the flat sides toward the walkway and furnish the more comfortable hand hold, so there’s that too.
Flat on Flat cross-lap joint
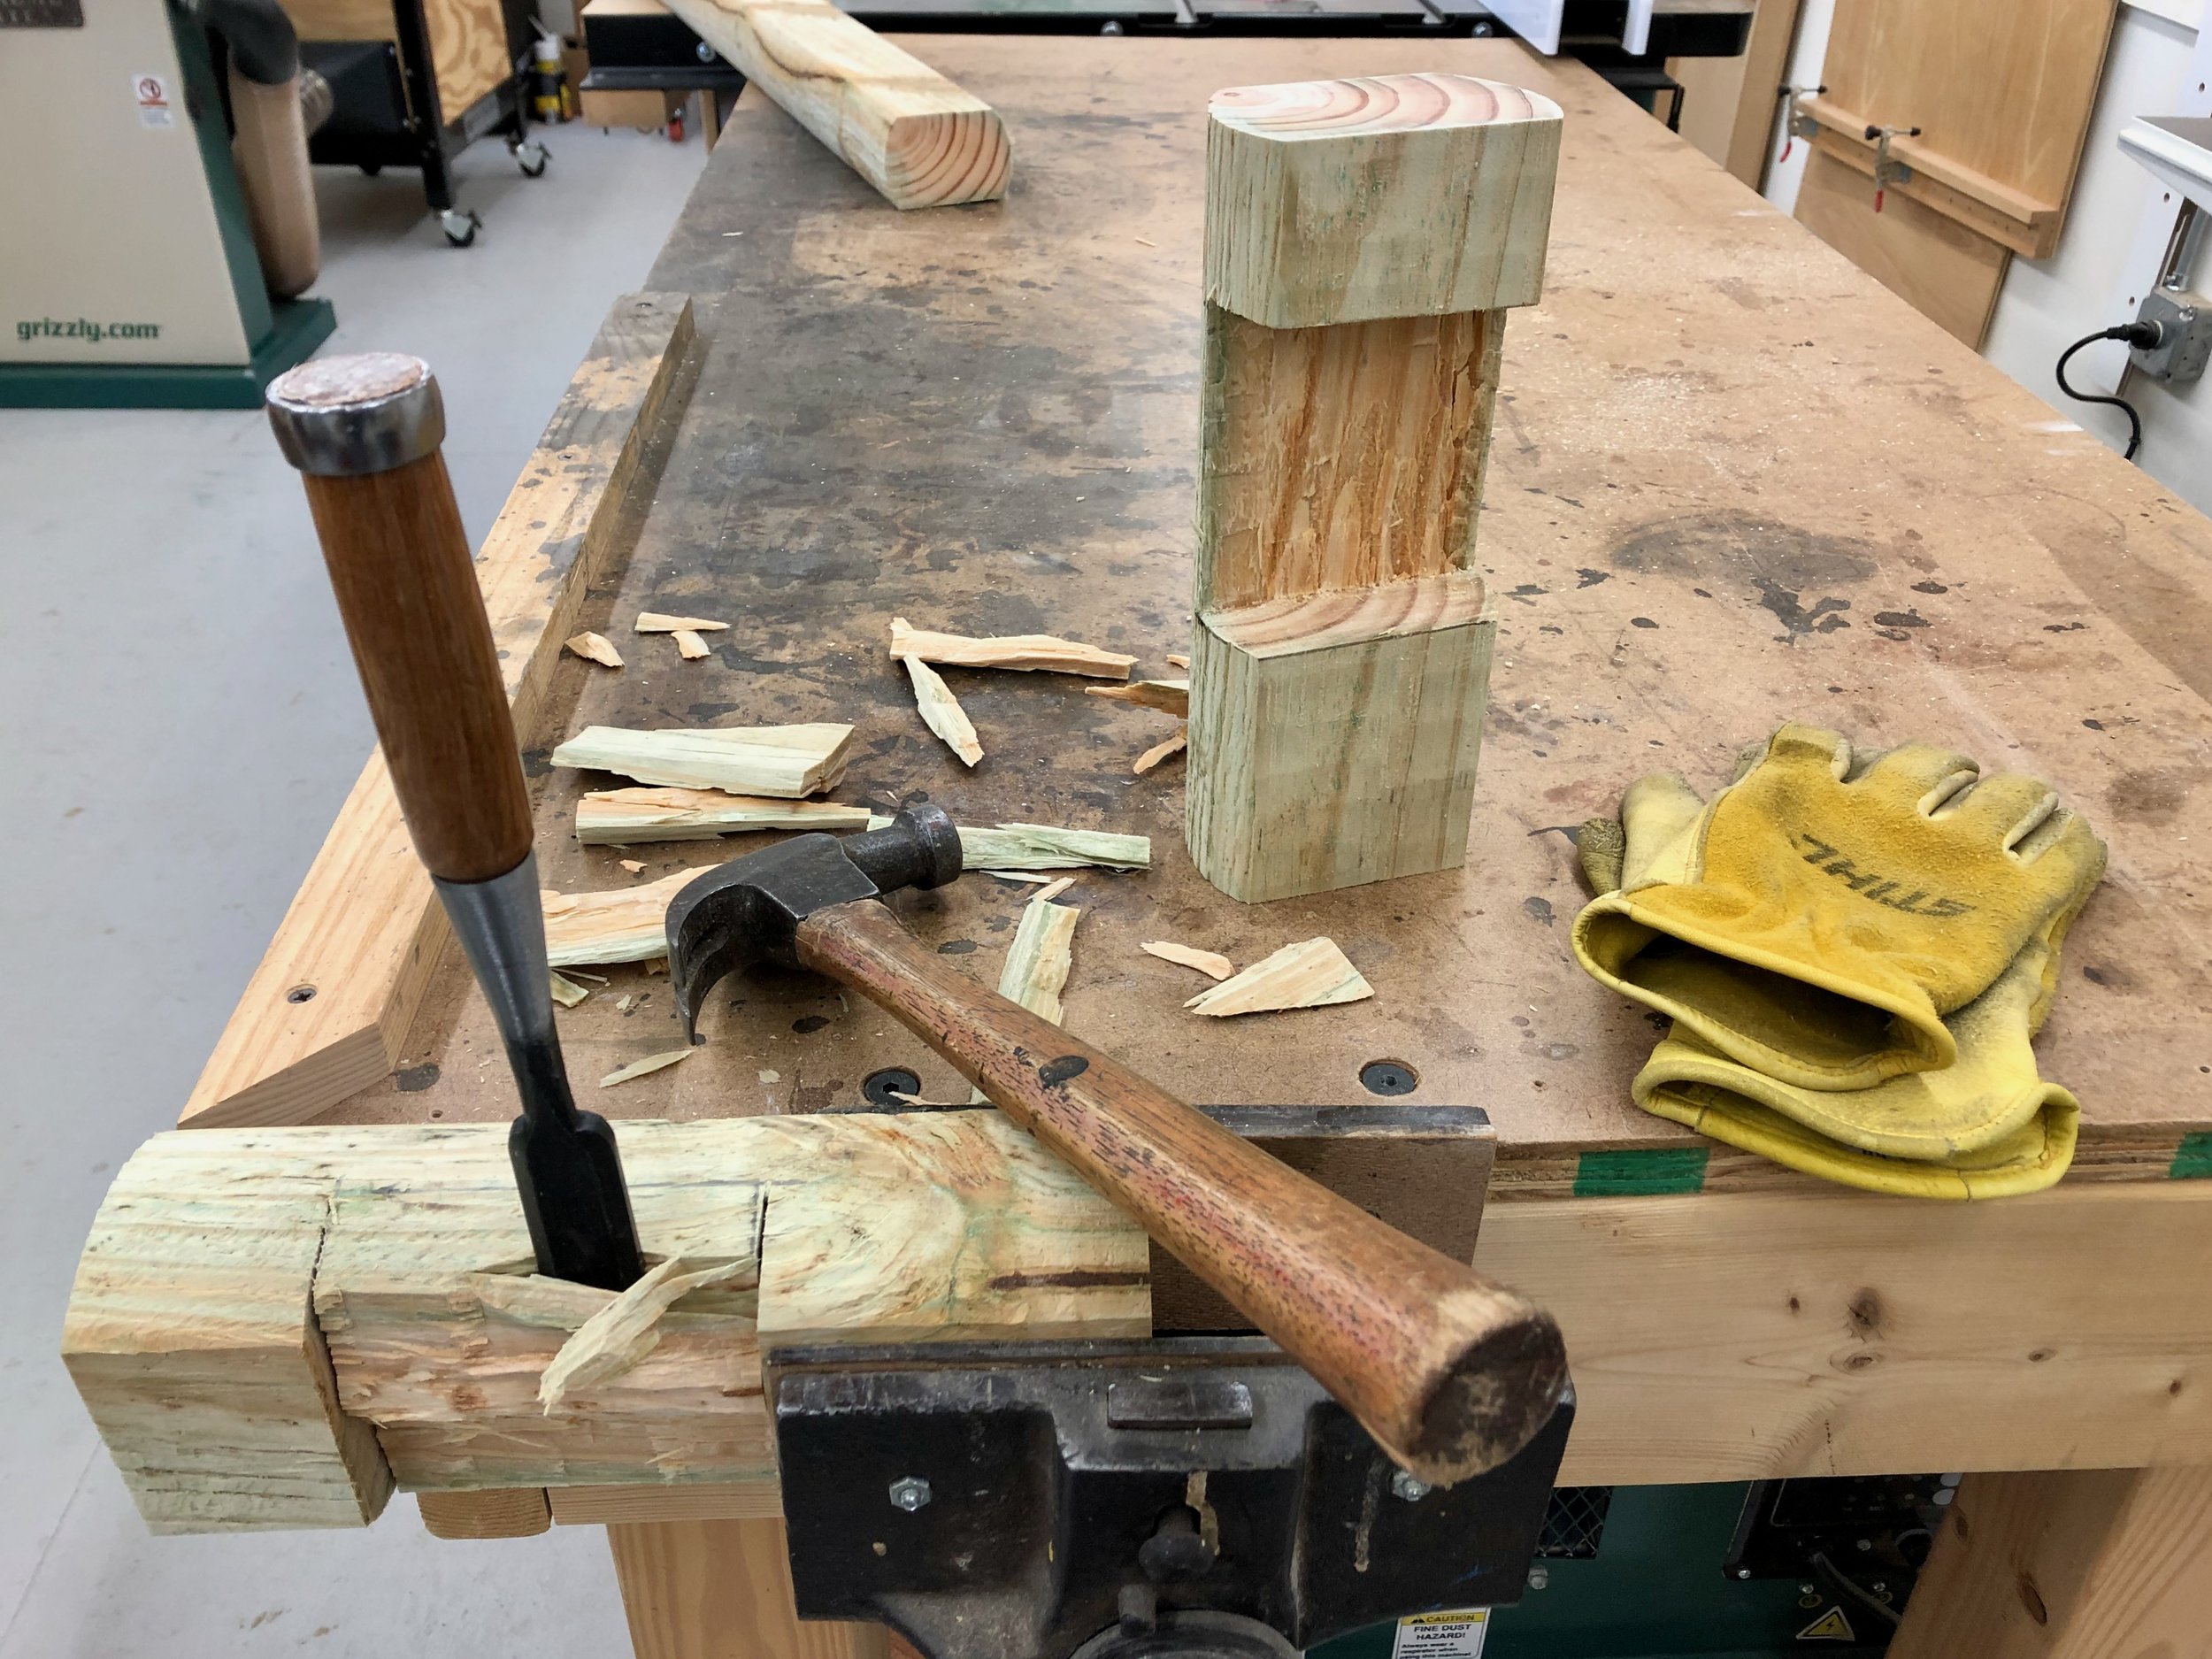
The joint was built by making two boundary-defining cuts with the hand saw (1 1/4 in. deep, 4 inches apart) and then chiseling out the interior waste to create a “slot”. This slot was then overlapped with a second such slot to fashion the cross-lapped joint. It was pretty simple work and I think the damp “wonder wood” actually helped with the chiseling step. However, it took a lot of whacks to make a joint, and convinced me that, in addition to the railing cuts, the 6 slots in the posts would also need to be fabricated in the shop prior to installation to keep the chisel pounding from dislodging everything in the ground. Alternate methods for cutting the posts using a router or table saw were vetoed in favor of manual labor, which just felt right.
Chiseling slots in the test joint
Having decided on this method of construction meant I now needed to re-formulate my installation plan. My original vision of cementing all of the posts in place and then cutting-out the railing slots no longer applied. And, while it would be bit more complicated than just sequentially digging/inserting/fastening from one end to the other, that’s basically how the new plan goes. Here are the constants and variables in play. Regardless of their length, all slots on the railings would be created 2 inches in from the ends, likewise, the posts to receive these railings would be slotted 2 inches below their tops. Further, the uphill end of all railings would start at 22 inches above grade. These constants come from the design and keep things simple, trim and uniform. The variables come from the environment and are largely due to the inconsistent drop in elevation between the granite landings. We don’t need to measure this decline, simply accommodate it during construction. In practice this drop determines the position of those niggling second cuts on posts 2 & 3 and height of the cut on post 4, depicted as segments X, Y, Z on the plan (above). A persistent bend in the pathway and non-uniform spacing of the granite blocks contribute the final variables.
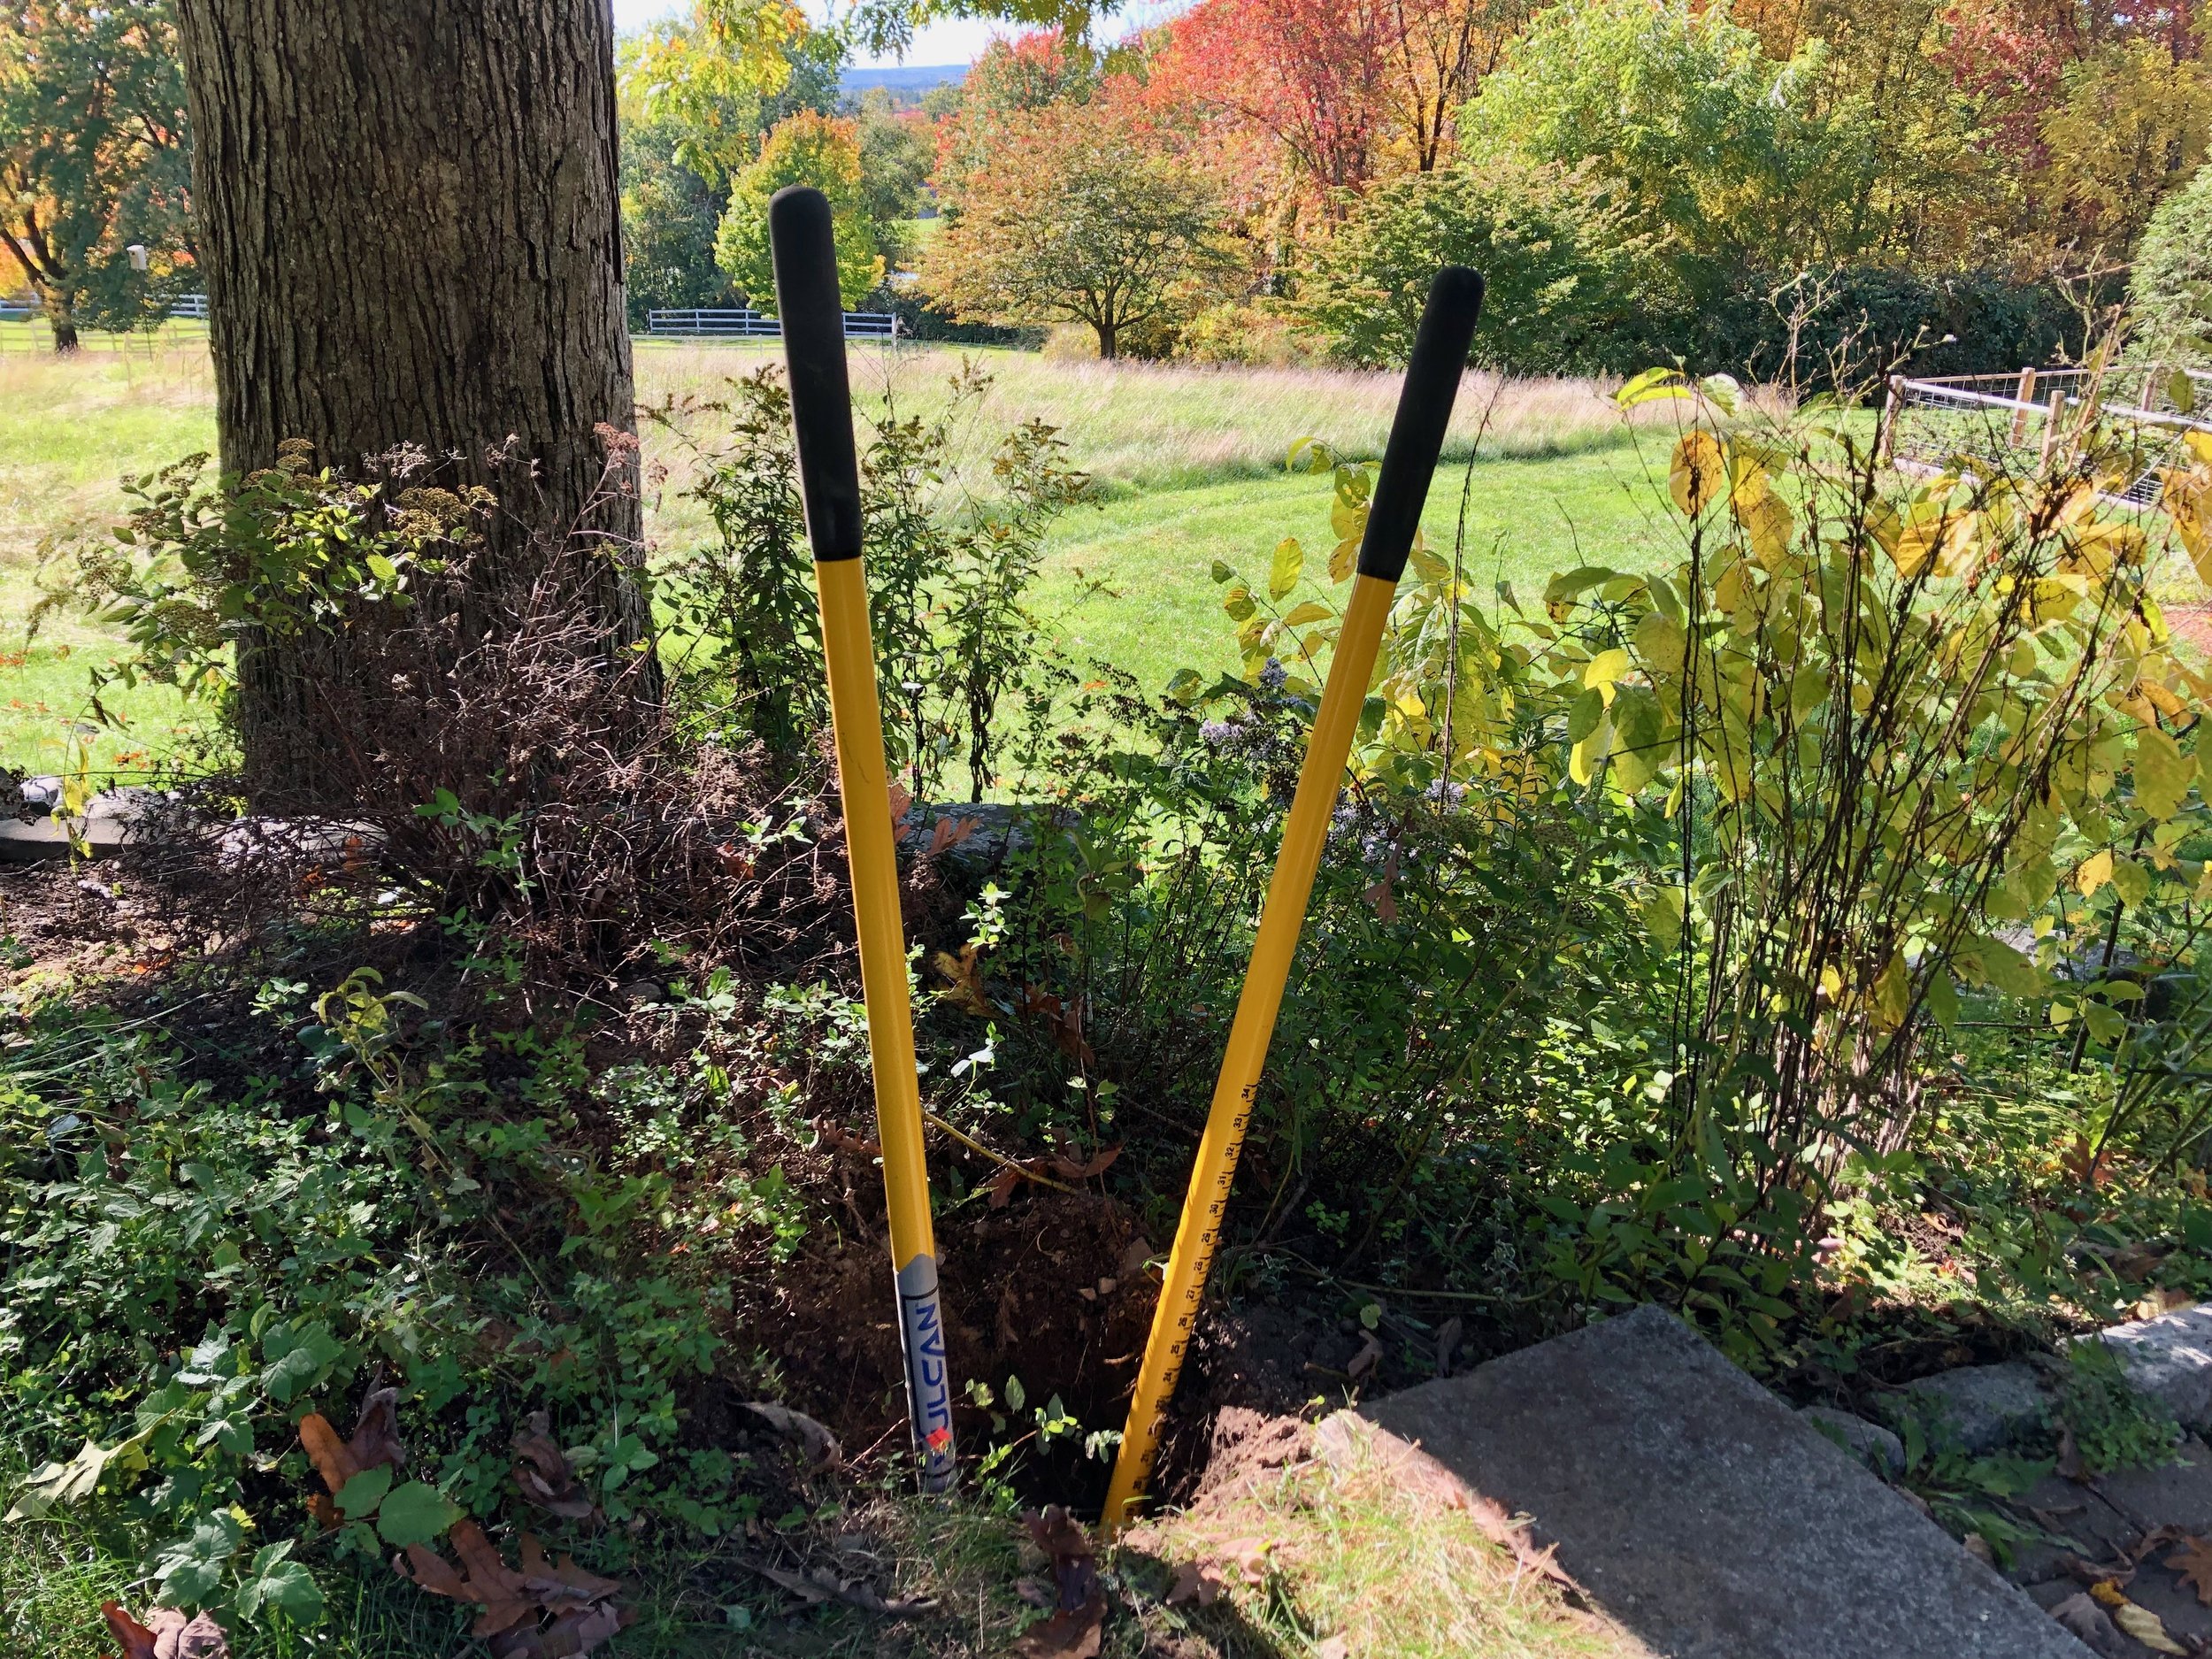
Following a few last minute measurements it was time to dig the first hole. I started up top with the shortest post. The plan was to bury each post about 2 feet into the ground and tight to the existing walkway. Down there they would sit on a bed of gravel and be anchored by a concrete surround. A post hole digger did a good job excavating the 10 inch dia. cylindrical cavities, and since the ground consisted of fill dirt I did not have to fight with New England rock.
Digging the first hole
A handy jig was made to assist with mounting the posts. This consisted of a few 2x4s put together in a manner to hold a short section of railing 22 inches above the granite step. Once the bottom of the post was trimmed to length, inserted into the hole and tamped into the gravel bed it could then be held at the proper height by inserting the rail section of the jig into the joint slot. Following instructions written on the fast setting concrete bag some water was then poured into the hole followed by half-filling with concrete powder. At this point the post, held by the jig, was re-leveled on all sides. The hole was then nearly filled with powder and more water poured on top. After a few minutes of soaking, the concrete on top was the consistency of pottery clay and could be tapered with a trowel to shed rain water away from the post. Following a final level check this was then left to cure while the next hole was dug.
First post in place, held in position by the jig
Getting the second post in the ground and the first railing attached to it would complete a “section” and validate the procedure to be used hereon. I’ll describe that process so that afterwards we can fast-forward to the finale.
Hole no. 2 was dug to 24 inches and the jig put in place so that a measurement from the bottom of the hole to the stub rail could be made. This distance determined the position of the first slot on post #2. That slot was cut-out in the workshop, as well as a slot on the end of rail #1. A pilot hole for the first carriage bolt was also drilled into the rail. Next, the post was put back in the hole, leveled and mounted to the jig. Rail #1 was also temporarily installed onto post #1 by completing the drilled pilot hole and sliding a carriage bolt through it. This “dry fit” would allow me to mark the position of the final two slots. Upon leveling the rail and bringing it alongside post #2 I could pencil the intersection on both members, defining the areas to be cut for the joint. (Hope that was clear.) Removal of the temporarily mounted rail and post allowed for chopping the joint slots in the workshop and then cutting the members to final length. Installation was simply a repeat of the dry fit exercise, only with wet concrete thrown in. Worked well!
Dressing concrete upon completion of the first section
The second and third sections were completed in a like manner over the next couple of days. At some point I realized that sawing a relief cut mid way across the 4 inch joint slot made the subsequent chiseling step much easier - enjoyable actually. Always learn!
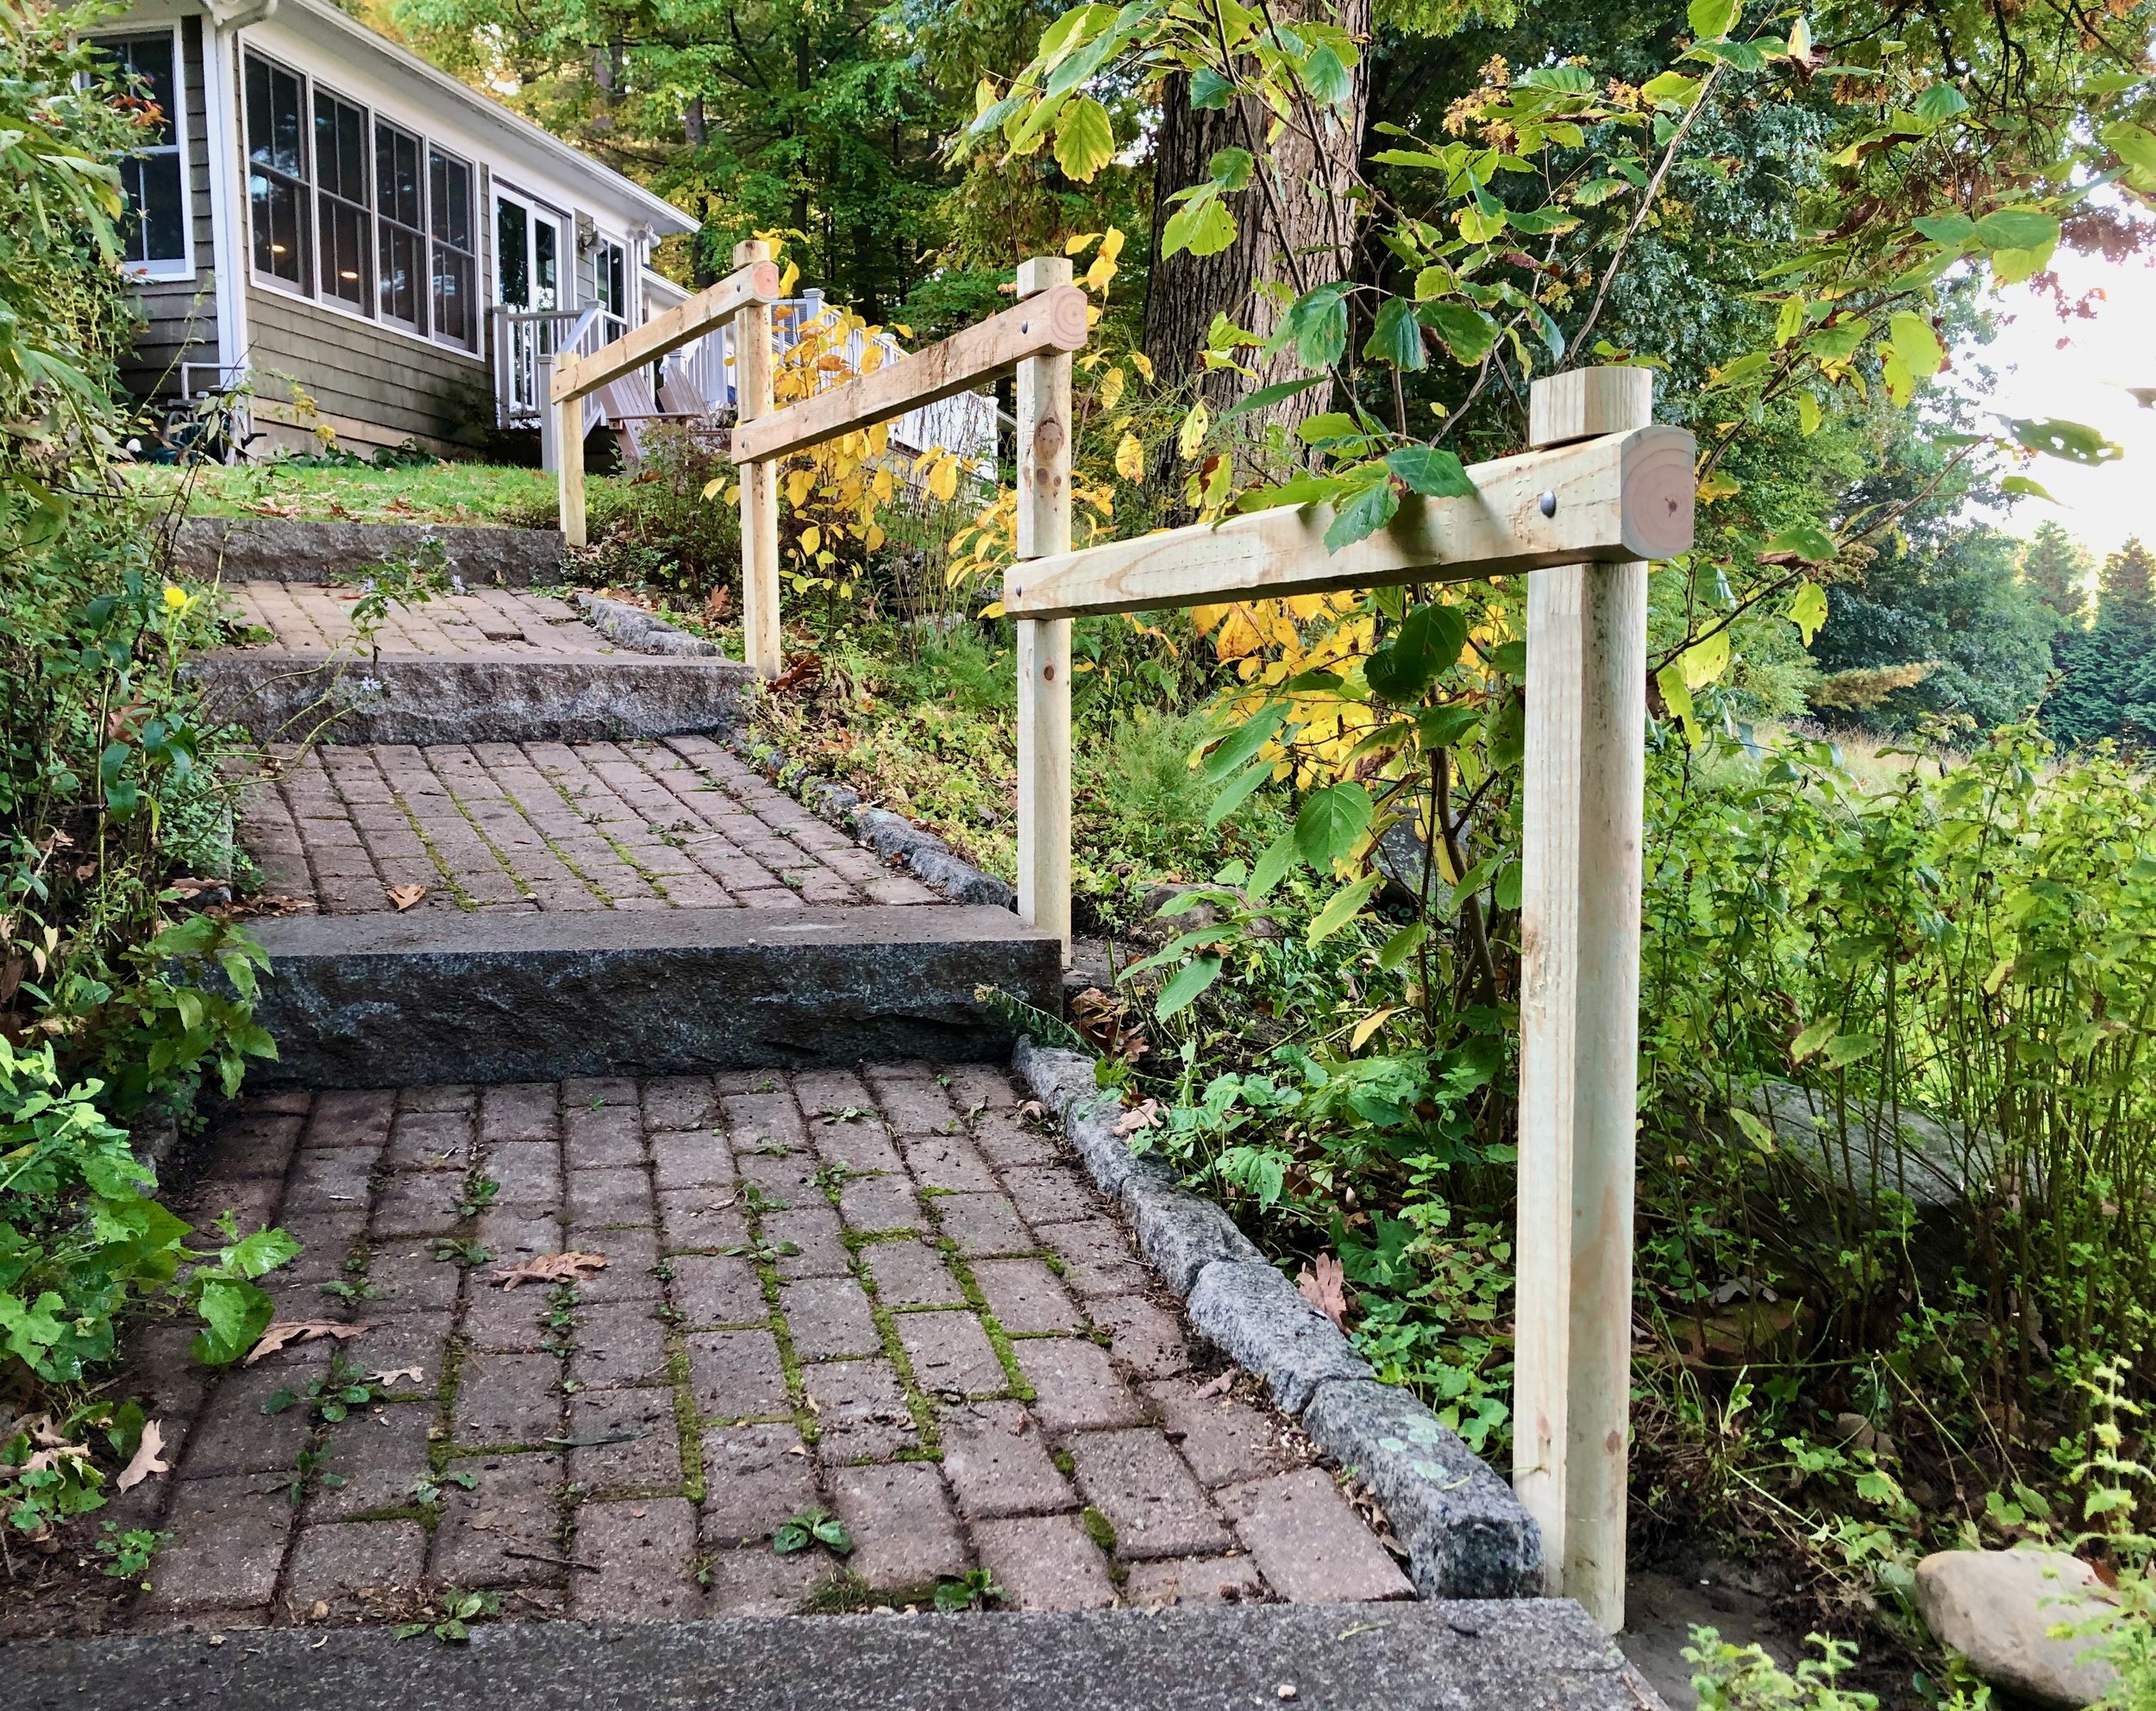
The newly-railed path
These garden Projects are a reminder that it is fun to get out the heavy tools on occasion. They are a chance to not sweat the final 1/32nd of every inch and still build something solid & useful. Assuming those posts stay put when the ground freezes I think this railing will enhance both the beauty and safety of the workshop path for many years to come.


