

No. 220: the legs

Prelude: The next few installments will describe the creation of a No. 220 Prairie Settle. Following a brief description of background and preparation this first episode focuses on construction of the leg components.
The allure of Craftsman furniture, regarded as America’s first true furniture form (sorry Shakers), comes from the simplicity of design and material. Graced with very few ornamental detours, the admirer is forced to recognize and then appreciate the form, joinery, wood and finish that, when executed properly, create a beautiful four-part harmony. I love the Craftsman aesthetic and have made a few pieces inspired by that style, as well as some related mission items. In most cases I have either reverse-engineered the plan from a 100-year old picture or created my own design using dimensions and joinery consistent with the style. On my last Project I stuck pretty close to the original published plan and found it a surprisingly absorbing challenge to re-create an antique. I’d like to do the same for the venerable No. 220 settle first made in 1912 by Leopold & John George Stickley, and in this endeavor I am helped enormously by the work of Robert W. Lang.
Robert Lang is a very talented woodworker, magazine editor and author who is also regarded as a specialist in Craftsman furniture. In addition, he manages an incredibly informative website. His latest passion seems to be the drawing program SketchUp which he uses to re-create plans for authentic furniture pieces. In 2013 several of his earlier books were combined into the hefty, Great Book of Shop Drawings for Craftsman Furniture. This masterpiece, since re-issued in hardcover, contains his painstakingly derived plans for many Stickley and related furniture pieces, and among these is the No. 220 settle. I don’t believe I’d have the confidence to tackle this large Project without these plans. Thanks Robert.

No. 220 plan
from: Lang, R.W. Great Book of Shop Drawings for Craftsman Furniture, Revised & Expanded Second Edition Fox Chapel, 2017.
Design
A fair description of early Craftsman settle designs might be ‘four posts, modified appropriately to accommodate the human derriere’. Endearing, yet visually crude by today’s standards, the settle was intended to provide cozy comfort to those who “settled” within its confines in an otherwise drafty room of old.
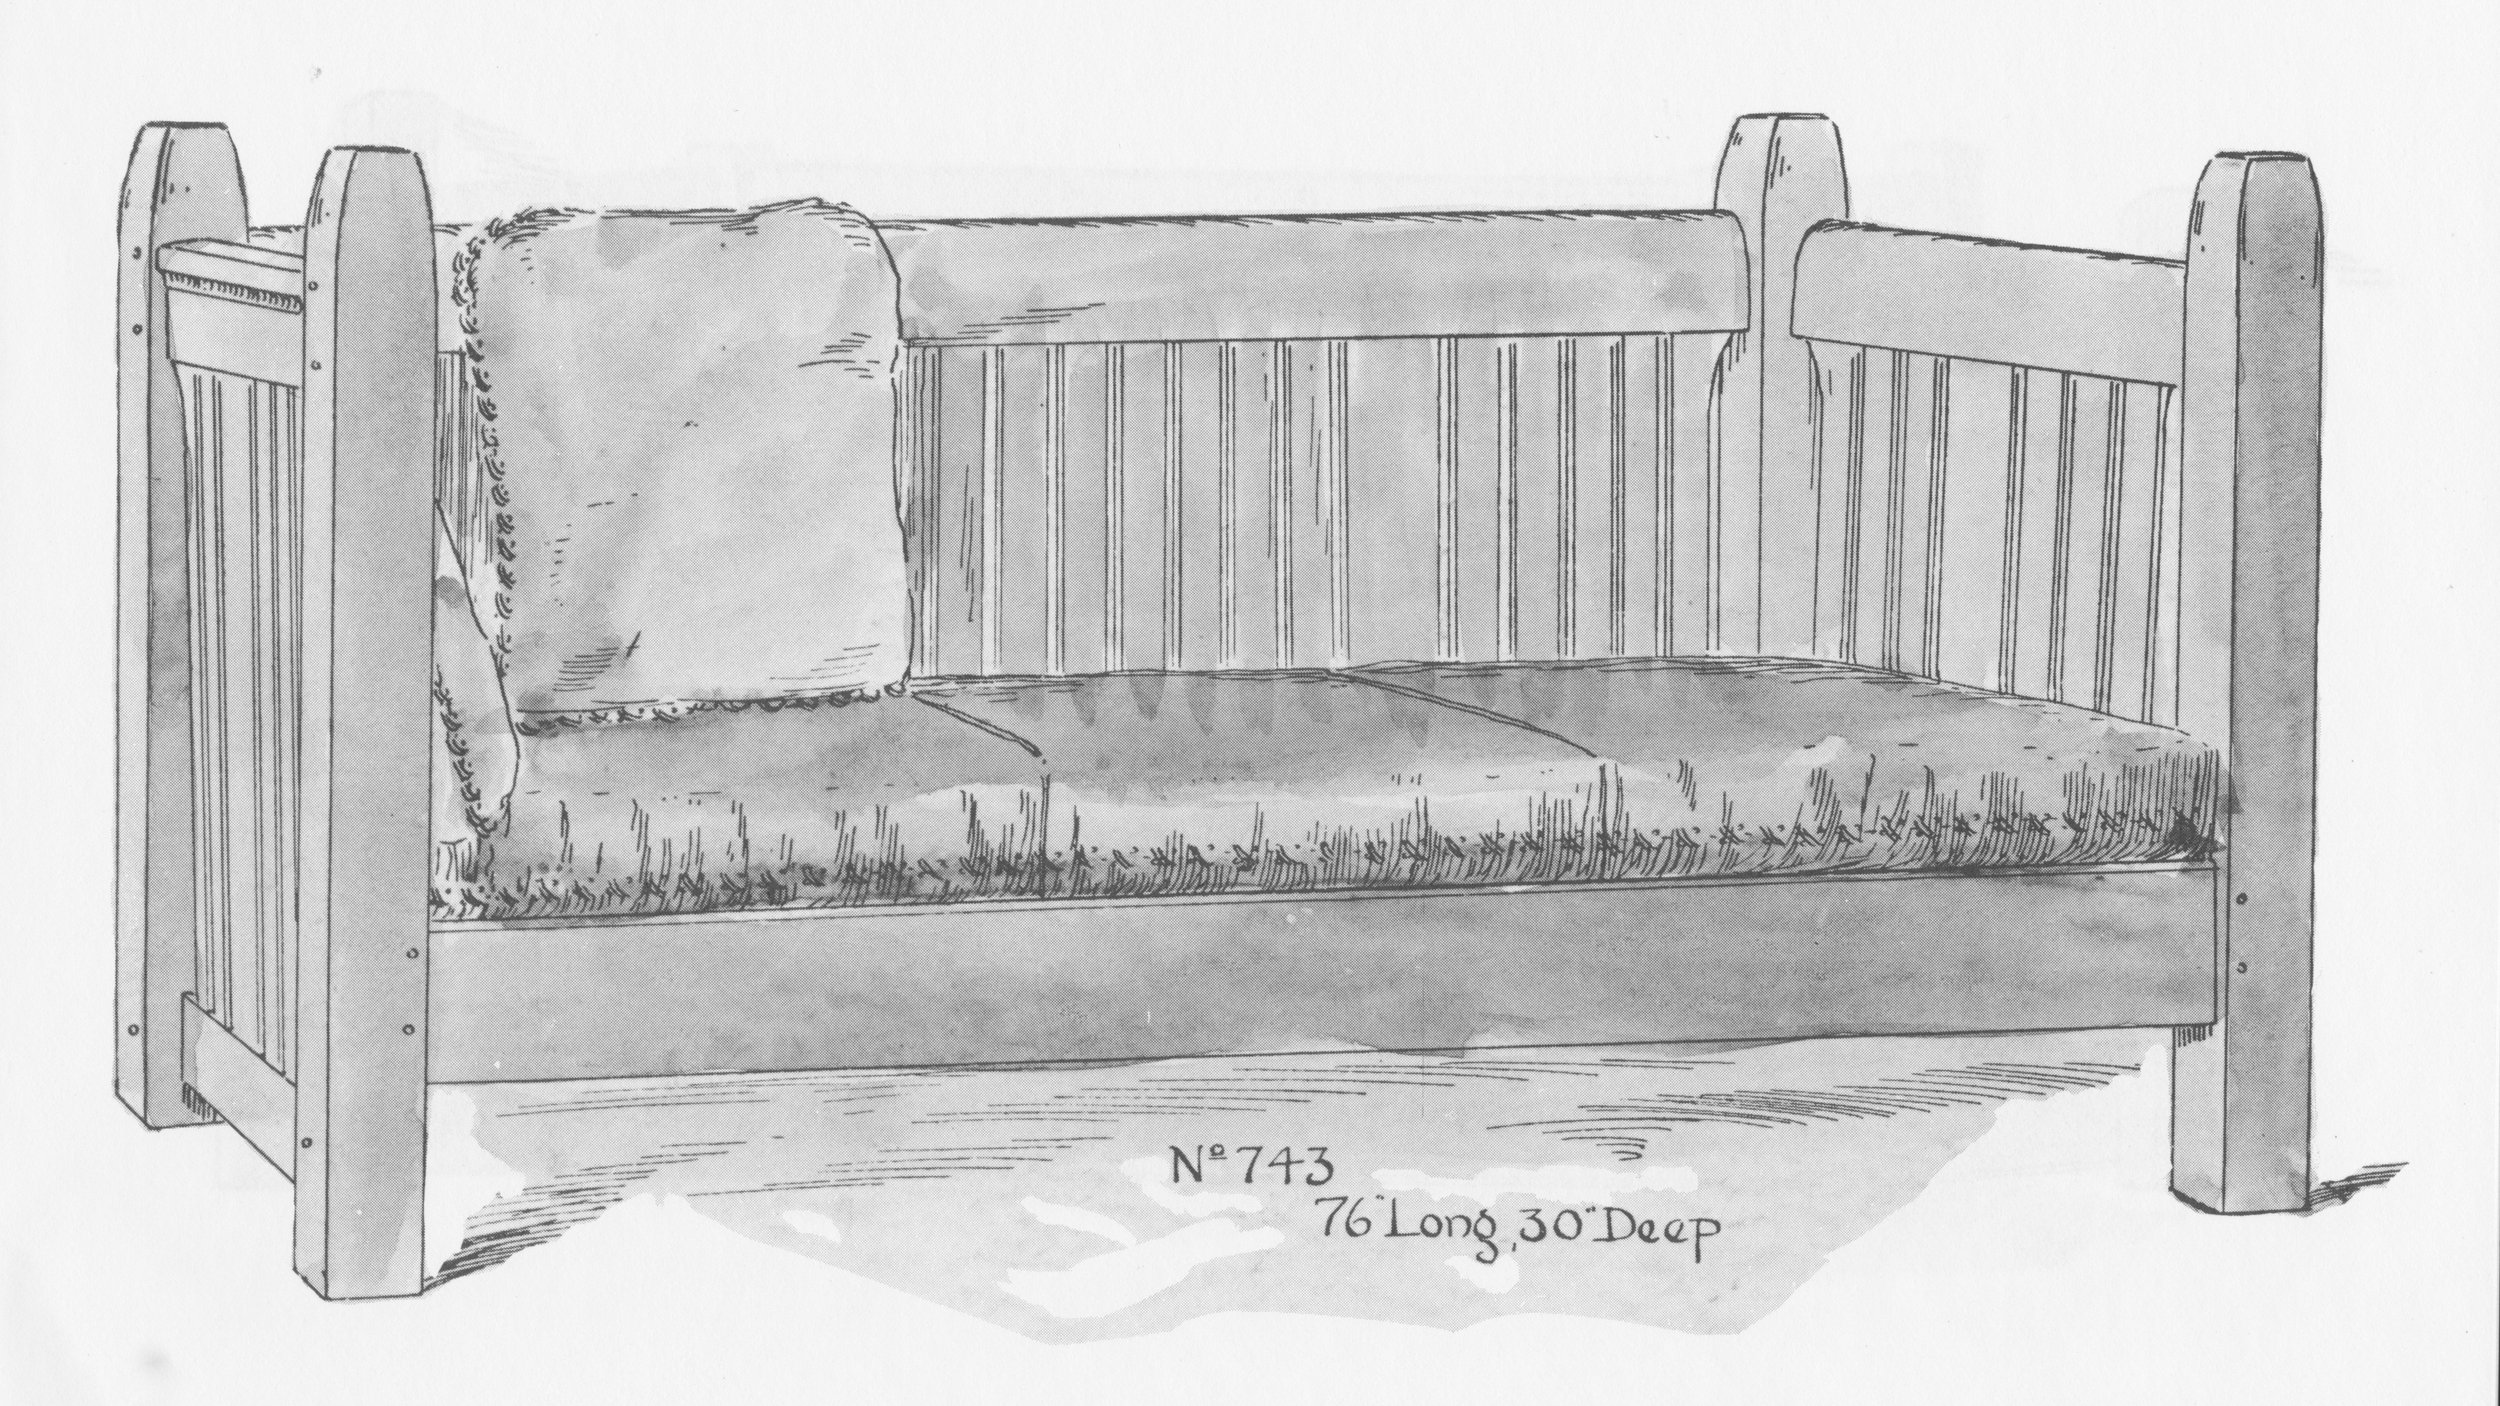
(example) No. 743 Settle
from: L. & J.G. Stickley, Onondaga Shops Salesman’s Catalog (1906), reprinted in: Early L. & J.G. Stickley Furniture: From Onondaga Shops to Handcraft, Davidoff, D.A. and Zarrow, R.L. Ed., Dover, 1992, p.61.
Later versions tended to separate the height of the back from the height of the side “arms”, making something that more resembles the modern sofa.
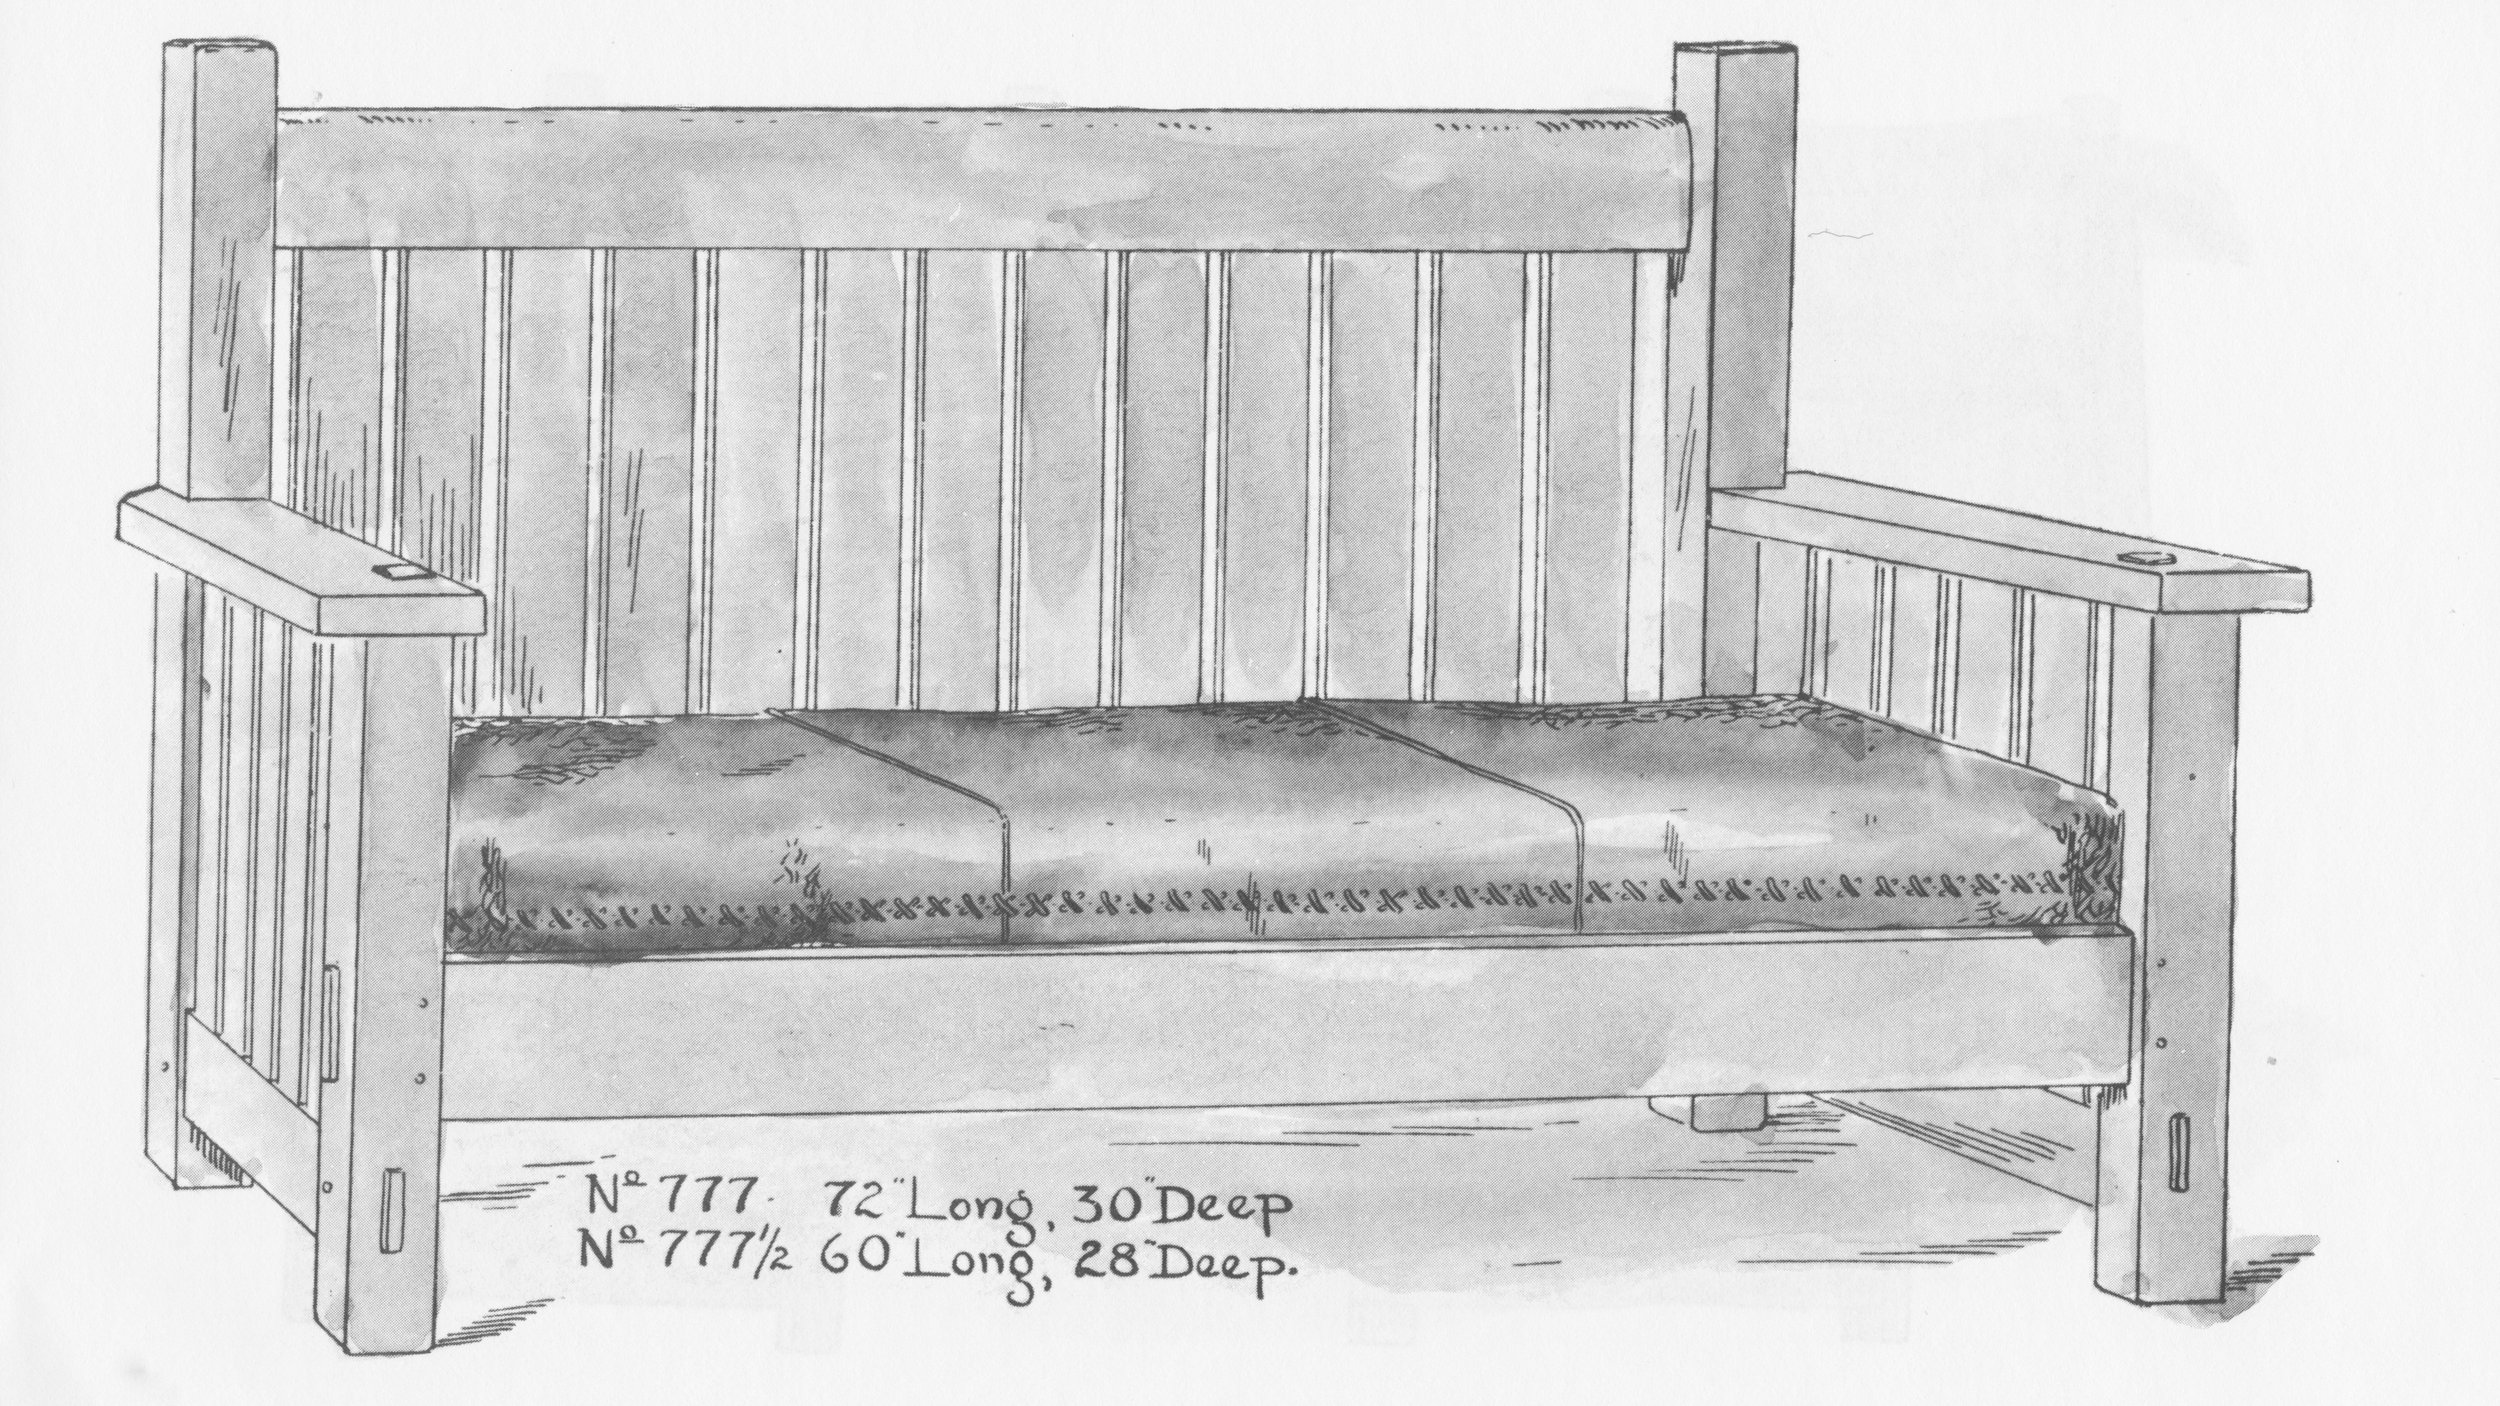
(example) No. 777 Settle
from: Early L. & J.G. Stickley Furniture, p. 77.
No. 220’s genius was to once again align the back with the arms, but this time at arm’s height, evoking the expansive Prairie sensation. The leg posts are still present to anchor the settle form, but with curvaceous corbels to support the massive arms they are no longer the primary feature.

No. 220 Settle sketch
from: Great Book, p. 150.
Materials
Although the Stickley’s offered some early pieces in a variety of woods (mahogany, chestnut, maple), white oak, quarter sawn at the mill, became the most prevalent wood used for Craftsman furniture. This abundant hardwood was the perfect material for the construction of solid furniture. Due to the orientation of the annular rings, quarter sawn lumber is the most stable form with regard to seasonal movement, and when white oak (Quercus alba) is cut in this manner it reveals the pronounced medullary rays found in this species to create a striking grain figure. Amongst all of the diagrams of quarter sawn lumber to be found in the woodworking literature, I prefer Gustav Stickley’s.

Quarter sawn lumber
Stickley, G. The Craftsman, VIII, 4, 1905, p. 109
I needed a few different dimensions for this Project and spent 2 hours picking through the quarter sawn white oak stacks for the right pieces at my favorite yard, Highland Hardwoods; 76 board-feet in all.

White oak stock
(note medullary rays evident in the center, S3S boards)
Dimensioning
While Stickley furniture legs might appear to be simple posts, simple they are not. The desire to exhibit quarter sawn grain on all four faces means they have to be specially constructed, or else gimmicked with the use of veneer. Gustav was not above using veneer for some pieces, but L. & J.G. devised a clever method to create a leg post out of four boards, fashioned in an identical manner on their factory’s machines. They even describe this innovation in their catalog, including a claim of practical indestructibility!

The Work of L & J.G. Stickley, Fayetteville, NY (c. 1914).
reproduced from: Stickley Craftsman Furniture Catalogs: Unabridged Reprints of Two Mission Furniture Catalogs, Dover, New York (1979).
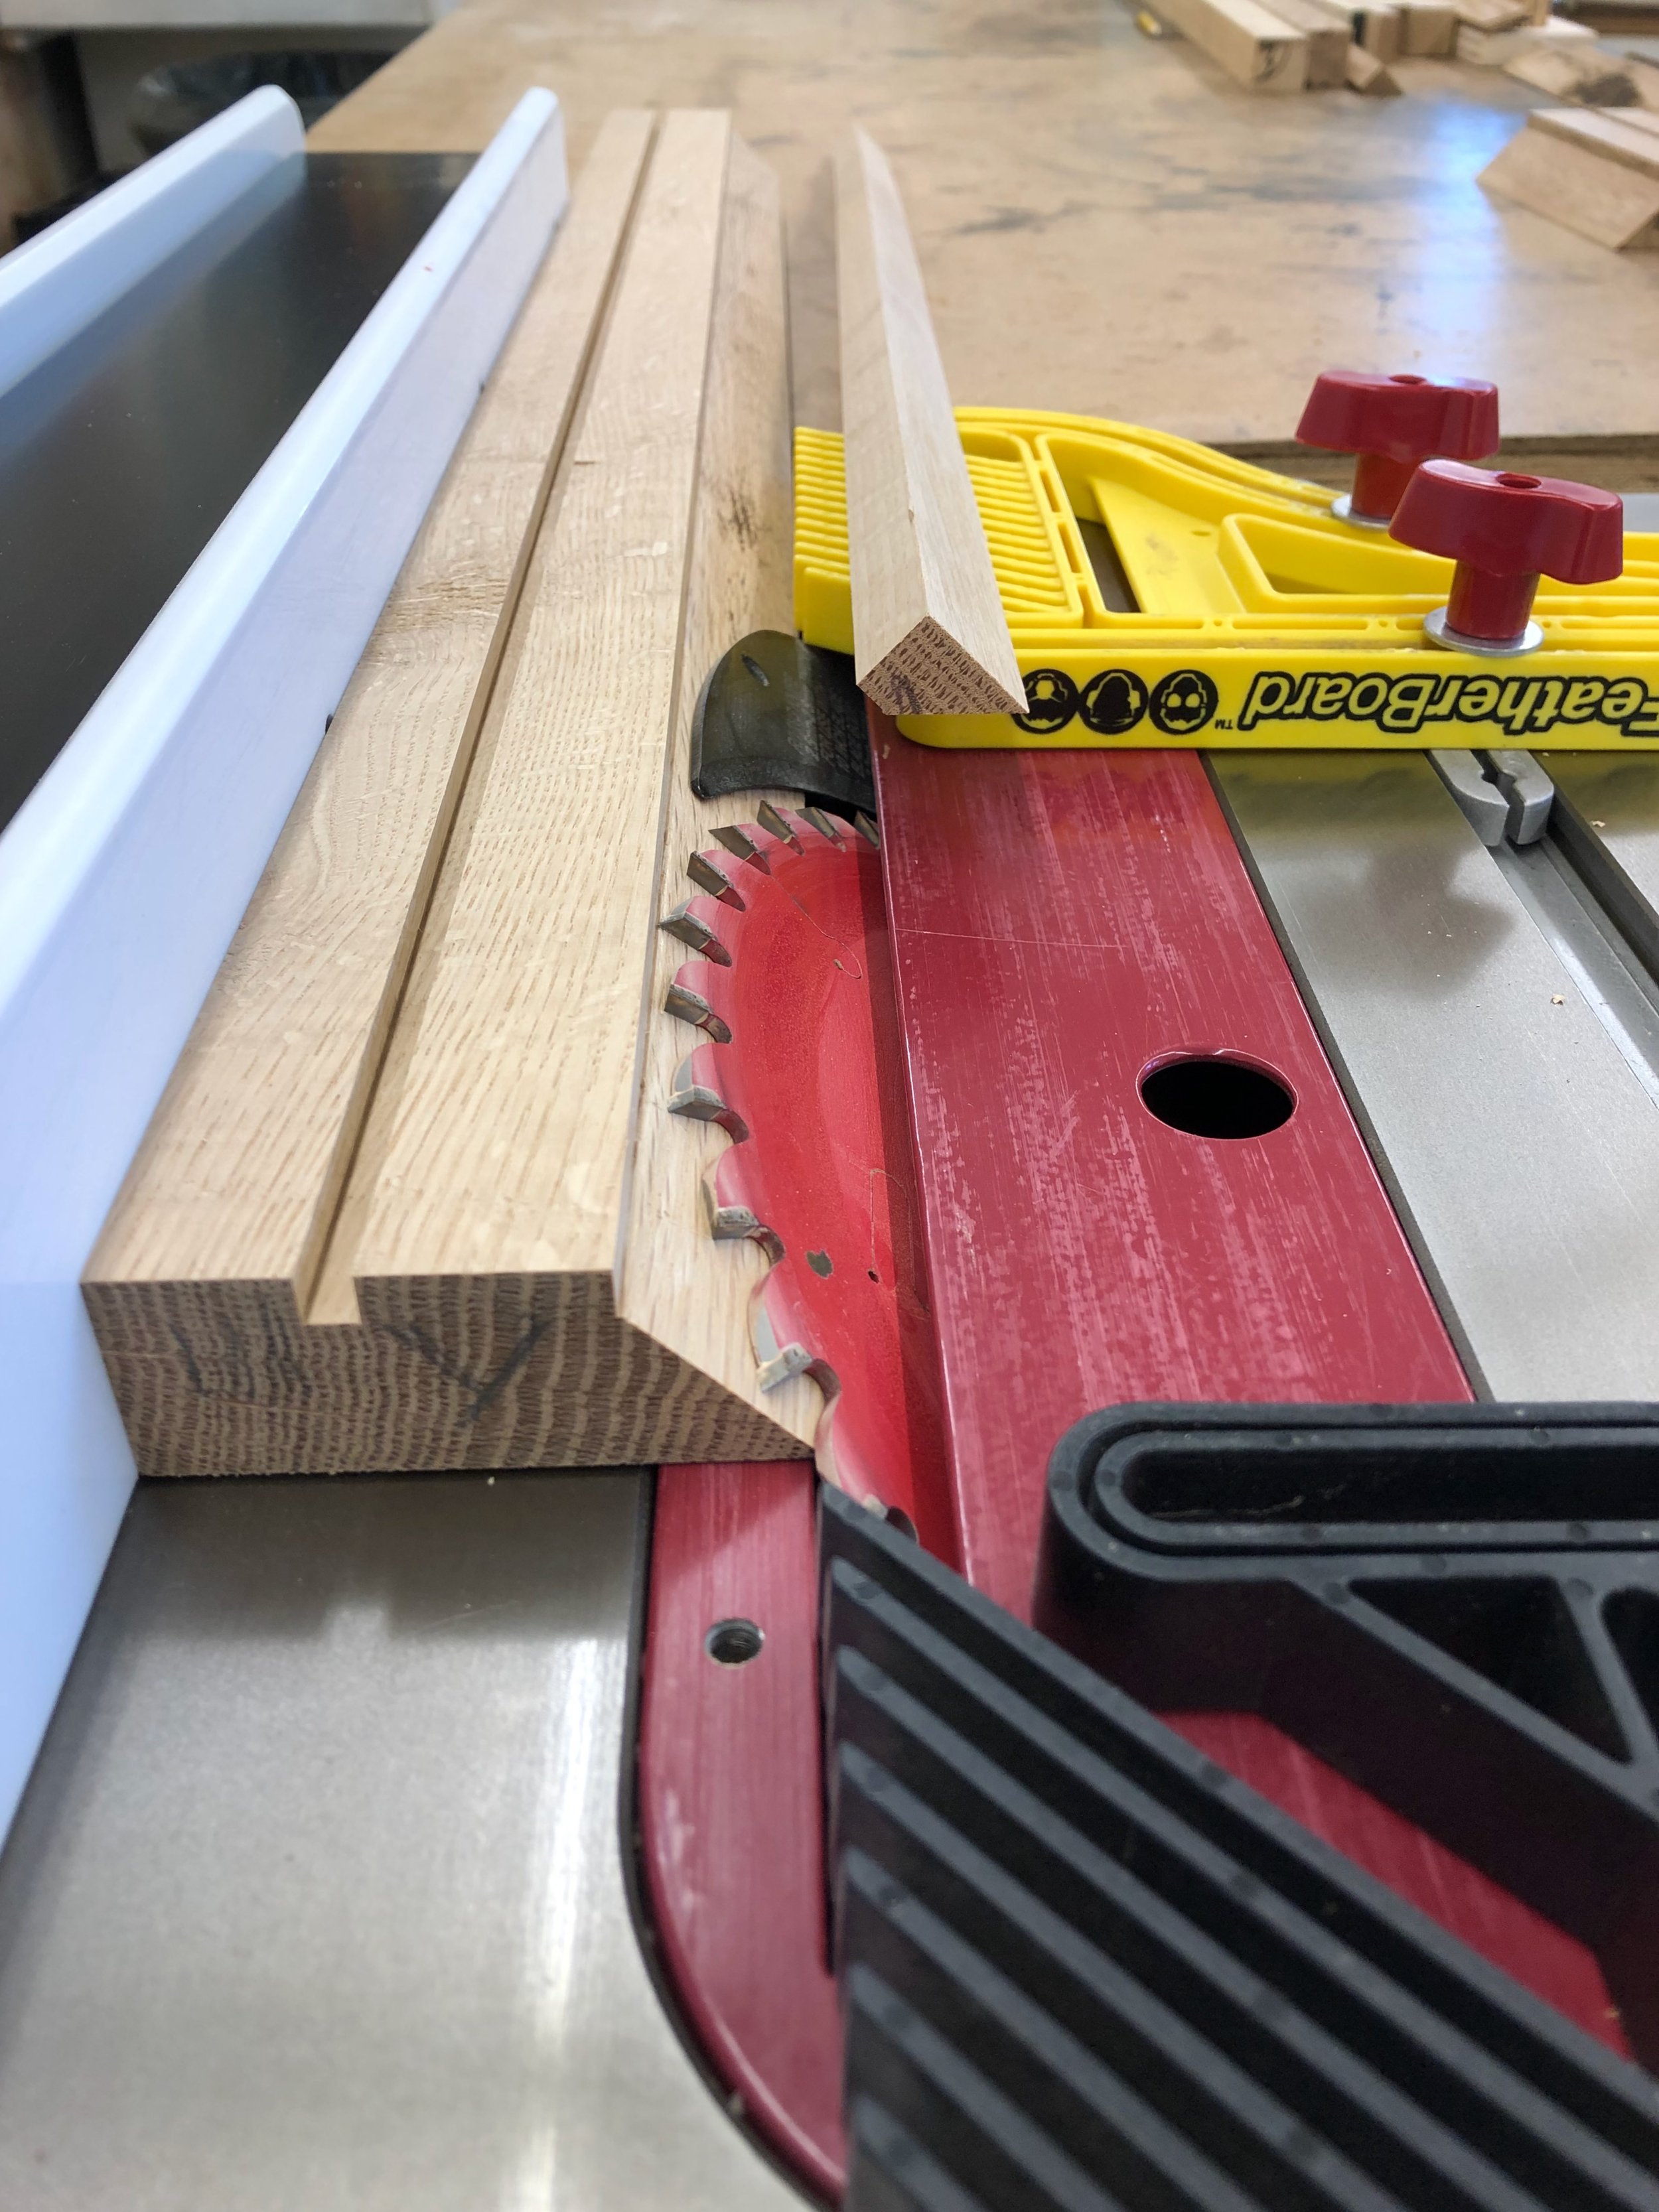
Making these so-called “quadralinear” legs begins by jointing the 5/4 rough boards square, thickness planning to 1 1/8 in. and then ripping to 3 in. widths and finally chopping to 30 in. lengths. To shape the joint, some modern day woodworkers have adopted special router bits, but I wanted to match the L. & J.G. parts. I do not have a shaper like they would have used, but Lang describes a method to make this exact leg with 4 cuts (per board) at the table saw. Details of this process are given in the Great Book, referenced above. Briefly, one creates two shallow grooves along the inside face of each leg board using a dado blade and then the portions exterior to the grooves are removed with a conventional table saw blade angled at 45 degrees. All four cuts are unique and it takes a bit of futzing to get it right. To keep things uniform it is best to make each cut 16-times in succession (i.e., once per board), and then set-up the fence/blade to make the next 16 cuts, etc. Sixty-four cuts later, all leg parts should be identical to one another and hopefully correct. Of course, you won’t know how correct until you’ve completed the 49th cut and by then you might as well just keep on cutting. I’ll use the pictures below to walk you through it.

Step 1.
Planning the cuts with a marked reference board. (Note: the 45 degree cuts meet the groove edges at different corners)
Step 2.
Cut two 1/4 in. x 1/4 in. grooves on the undersides.
Step 3.
Make the initial angle cut with “show face” down and fence to the left of the left-tilting blade (re-enacted).

Step 4.
Make the final cut using a home made jig to stabilize the piece; “show face” up, fence on the right. (off-cut removed for clarity)

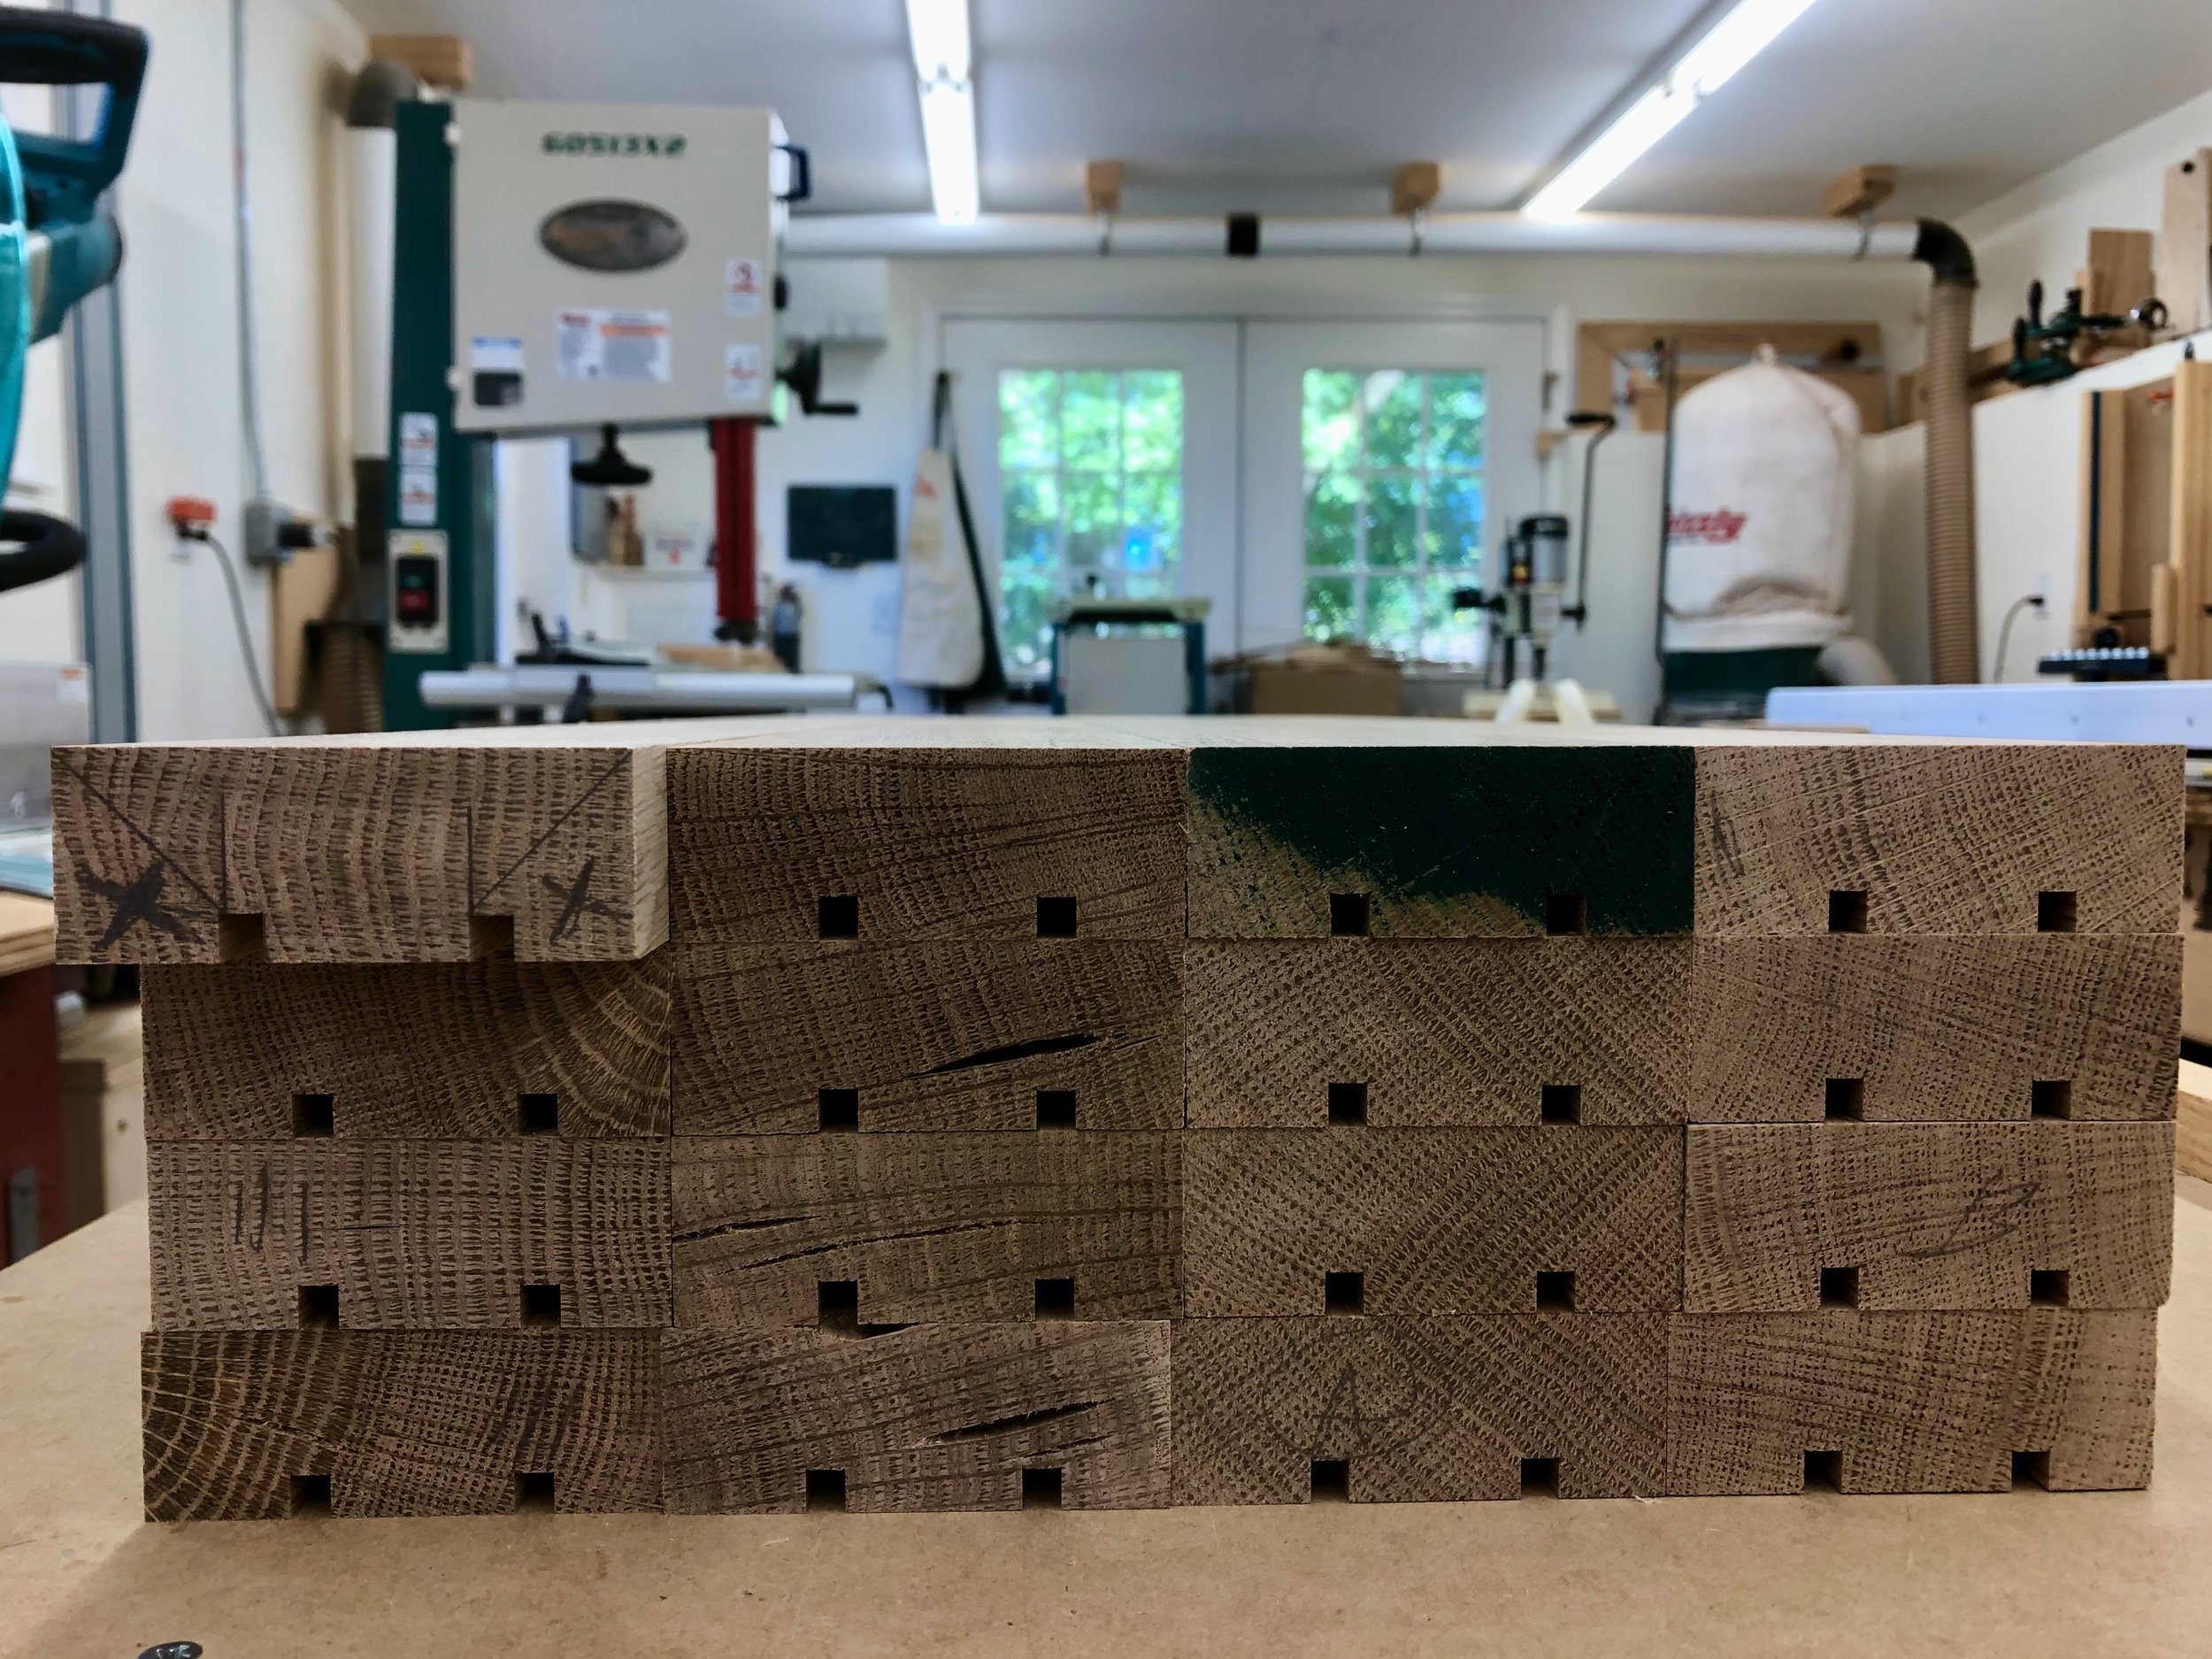
Milled leg parts ready for glue-up.
It took half of a day to complete but went rather smoothly. I think the home made jig, invented to shepherd the boards through their final cut, was key. During this operation the piece has a chance to wobble while riding the table on a narrow central spine and with only a thin mitered edge touching the fence. The flat surfaces of the jig riding against the fence ensure that the piece is cut nice and straight (while also keeping your hands clear of the action). The corner seams of the dry-fit legs are still not perfect, each leg exhibiting one or two thin gaps down their length, but I think when glued-up and sanded down they will look just fine. Before the glue-up I wanted to make some square “rods” to fill the central cavity within the legs. I found it was a simple task to glue together two of the triangular shaped off-cuts from step 4. to form a square-ish piece of exact length that could then be trimmed to 3/4 x 3/4 in. size on the table saw. These were tucked into the voids during the glue-up which went smoothly using F-clamps. I would need to blunt the sharp edges and fill some hairline cracks at the seams but this would best be done closer to the finishing steps.
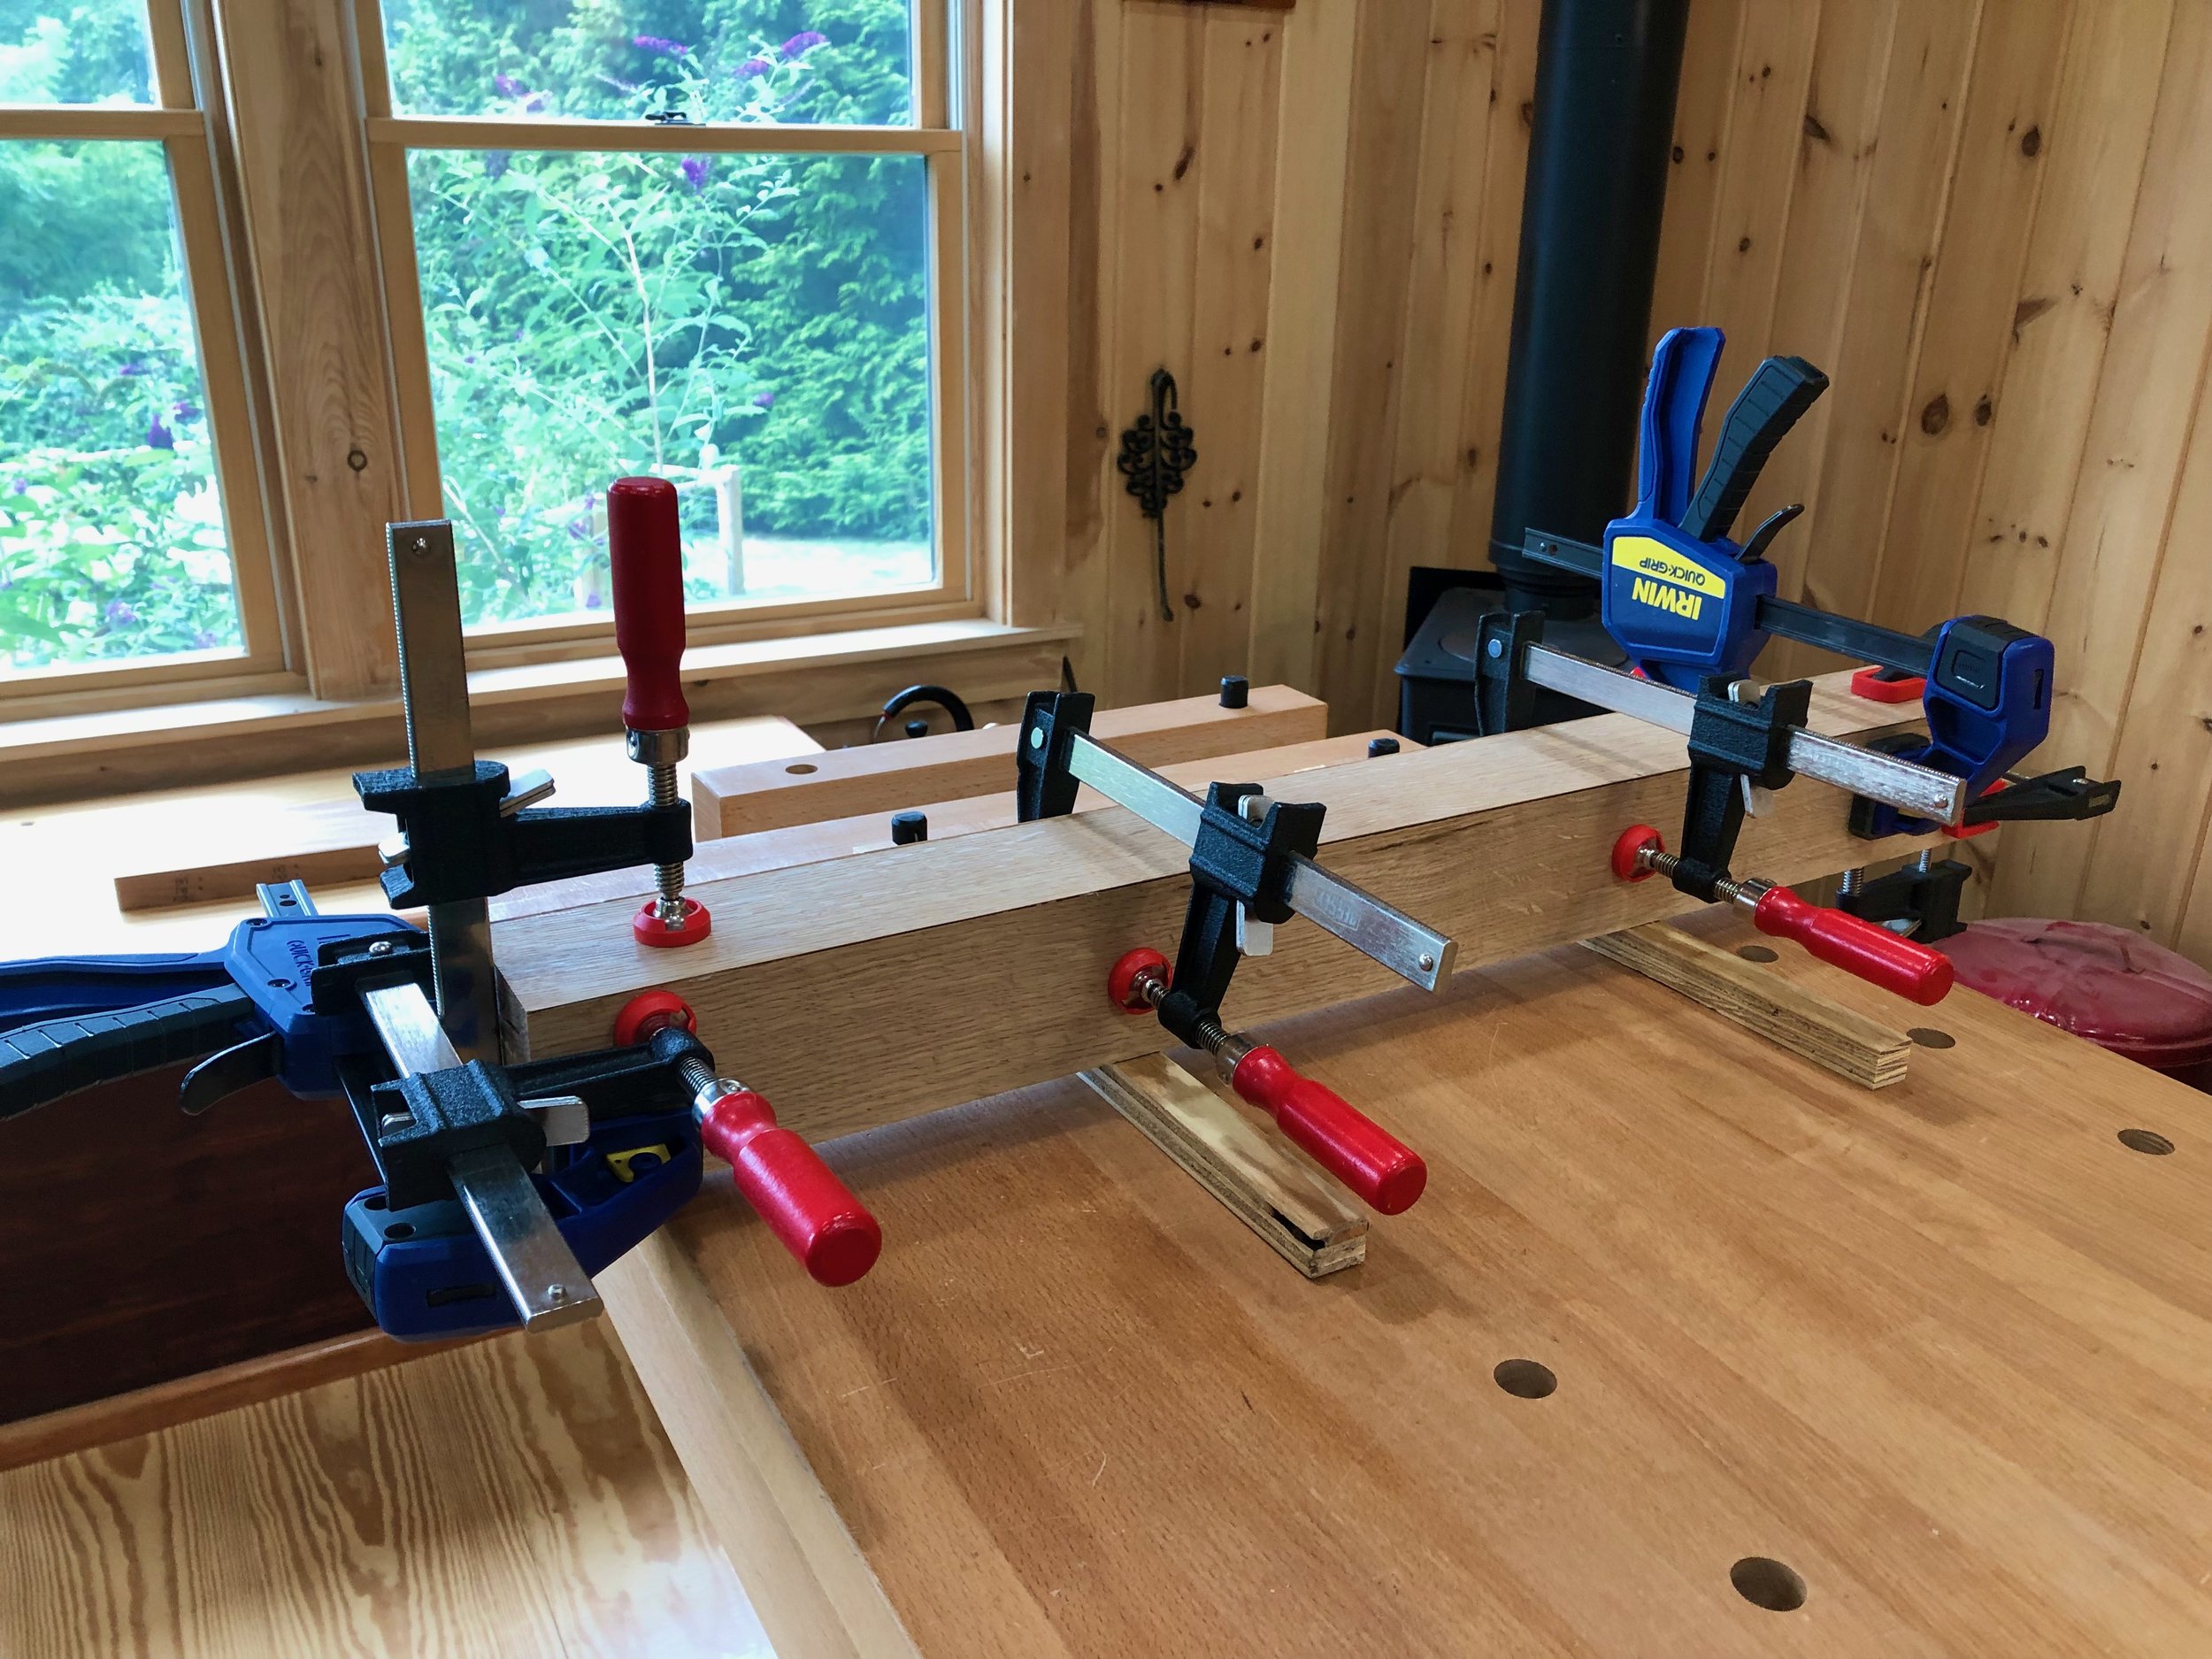
5 boards make 1 leg.
Next, the legs were trimmed to their final length at the miter saw and then a positional assignment was given to each member (i.e., Left/Front, etc). The bottom rails, panel frames and corbels all need their joint sockets cut-out at this point. The cut patterns come in pairs (2 front and 2 back) but since those on the left are the mirror image of those on the right, all four posts are distinct and care must be exercised not to make an errant cut along the way. Prior to the shop work, I took the time to sketch each leg face on paper, indicating the cut positions and dimensions with the hope that this exercise, replete with erasures, would help things go smoother in the event.
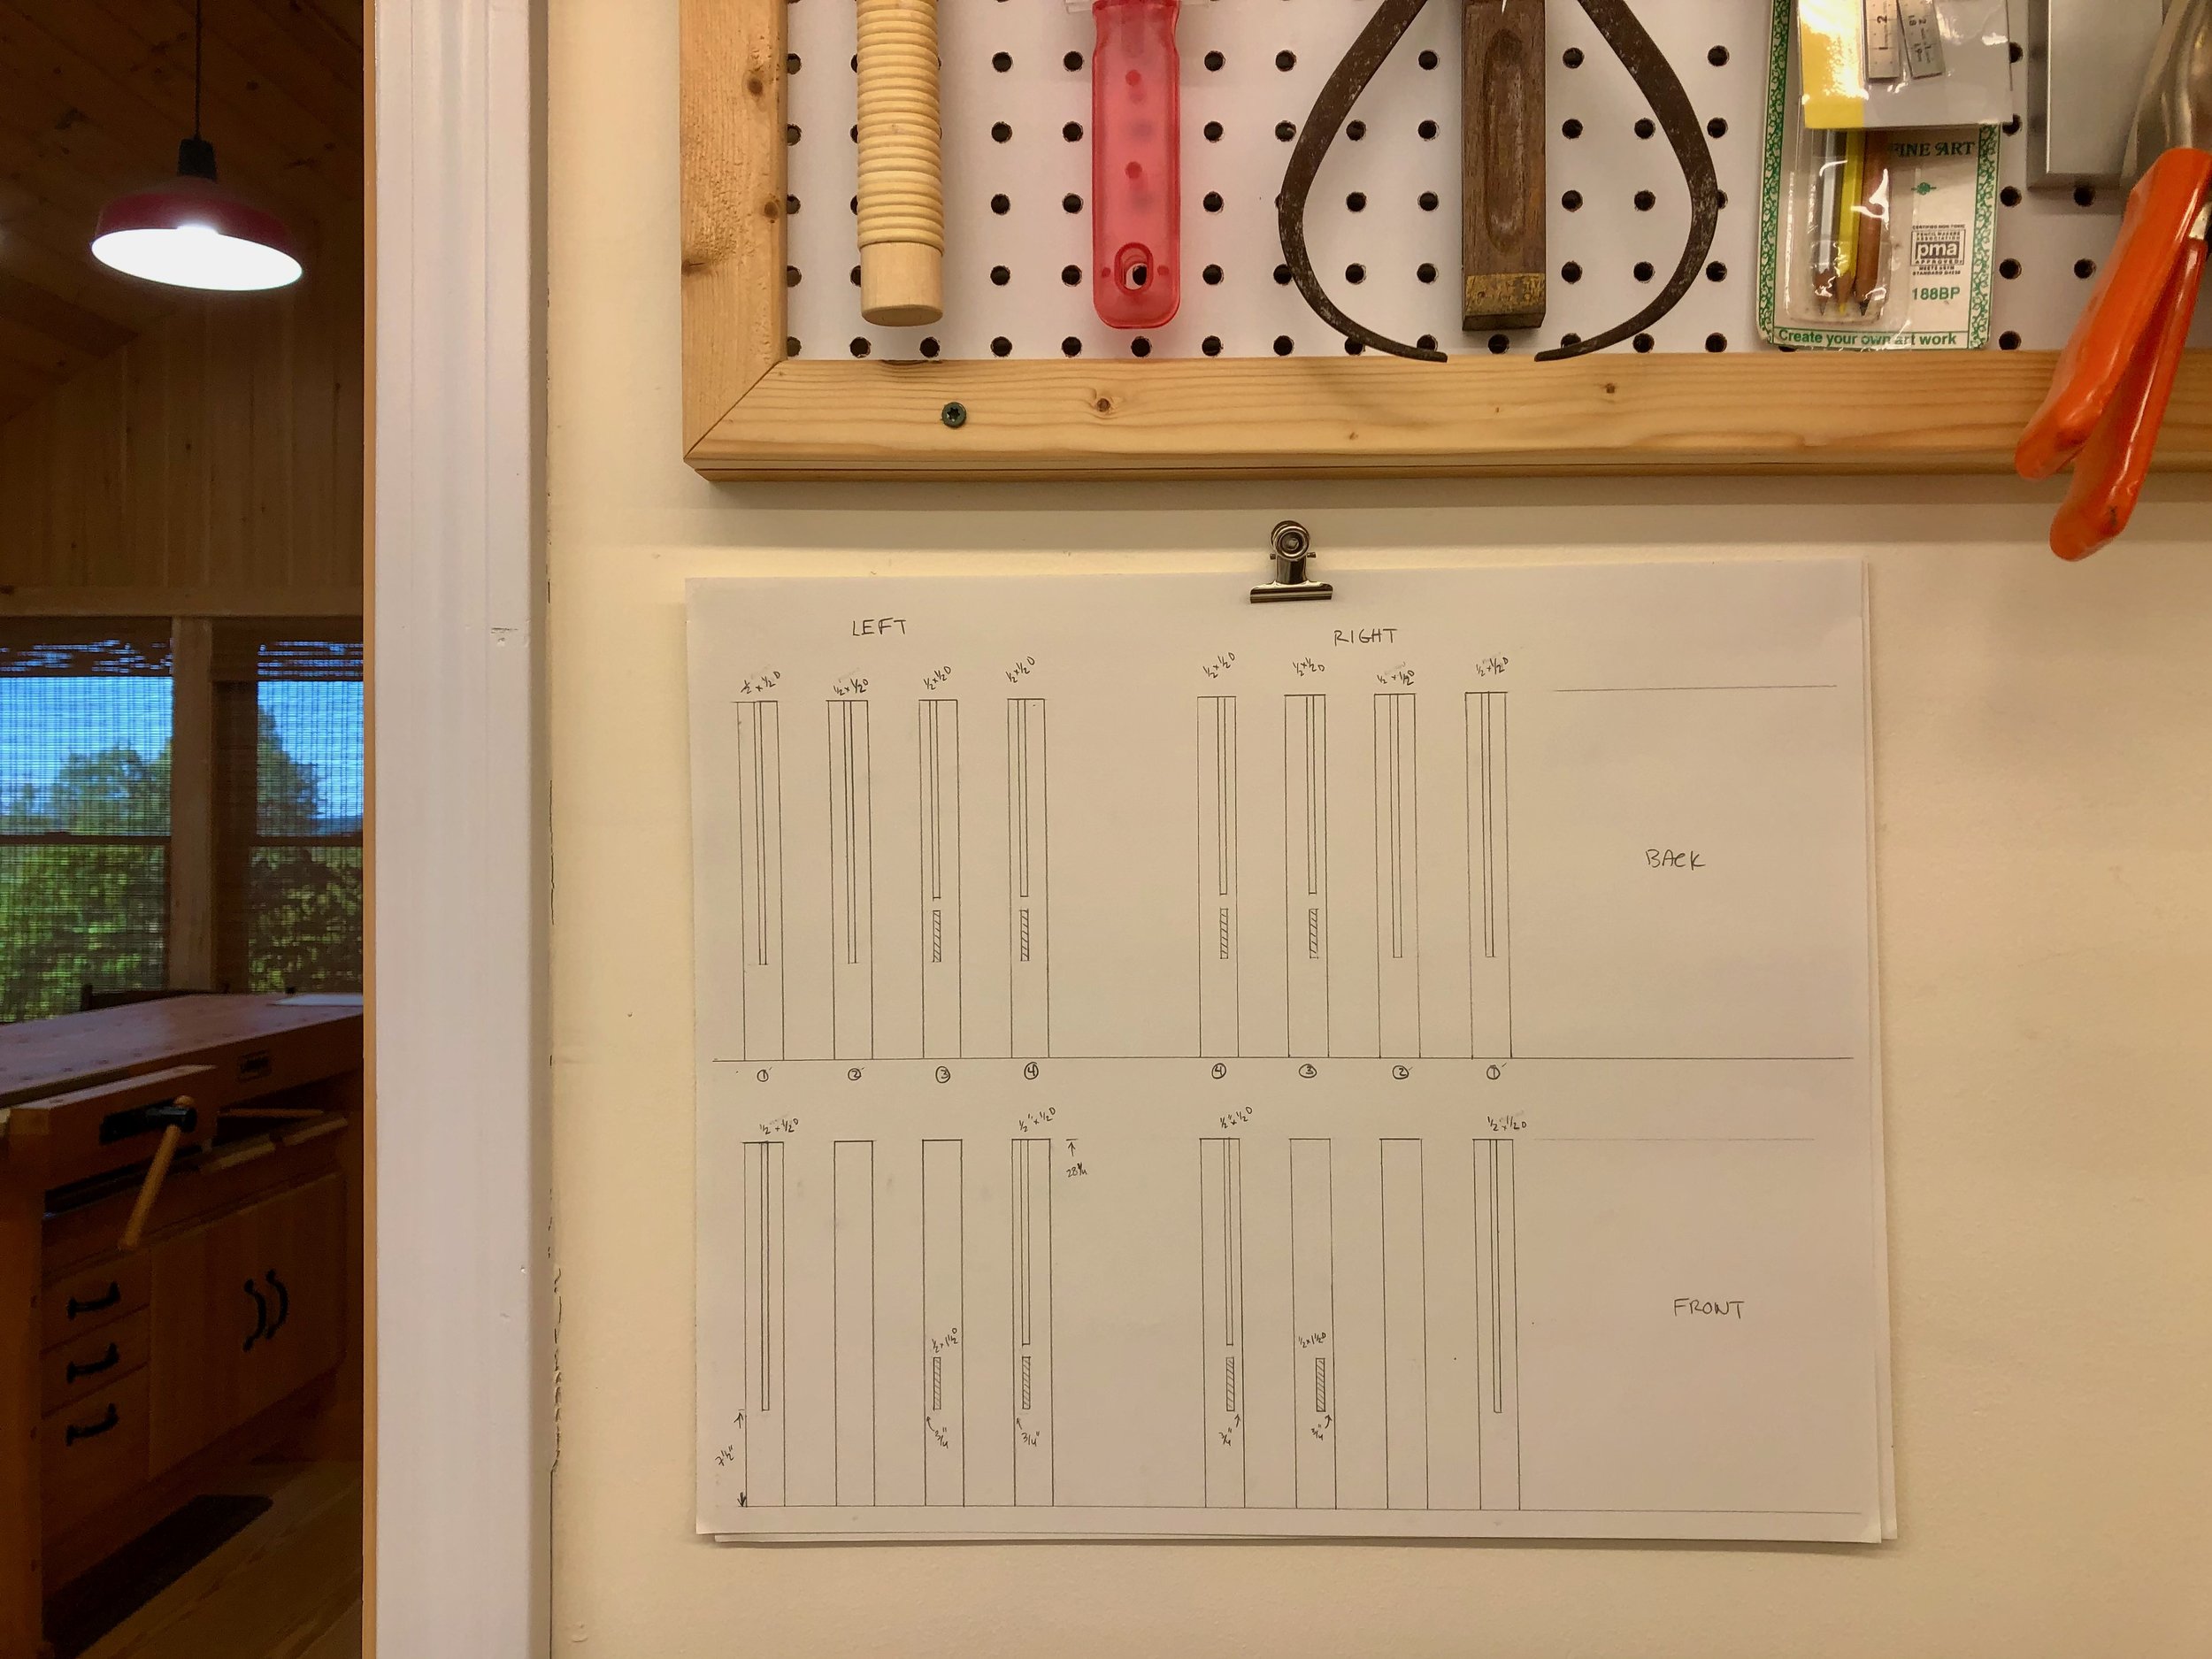
Mortice pattern hung in the workshop for quick reference
The various cuts were then marked-out in pencil on the leg pieces and the cutting was done at the mortiser and router table. Straightforward stuff, mostly. The one challenge was to mortice the 1 1/2 inch deep sockets for the front and back rails. That’s a lot of oak (read: work) for my machine so I removed some of the volume beforehand at the drill press and it made things go a lot easier. As a final step, the cavities were cleaned-up with a chisel. Their exact dimensions would be used in the next step to fashion tenons on the rails, stiles and corbels. So far, so good.

No. 220 legs