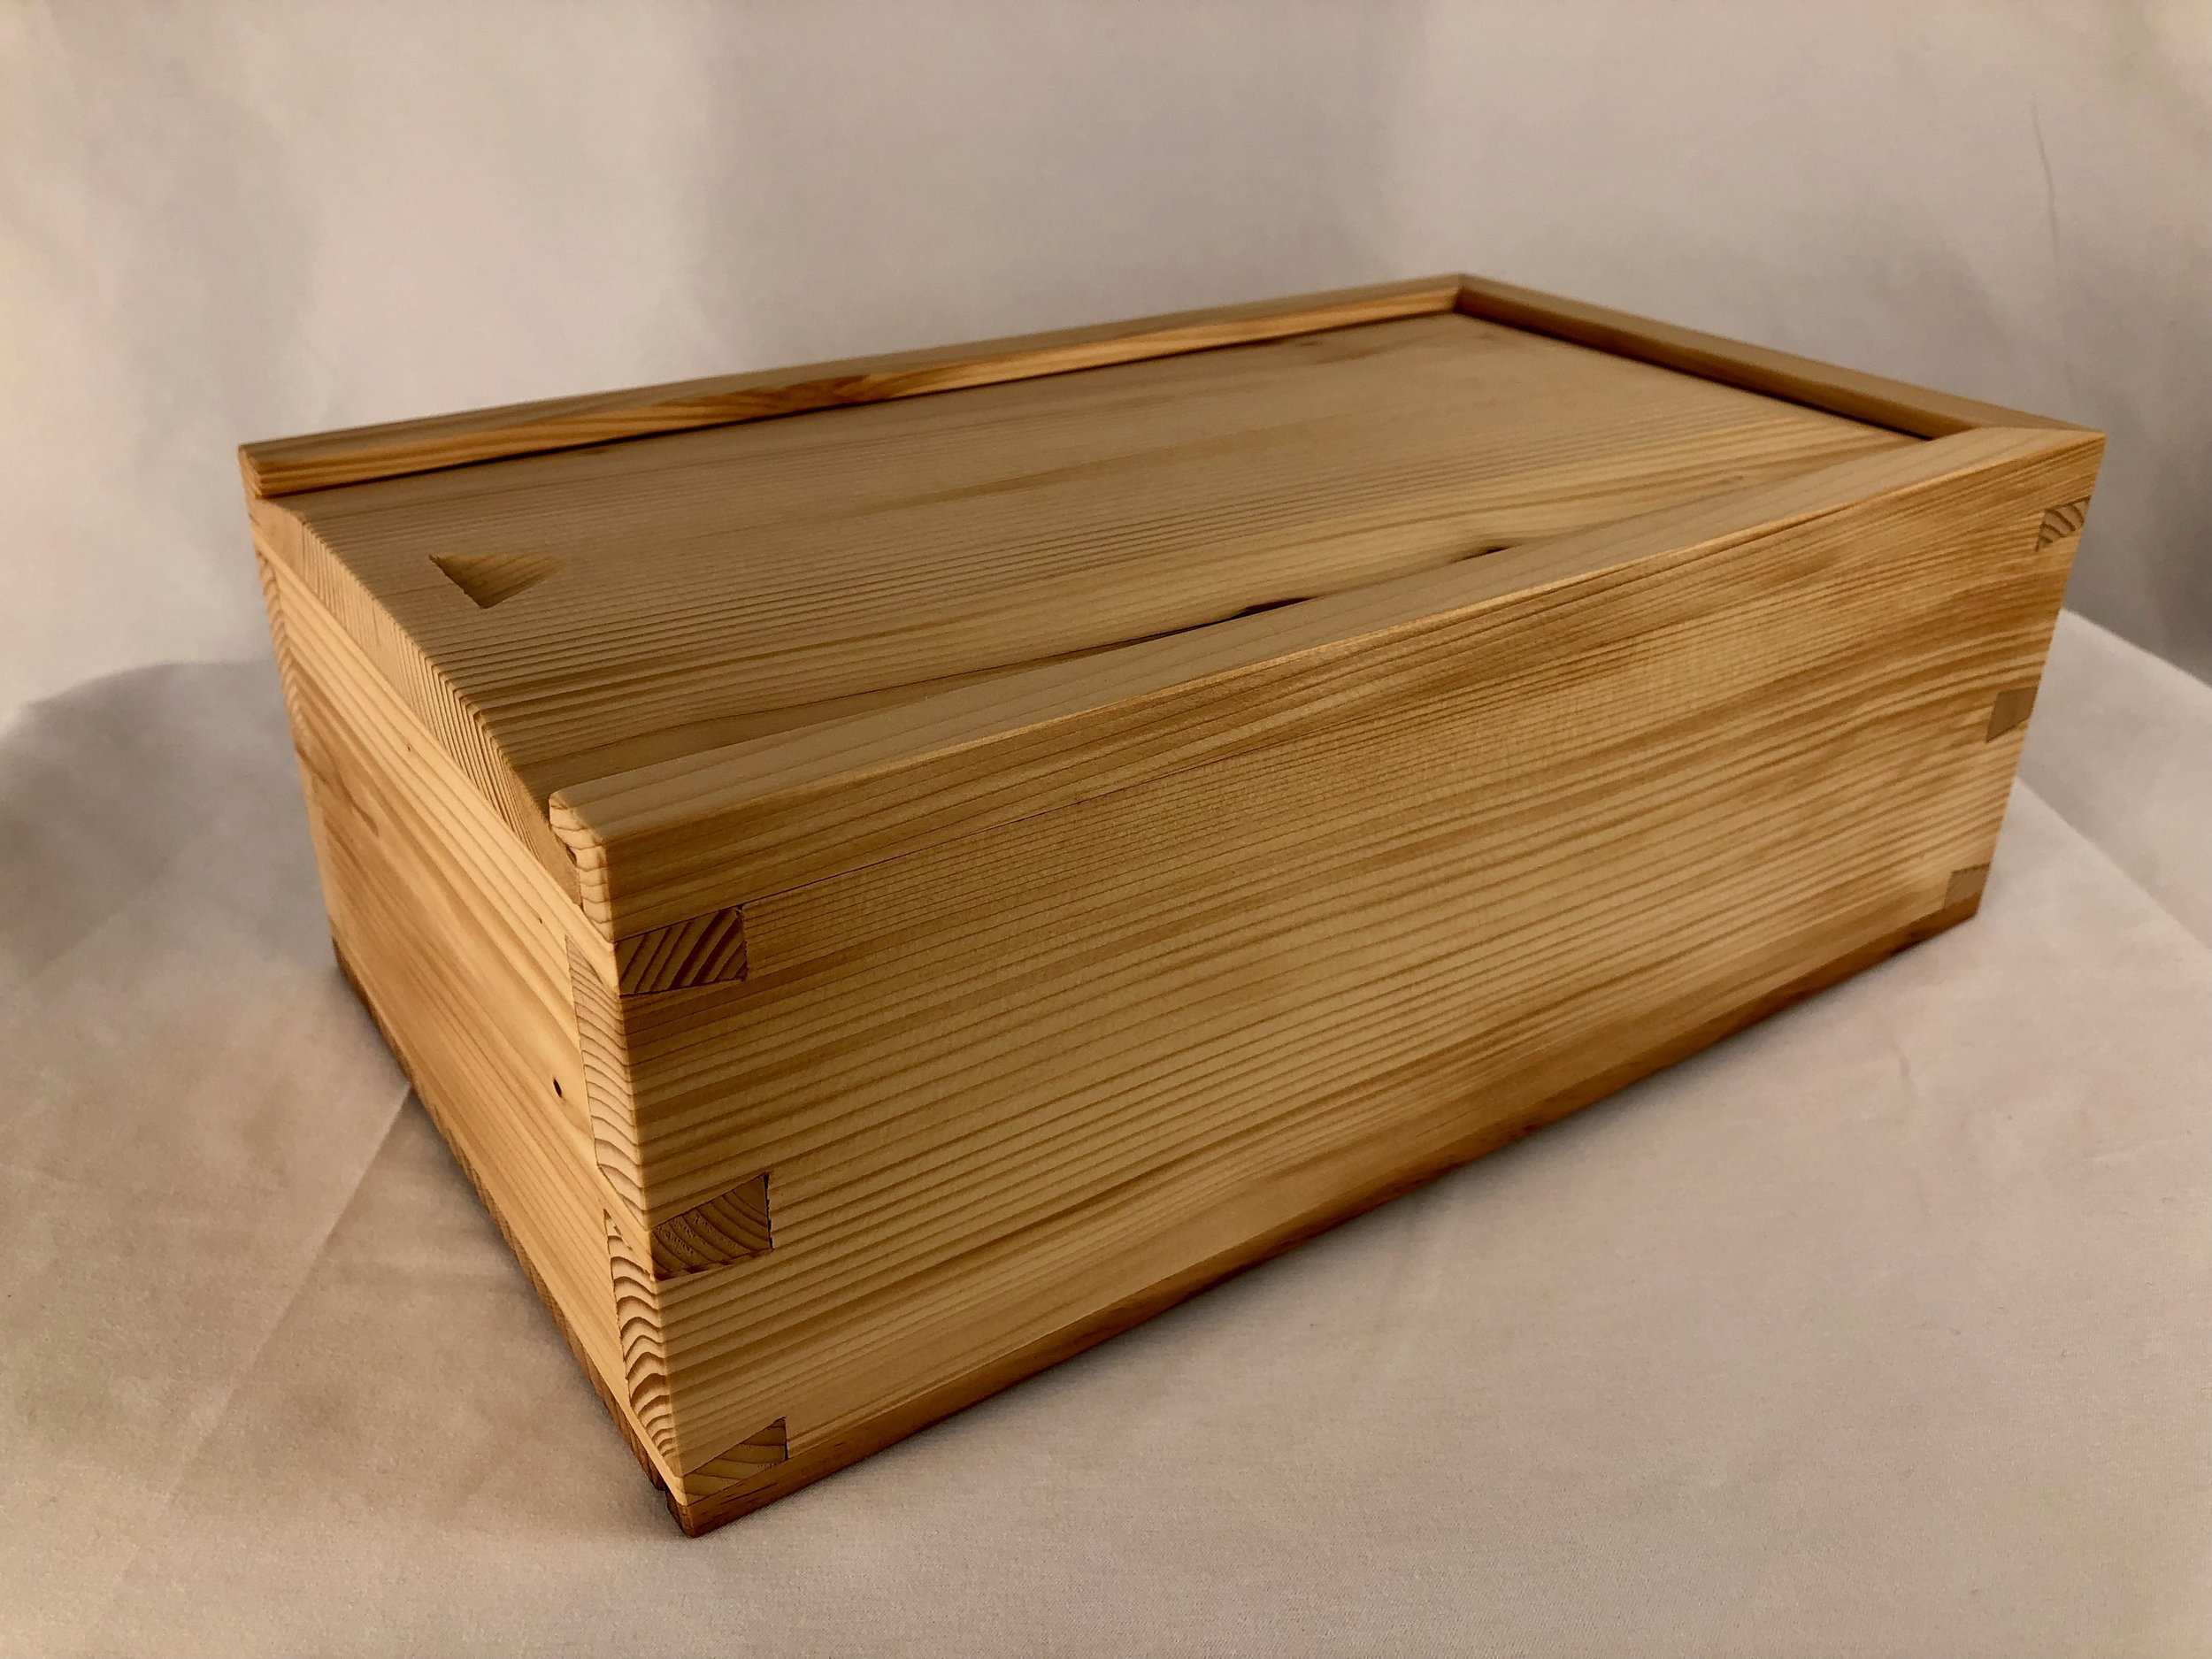
The Candle Box
Some very old and dear friends of ours just purchased a very old home (the oldest, actually) in a very dear little town just outside of Boston. You think we’d be glad, and we were. However, this happy event presented us with a quandary: what to bring as a housewarming gift to a house that’s been “warming” for 275 years? Something solid, sturdy and timeless of course, but avoiding actual furniture yet staying within the bounds of a household accessory, what serves? From the title of this post you already know the solution but please read on.
It is hard for modern Americans to imagine life during Colonial times, when the original portion of this house was built, but it would do us all some good to try. Contemplating history helps to put today’s troubles in perspective and can even evoke pride in our ability to solve problems and overcome hardship. One of my favorite authors, Matt Ridley (biologist, journalist, viscount and former member of the House of Lords), published an interesting book a few years back called The Rational Optimist: How Prosperity Evolves. It is worth a read (and re-read) whenever you feel the need for a dose of perspective. On page 20 Ridley touches on the subject of lighting, specifically how much better we have it today than in times past. Comparing the tallow candles of 1800 to the compact fluorescent bulbs of 2010 and using average working wages for those periods he computes that one hour’s worth of reading light in 2010 costs 1/2 second of labor, whereas this would have required over 6 hours of work in that earlier time. Think about that. And since that comparison was made we’ve moved on to even more efficient LED bulbs. Prosperity evolves! Despite life’s ever present travails we need to appreciate how easy the act of living has become, and smile more often.
Where is this heading? Well we now understand how valuable candles were during Colonial times. In the days before paraffin, candles were generally made from a matter called “tallow” (hard fat) obtained from cattle and sheep, and a lot of effort was expended between pasture and parlor to create the one-and-only appliance that allowed us to see after dark. Once purchased (or made at home) candles needed to be both conserved and preserved. To make them last, they were continually snuffed out and relit, or carried from room to room. And to keep them from being devoured by house mice when not in use they were stored in wooden boxes. Aha!, the candle box.
Design
Candle boxes go back a long way and over time their form had differentiated to serve two distinct functions: 1. long boxes to store brand new tapers; 2. short boxes to store the mostly used but recyclable “stubs”. The simplest examples operate without hinge or hardware, using a sliding top to gain access to the contents inside. That’s the design we will use. Joinery was generally done by dovetails on the corners and the use of either pegs or nails to secure the bottom. This box will be patterned off of a design from a recent library book sale find, Country Pine by Bill Hylton. The dimensions used fall midway between the long and short boxes described therein and were dictated by constraints in the starting material (see below).
Materials
Like the originals, this box will be made out of pine. Specifically, old white pine that I had purchased a few year’s back from a guy named Craig on craigslist. Craig lives in Maine and buys centuries-old, dilapidated buildings there. He then carefully dismantles these structures and resells the wooden parts to people like me. In my “old wood” collection I found a 7 foot long tongue and groove panel and a piece of resawn barn timber that should serve our purpose, nicely. The panel contains nail holed introns spaced 16 inches apart, but good wood could be extracted from the exons in between (scientist talk).
Antique pine lumber.
Dimensioning & Assembly
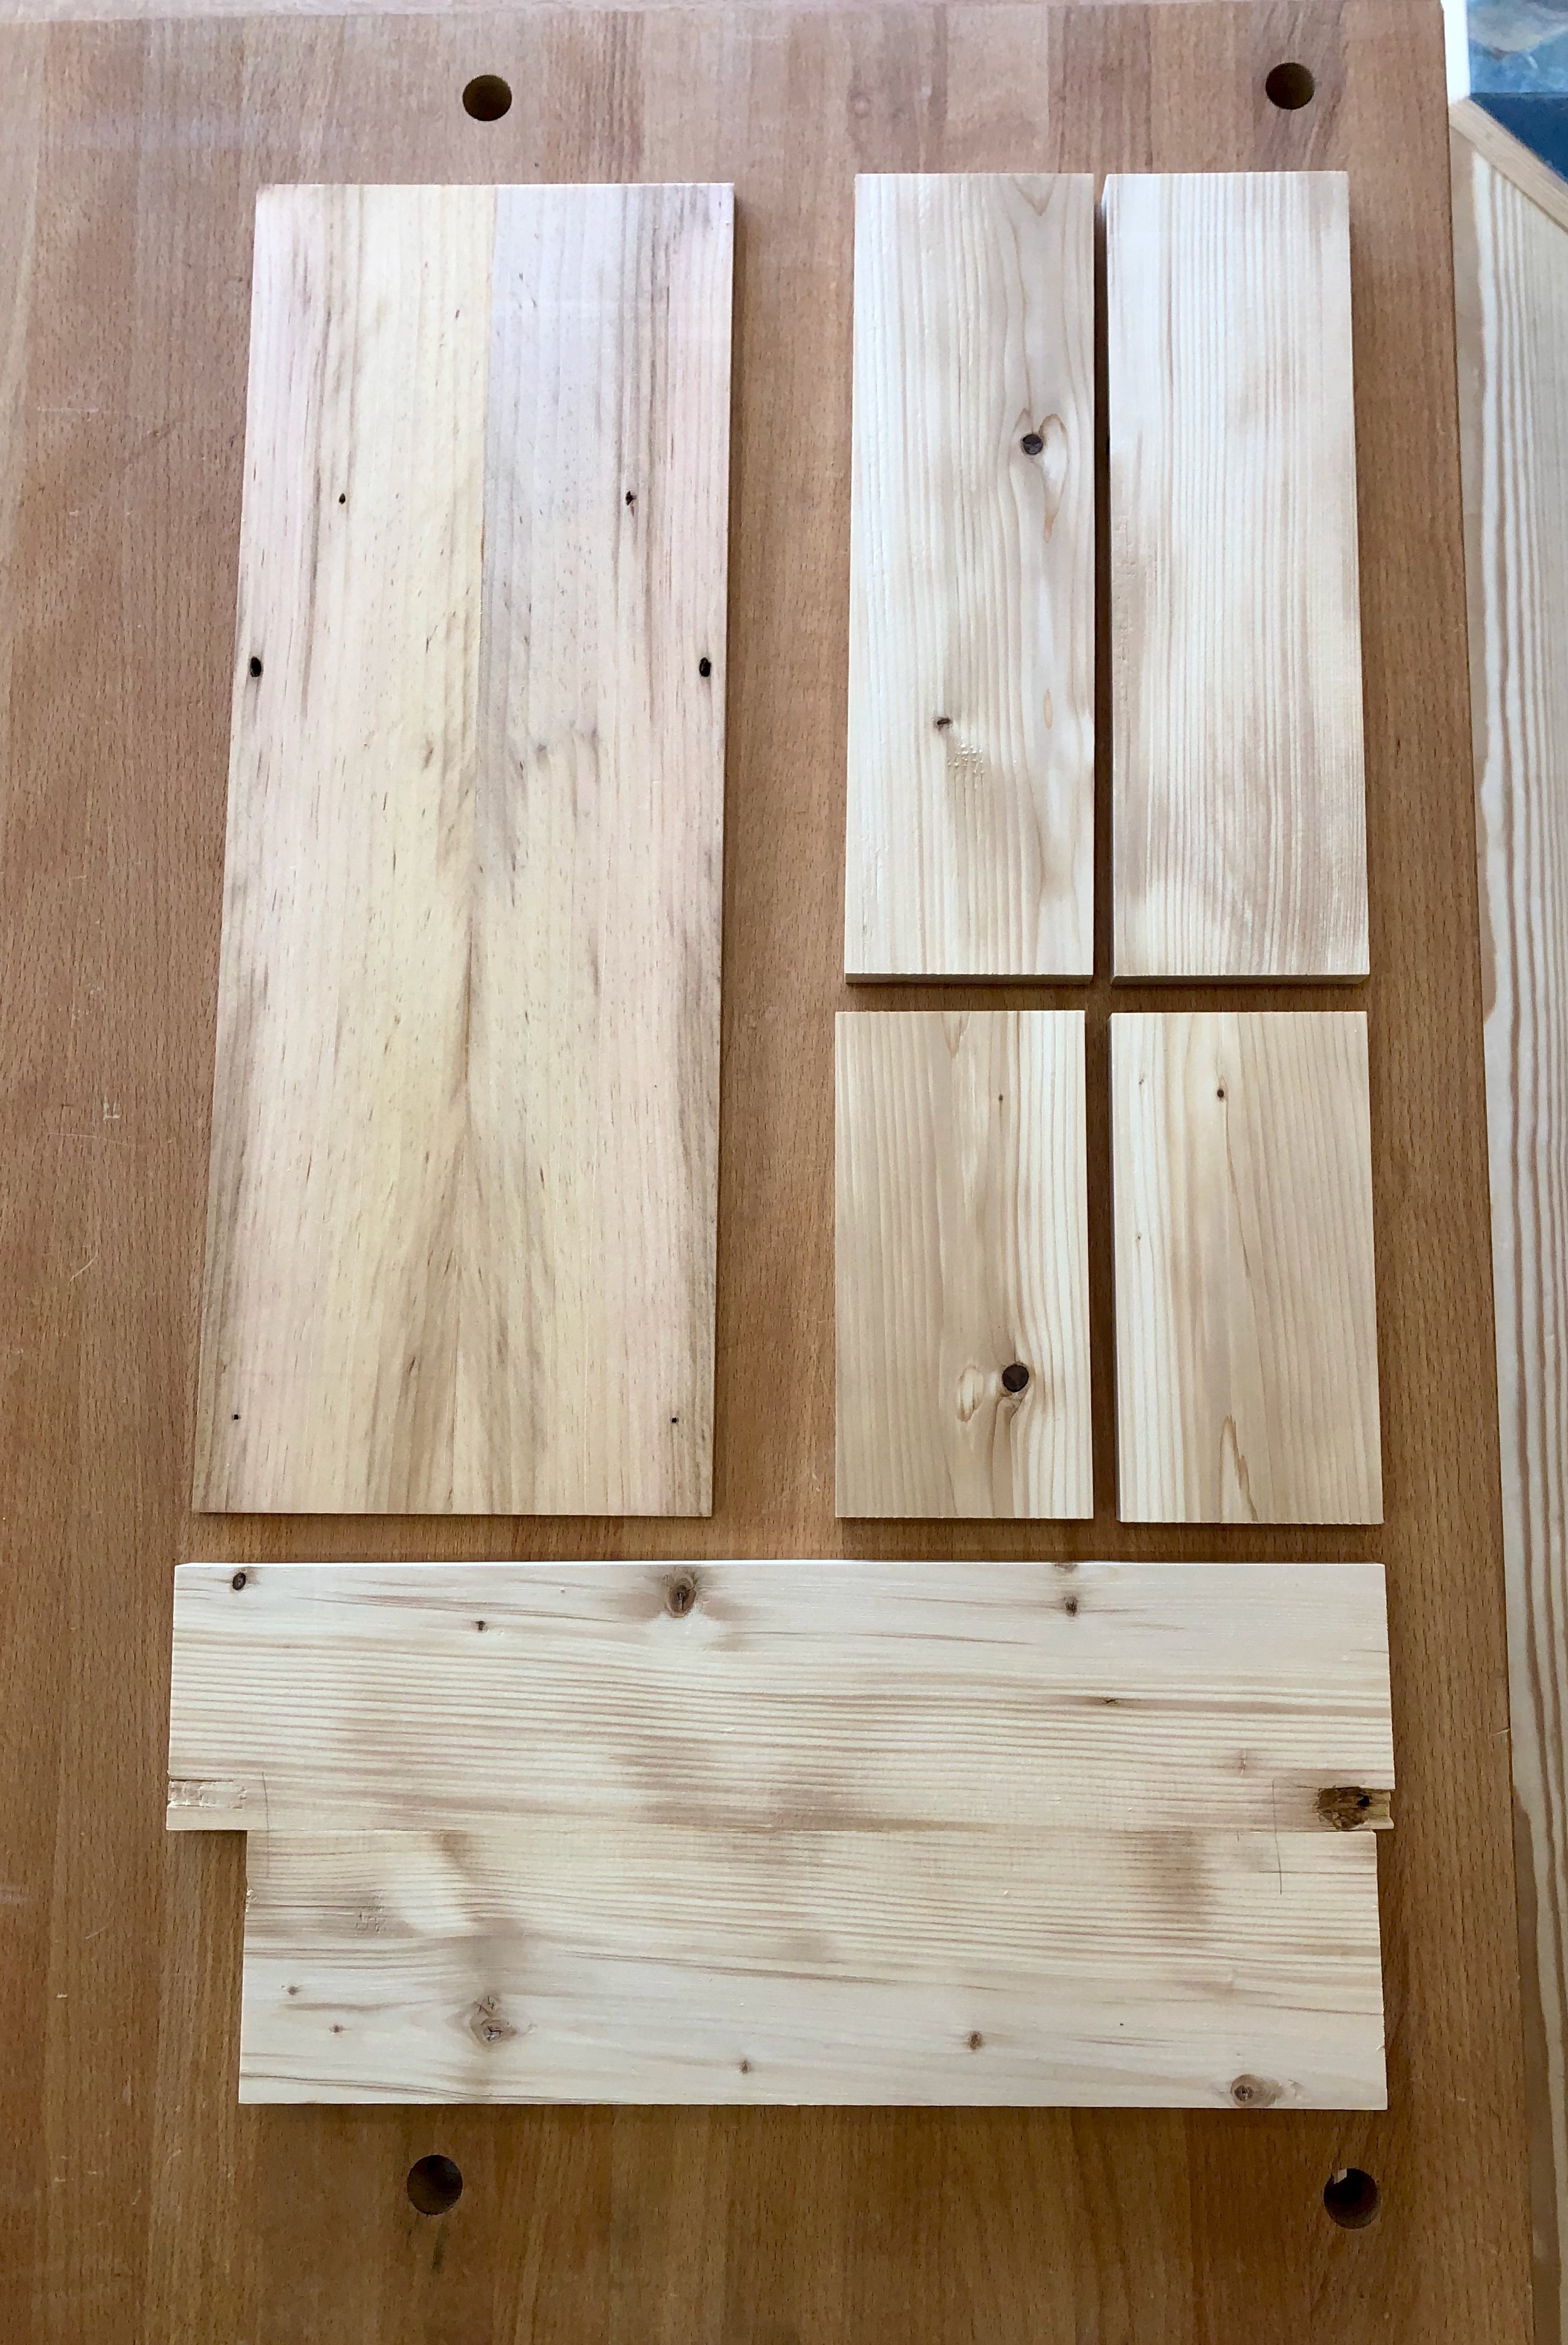
Once it was decided exactly where along the 7 foot plank the box sides, top and bottom would be extracted from, the rest of the wood prep was straightforward: rip the edges to remove the tongue and groove milling; crosscut the sections to remove the nail holes; joint two edges flat & square; rip to exact widths; thickness plane to 5/8 in. (sides), 1/2 in. (lid), 1/4 in. (bottom); and then crosscut to exact lengths. It’s a sequence that varies little from project to project, yet never gets old. The lid and bottom pieces would be fashioned from two smaller boards each, first edge-glued to create a wider “board” and then cut to the desired dimensions prior to assembly.
Candle box boards
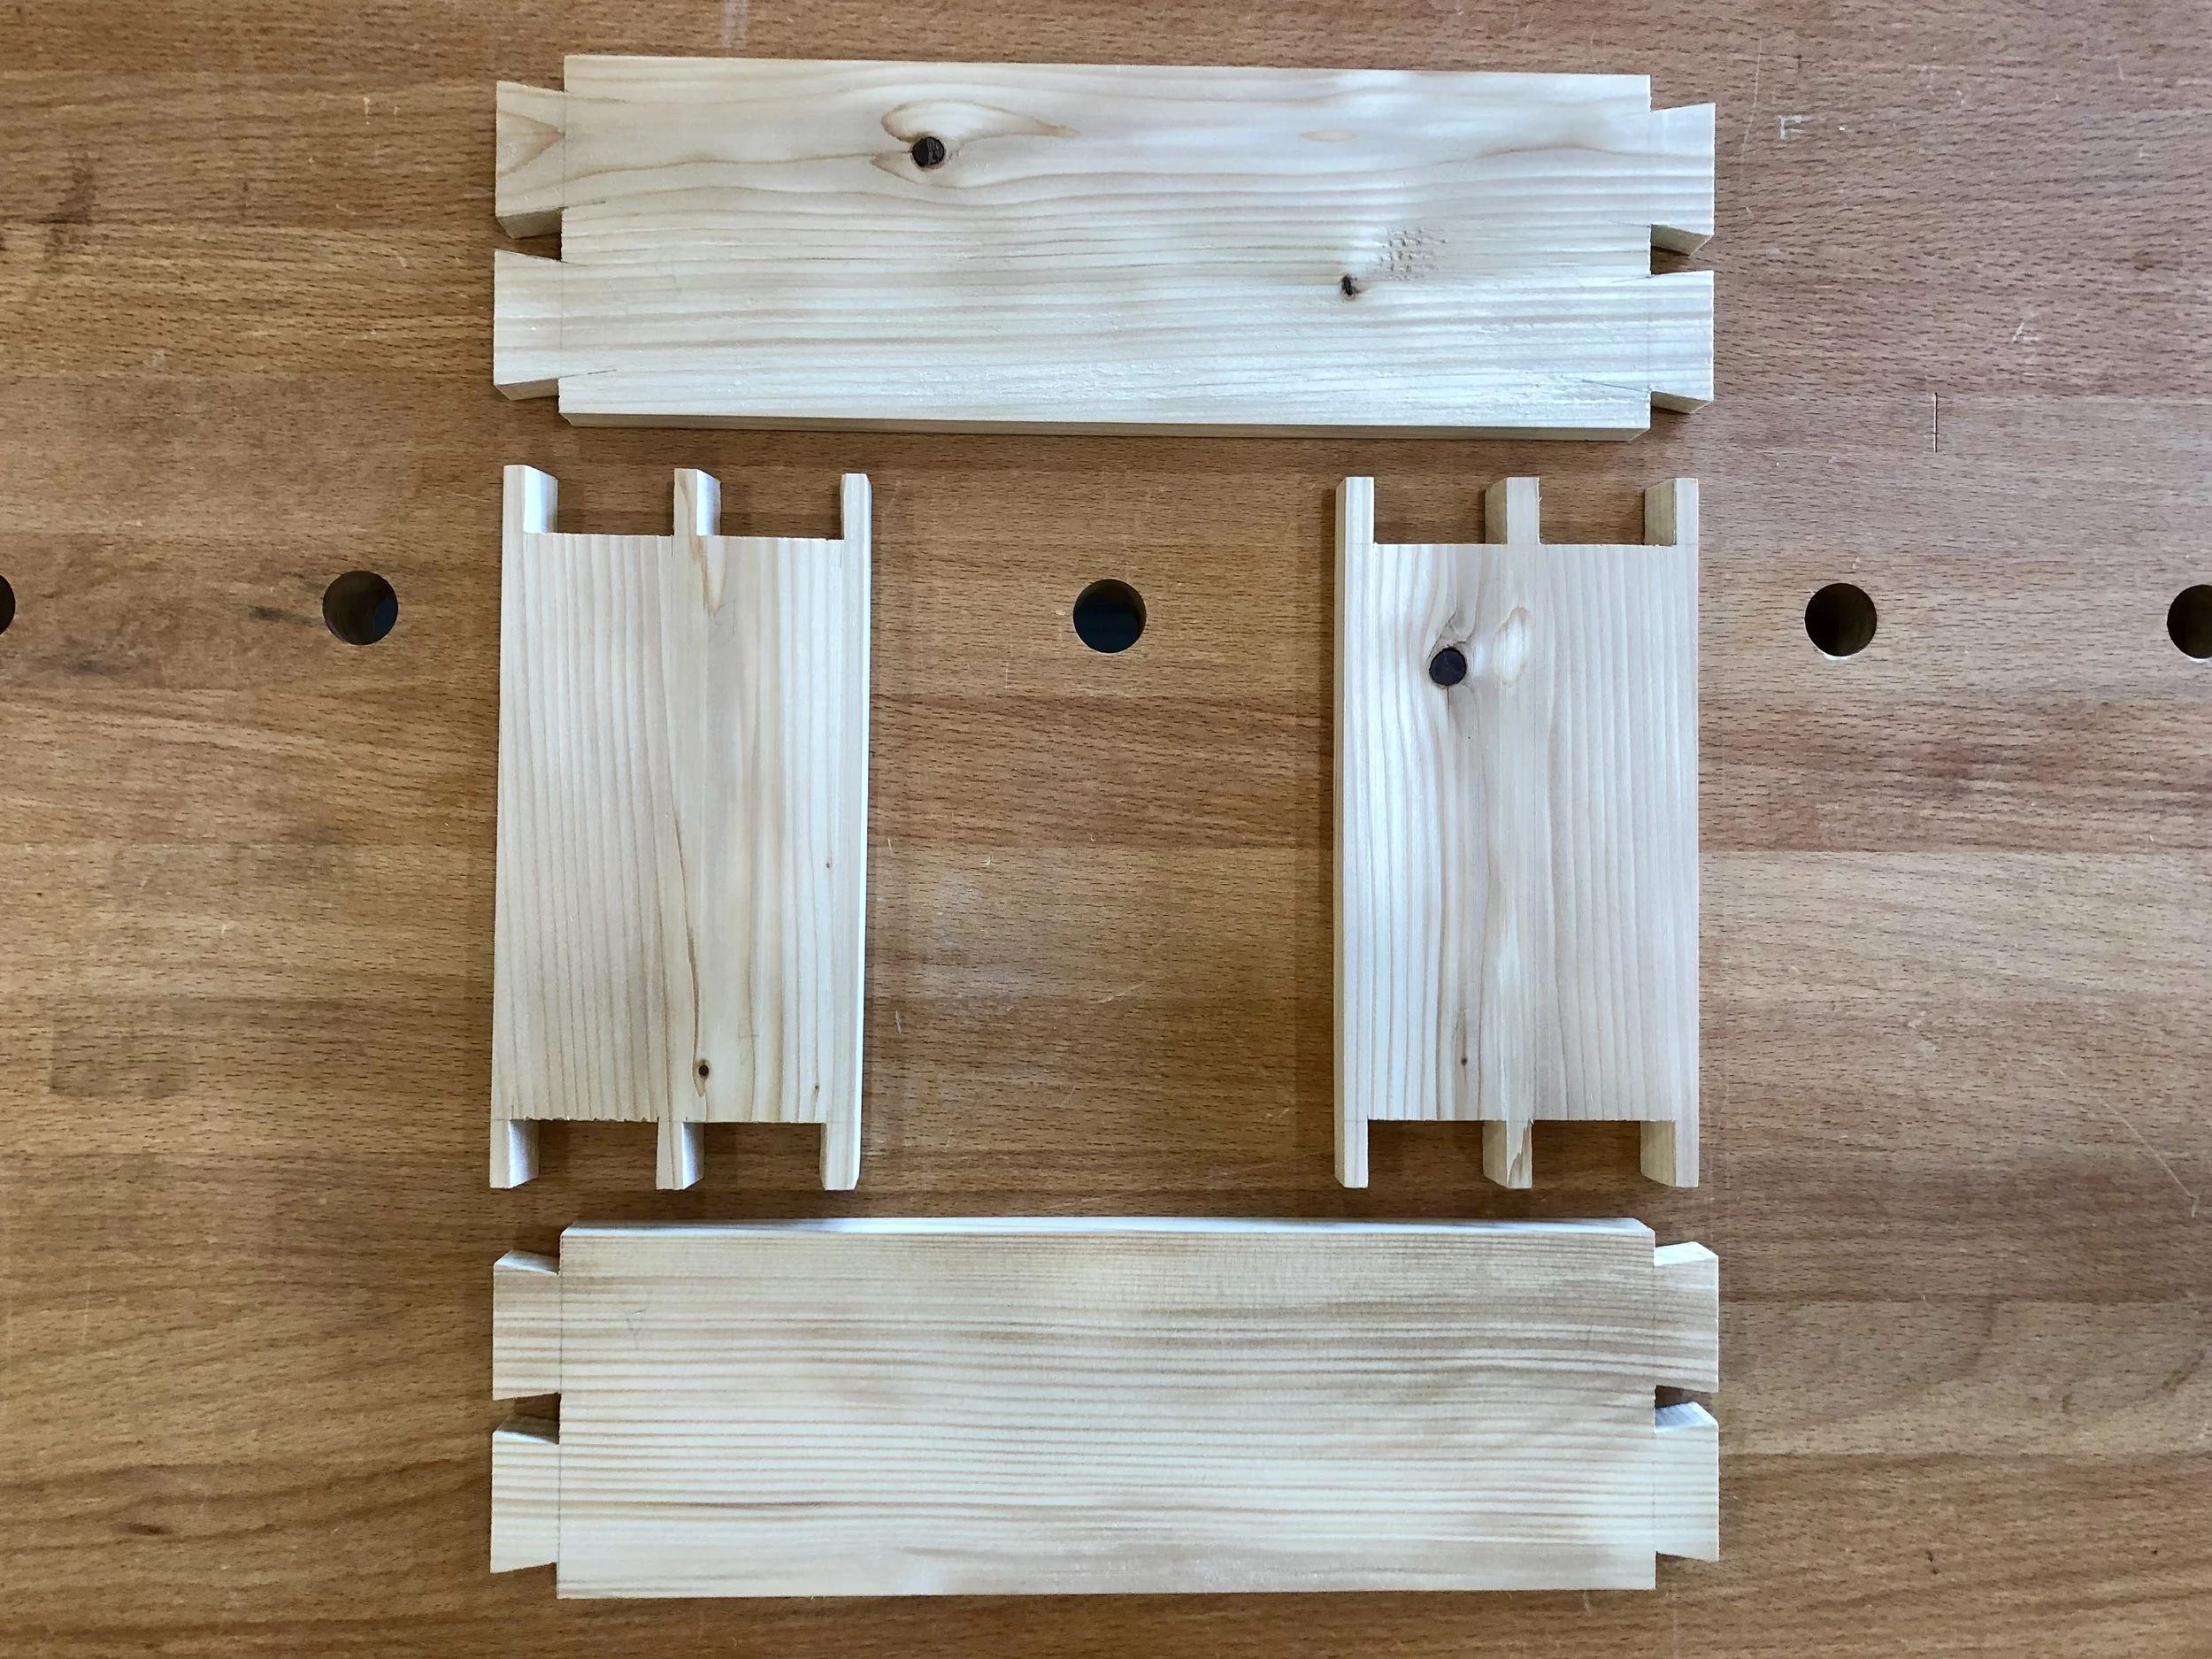
Next comes the fun part, cutting the through dovetail joints. First, a few final design specs needed to be fixed. The box sides are 3 1/2 in. tall and I decided that two dovetails would be used to join this span. The dovetail joint locks the so-called “pin” and “tail” elements together, and the remaining dimensions in play relate to the width of the pin and the angle of the tail. There are some general norms here associated with the era of construction (like men’s neckties, pin widths oscillate in and out of style) and the type of wood (softwoods such as pine call for a larger tail angle than hardwoods) but since there will be minimal stress on these corners it really all comes down to aesthetics. I chose the maximum width of these pins to be 3/8 in., and tails angled at 10 degrees, or a 1:7 pitch. The two long side boards were then marked on each end for the tail elements, clamped together and sawn as one. This was the first time I tried this joiner’s shortcut and it worked pretty well. I also made the cuts with a Japanese Dozuki pull saw for the first time. On softwoods these saws create nice clean lines with very little effort, I have to say. The other steps all went as planned, more or less, but are not detailed here. Suffice to say I still have a ways to go if I ever want to get good at dovetails.
Disassembled dovetailed box
The boards glued-up nice and square, and with a little hand planing, patching and sanding it made a solid box body. Next, the bottom board was cut slightly generous to the box perimeter dimensions and affixed using small finishing nails. The edges were then hand planed smooth and equivalent to the box sides.
The box lid will rest on top of the sides and needs only a groove in which to ride. I chose to “create” that groove by joining “L-shaped” trim boards along the top of three sides of the box. These were made at the router table by rabbeting excess side board stock. They were then mitered at the corners and affixed with glue. Probably not the way it was done in olden days, but the truth is I needed to work around some nail extraction damage in my antique pine and this was a simple fix: cut the wood up and then piece it back together.
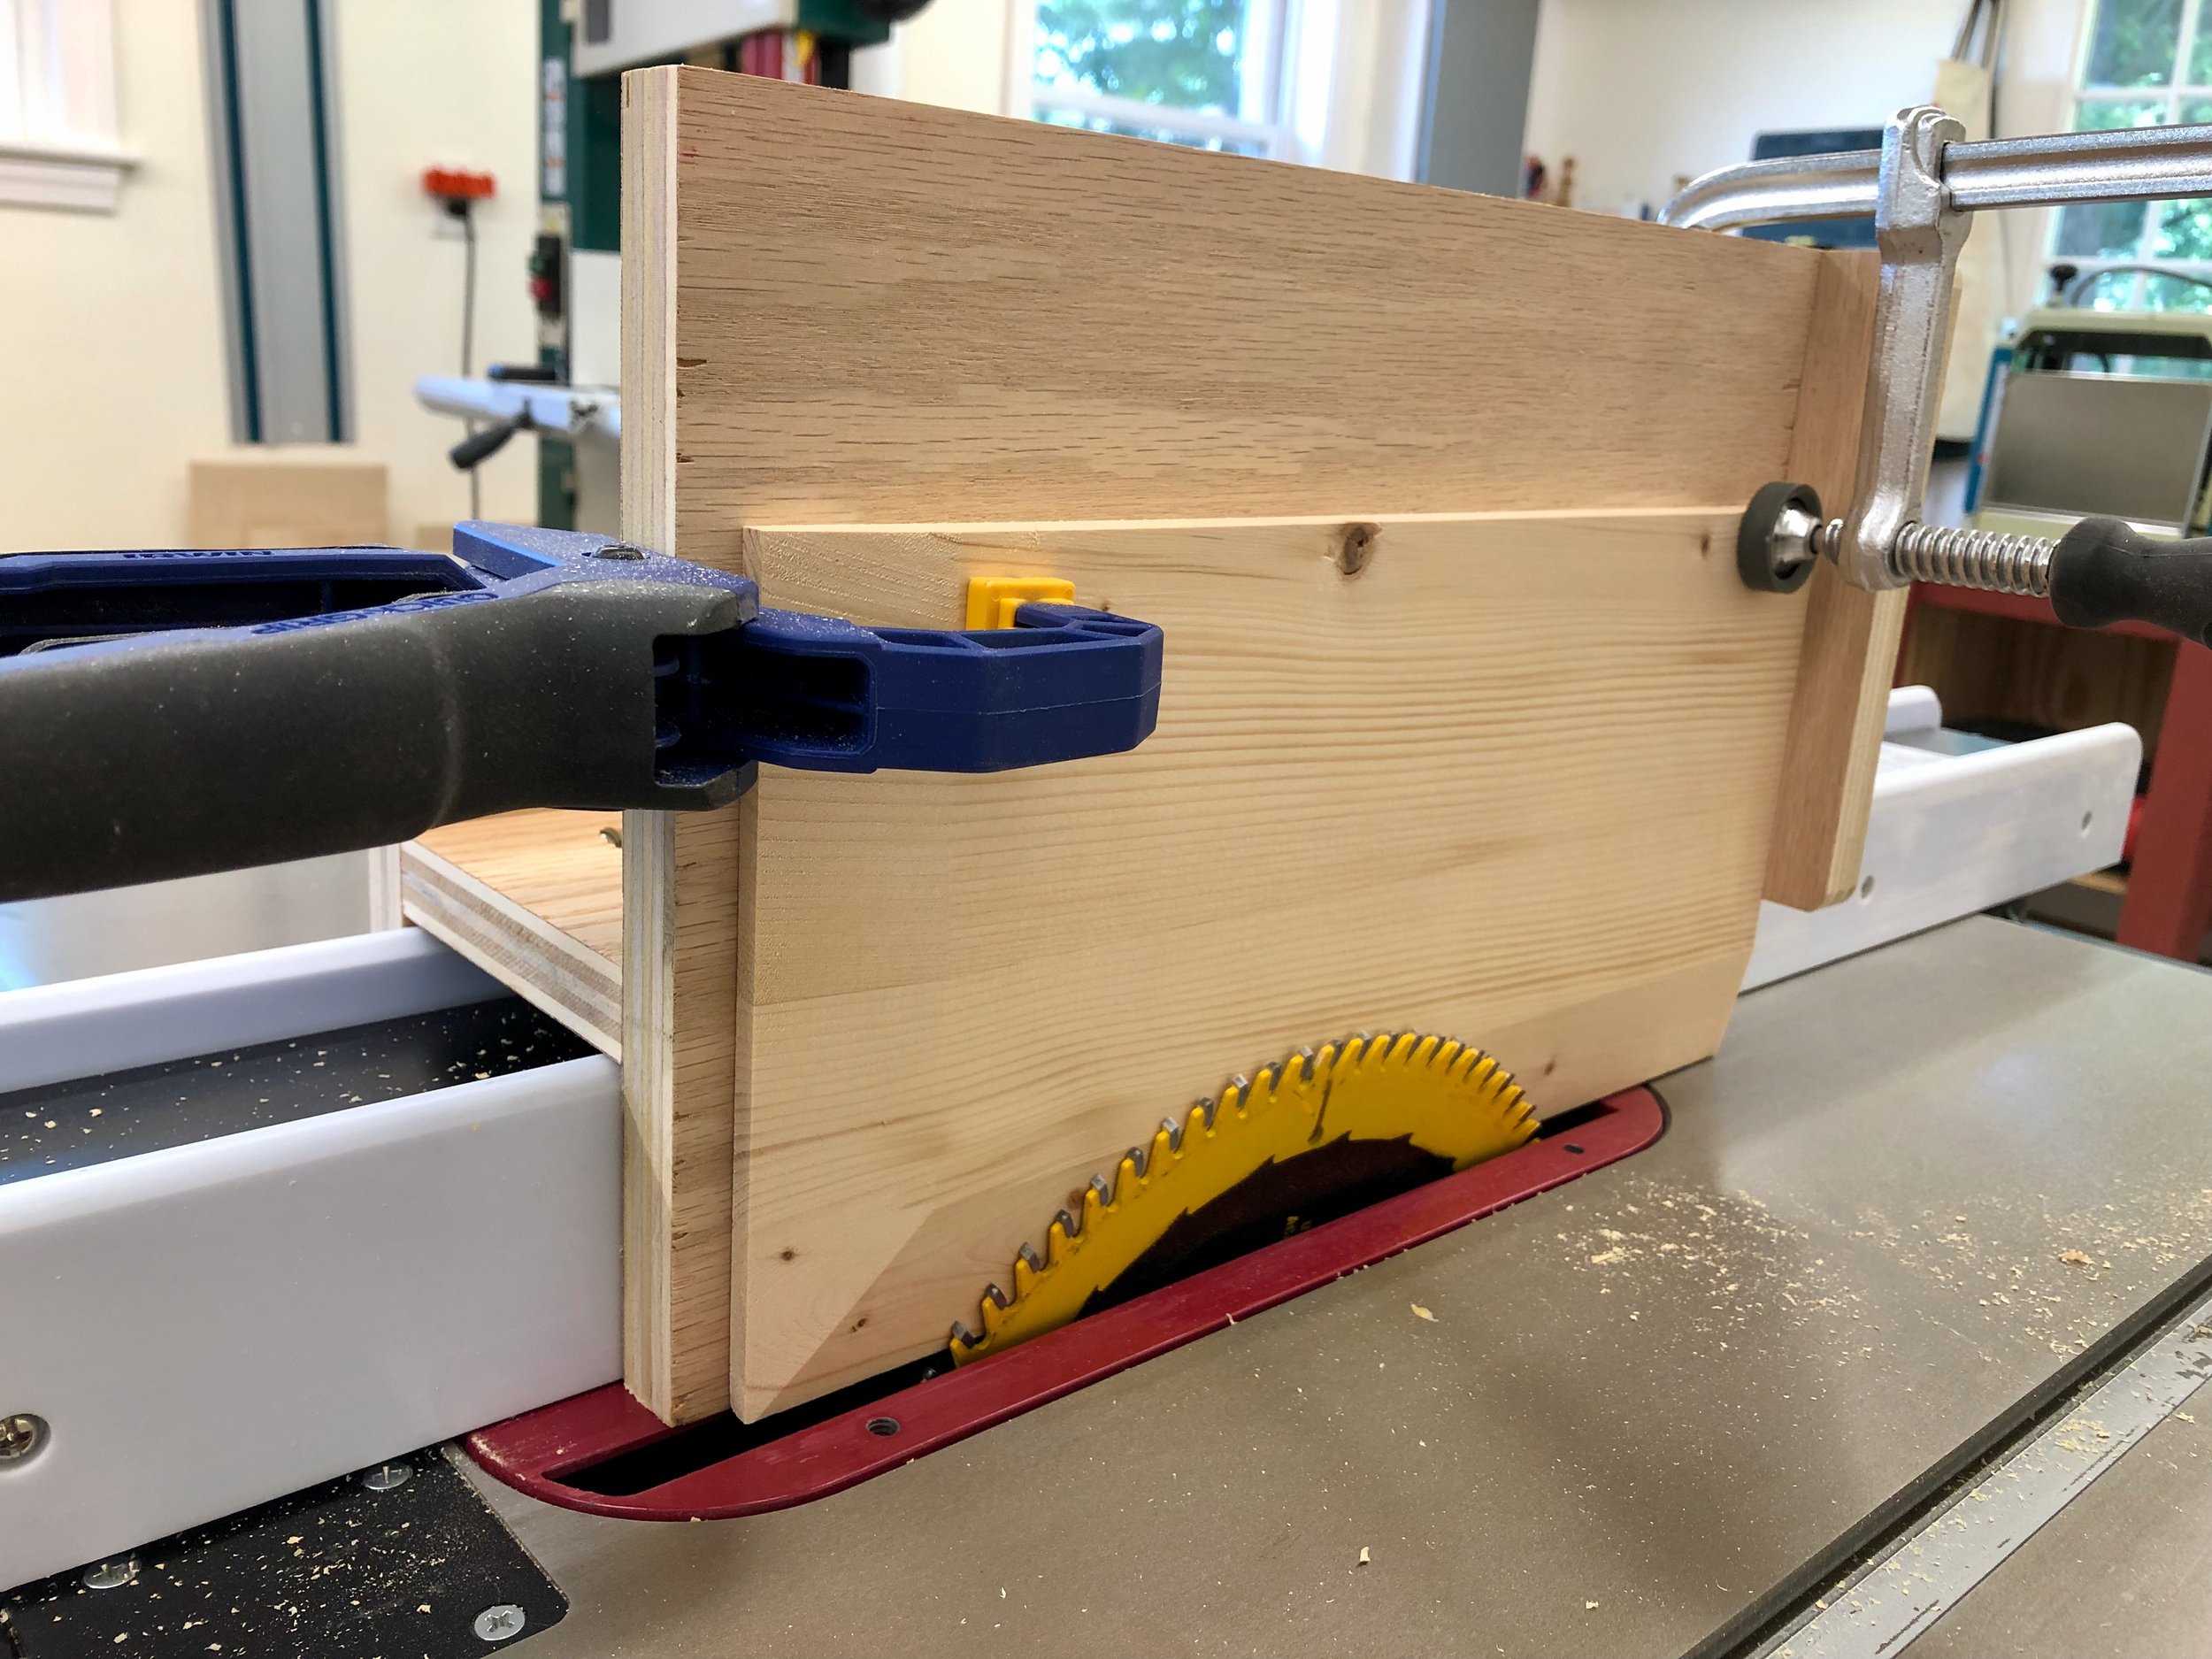
After trimming the lid board to the correct width, three sides were beveled to create narrowed edges that would fit within the groove. To achieve the bevel I made a new panel raising jig for my table saw based on one described by Norm Abram (host of PBS’s New Yankee Workshop (1989-2009) and inspirational figure to self-taught furniture makers everywhere) in his book, Mostly Shaker from the New Yankee Workshop. This jig straddles the table saw rip fence and allows one to safely pass the panel to be beveled through an angled table saw blade. Works nice, and using an 80 tooth precision blade it yields a surprisingly clean surface which was then touched-up with sandpaper.
Panel raising jig in action
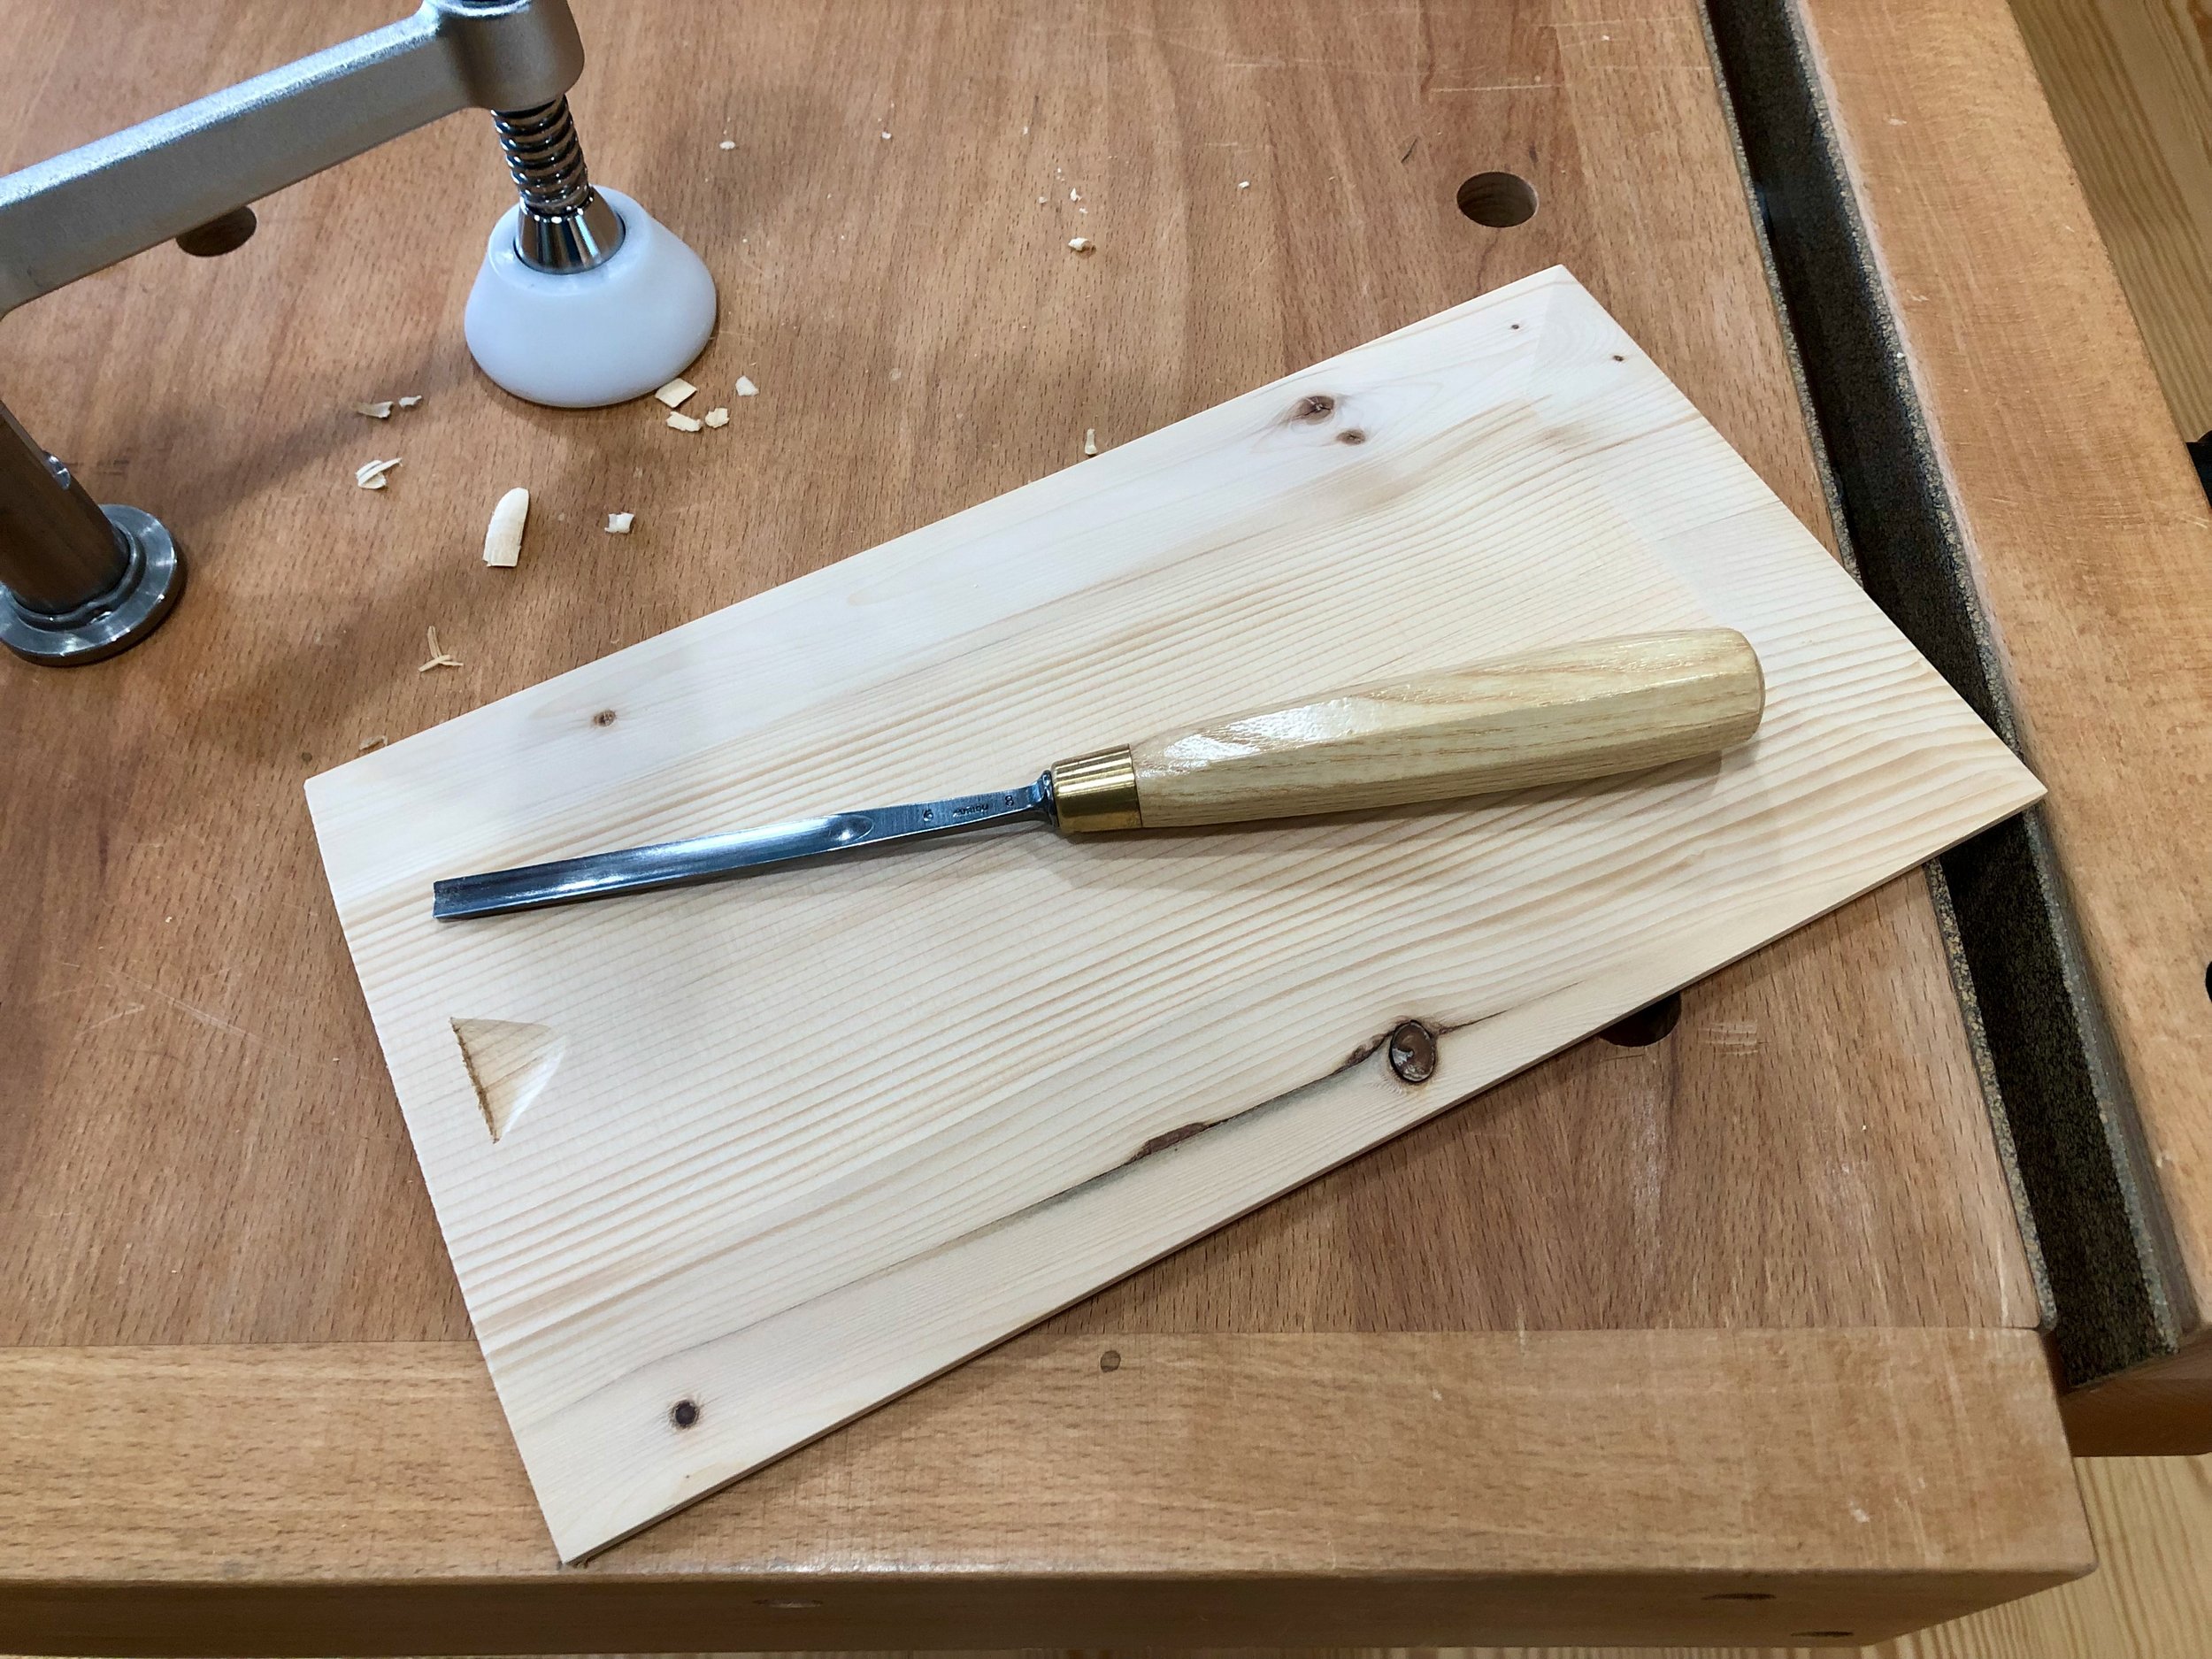
Once the lid was sanded and running smoothly within its track the final step was to create a finger pull. This meant entering the world of wood carving, or at least sampling the experience. Chiseling a partial cone into the soft pine lid seemed like a simple task but none of my flat edged tools could do the job. I needed a new gouge, of which I found there were plenty of styles, profiles and manufacturers to choose from. I was looking for the baby bear implement here (not to big, not too small, not too curved, etc), and after consulting with a son and nephew, who both do this stuff well, I settled for a tool of #6 curvature in an 8mm width. It worked great for this application and will no doubt be a useful size for other small furniture applications.
Finger pull and gouge
Finish
The final step was to finish the pine. Original candle boxes almost certainly would have been covered in milk paint, but modern sensibilities favor the look of wood. And the grain on this old pine is so captivating that I decided to go for an “unfinished” look. A single coat of satin gel polyurethane was applied on the exterior surfaces to highlight the changing grain colors, ward off fingerprints and achieve a bit of water-proofing but the internal cavity was left untouched. With a light steel wool buff that old pine felt like velvet and I decided to stop right there. After all these years it still has an eau de terpene air and seems eager to patinate again, in its new home.
Antique pine candle box …
at home.


