

4 Drawers

Those of you following along from the early days will recall the Stationery Chest and might be wondering: “hey, what ever happened there?” Good question. The short answer is that, partially completed, it had been moved out of the workshop and was biding time in a spare bedroom while its maker tackled other Projects and gained experience. Those Projects have lulled and, fresh from a valuable tutorial in drawer building with the Ledger Chest, I was now anxious to finish off this piece and place it in our living room where it belonged. Here’s the story.
The carcass of this chest was completed in early 2021 following plans from a book on Korean furniture making. This Project was a good challenge for me, involving the rehabilitation of some beautiful but twisted curly maple lumber, as well as a foray into novel woodworking terrain, specifically the mitered dovetail and Korean swallowtail joints. The piece shows clear signs of not-yet-craftsman-like “craftsmanship” but I’m getting there. My hope is that a solid job on the drawers and some care with the finish will create a handsome and functional piece.
Design
The plan calls for “inset” drawers which is what will be made. The sliding mechanism for these drawers, not even contemplated until now, will be a platform created using small plywood boards affixed (out of sight) to the bottoms of the drawer partitions. Corner joinery is stipulated in the Korean language plans to be half-blind “fist” joints (aka dovetails) but here’s where I’ll go off-road. Never having made these joints before, I did not want to wade further(x4) into unexplored territory on this piece - it has seen enough already. It also turns out that, upon measurement, the drawer openings are “a tad askew” and that felt like trouble when trying to fit an uncompromising joint like the half-blind dovetail. In contrast, joinery used recently for the Ledger Chest drawers, the rabbeted half-dovetail, appeared to be forgiving in that dimension. It is a nice drawer joint and was the one selected here.
Note added in proof: I have looked up some old Korean cabinets in online auctions and have yet to find a dovetailed drawer - they are all butt jointed. Makes me think the literature contains revisionist methodology, but more research is required.
Materials
Aside from the maple carcass, we would need additional maple for the drawer fronts and some reasonable hardwood stock for the concealed drawer parts. While I had planned to use yellow poplar for the interior drawer components, I was “fresh out” of that wood. However, I did have a pile of “extra” hardwood scraps, accumulated over a couple years of project making. I decided to use some leftover African mahogany for the drawer sides. Why not? I came across a twisted mahogany board that would be difficult to work with as a furniture element but, re-sawn into thin planks and then chopped into 8 inch parts, this hard, well-behaved wood could serve nicely as drawer stock. Might be a good look, too. Baltic birch plywood would be used for the drawer bottoms.
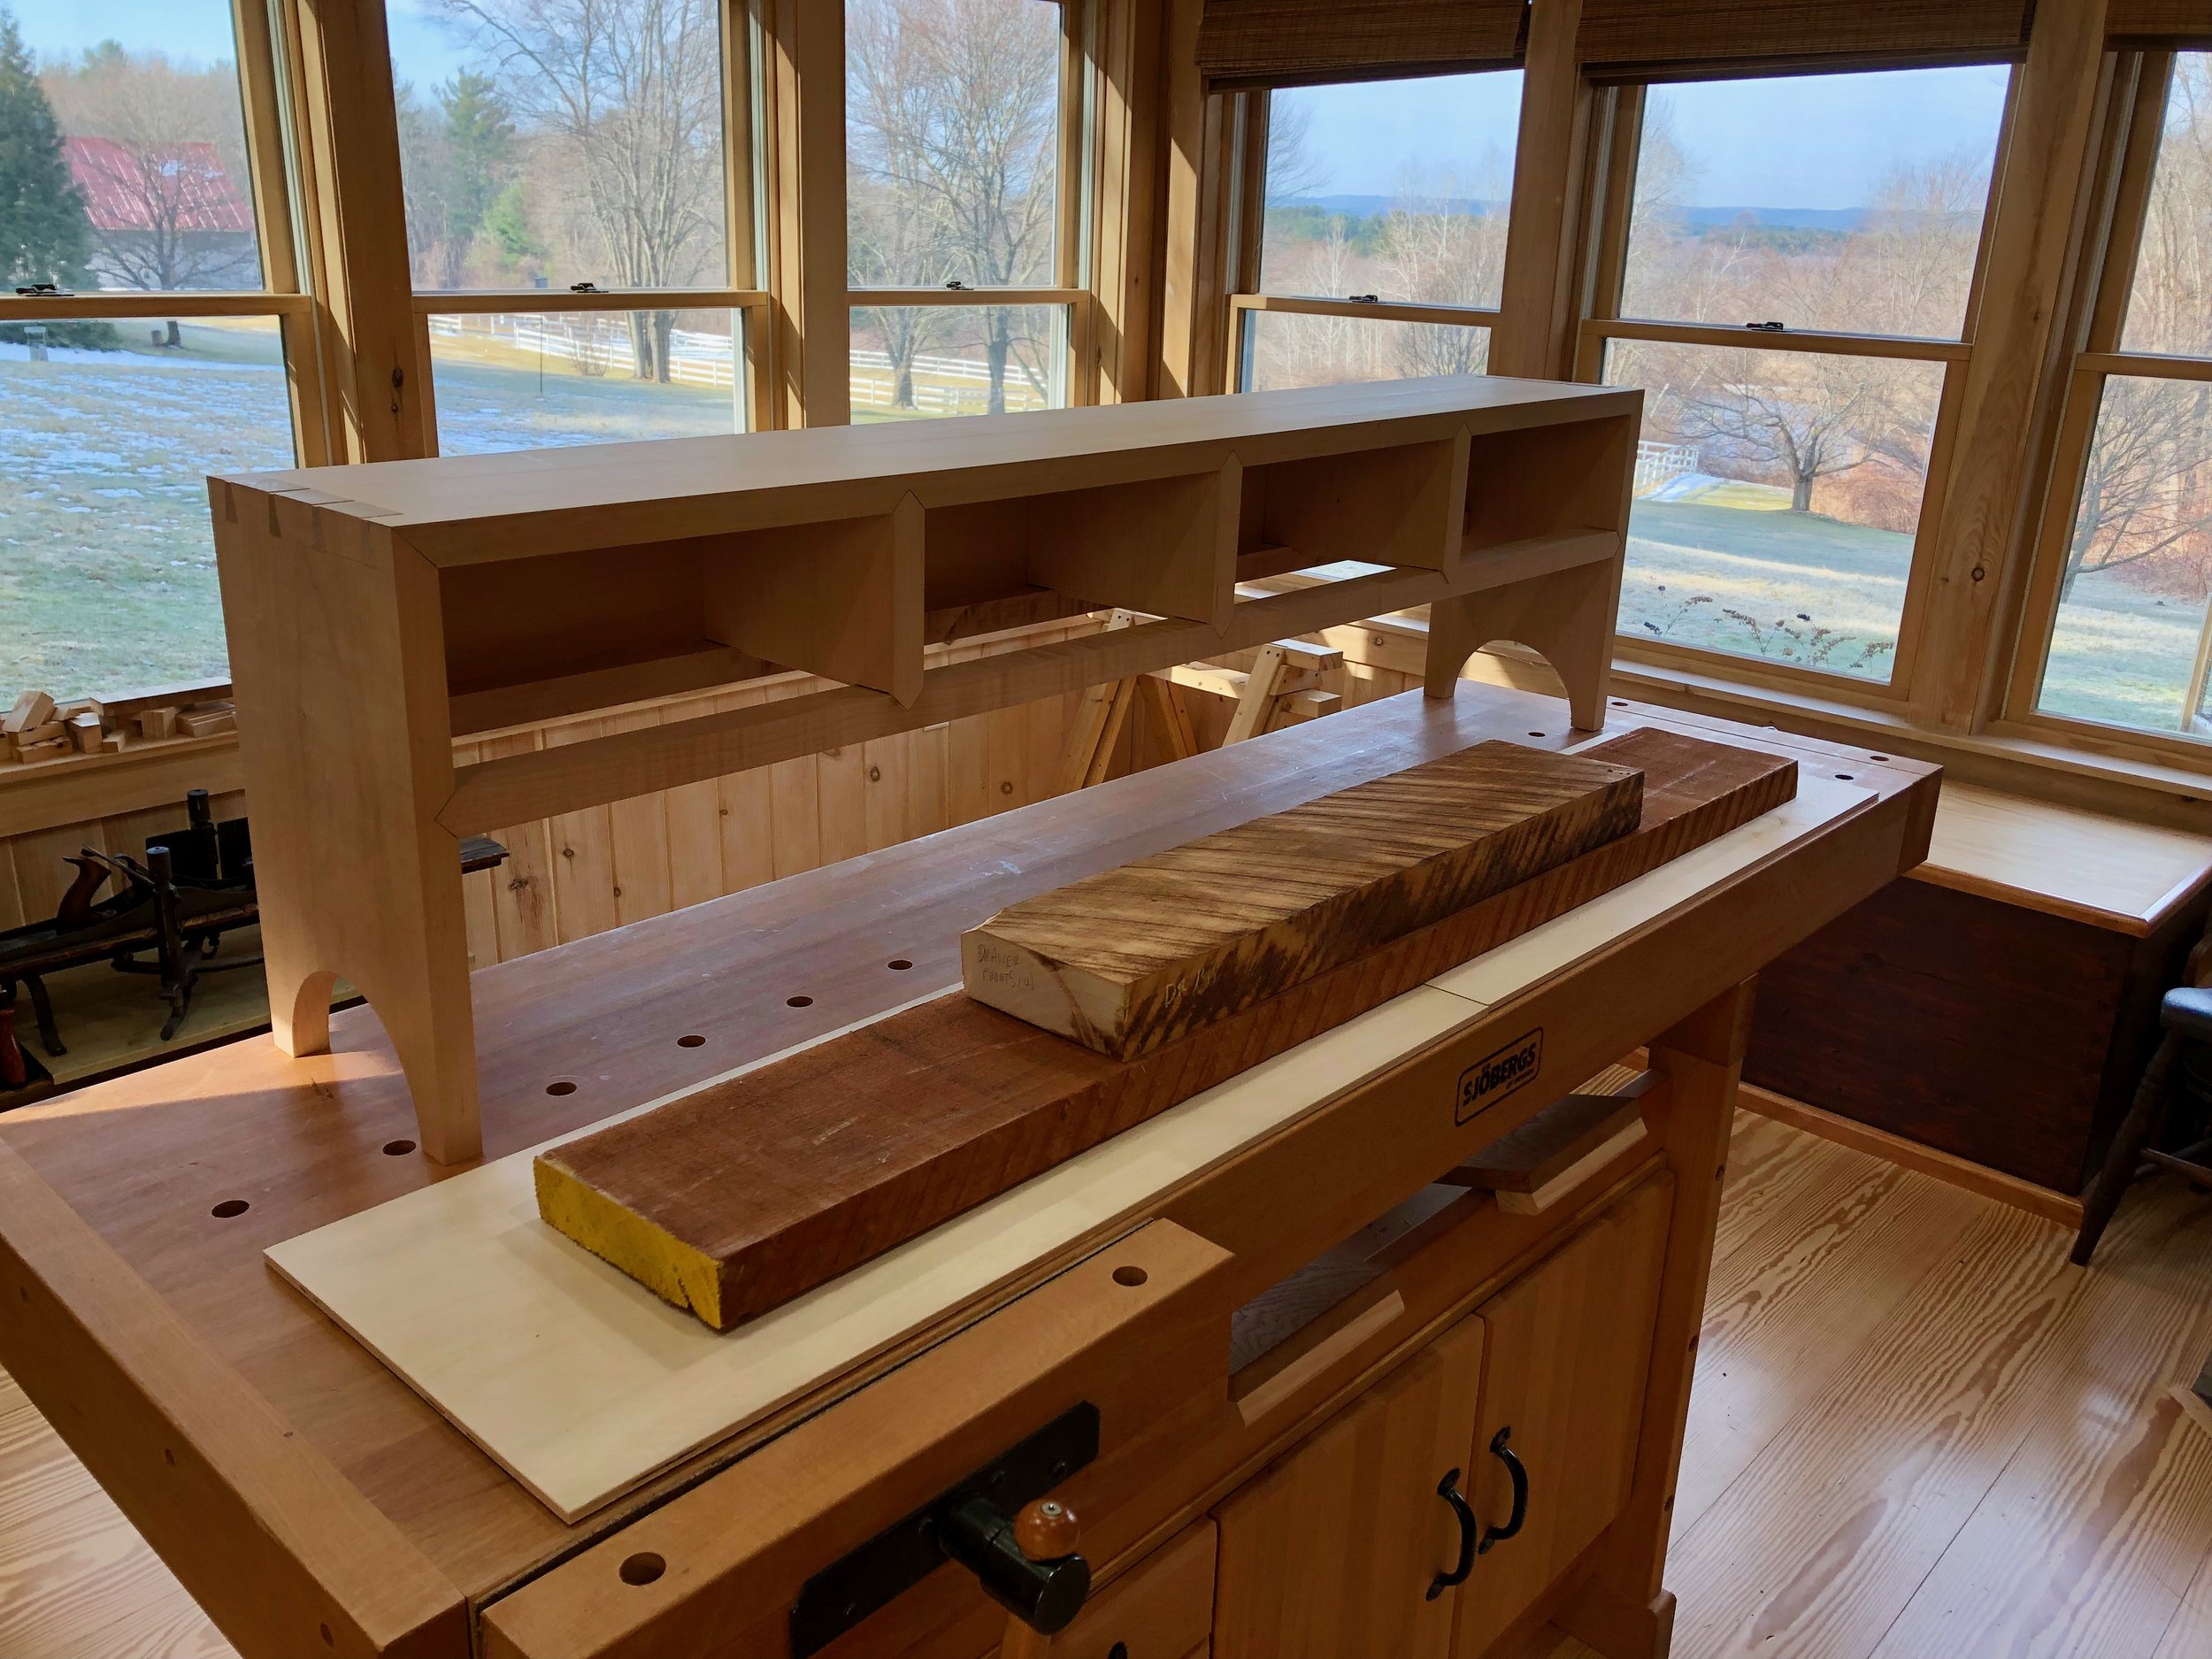
Wooden parts to complete the Stationery Chest
Consistent with Korean form, the drawer handles used would be single hooked, so-called “drop” pulls. These handles are quite unassuming compared with the hardware typically used to set-off (if not define) Korean furniture, but they should work well here where curly maple has the starring role. I found some Asian designs at a new online source for me, Ansaldi Furniture Hardware, which carries a wide selection of brasses. They seem solid and have just the right look. The design I had chosen for this chest is a variant of what Koreans call the “heavenly peach” and apparently this was the most commonly used handle for men’s stationery chests.
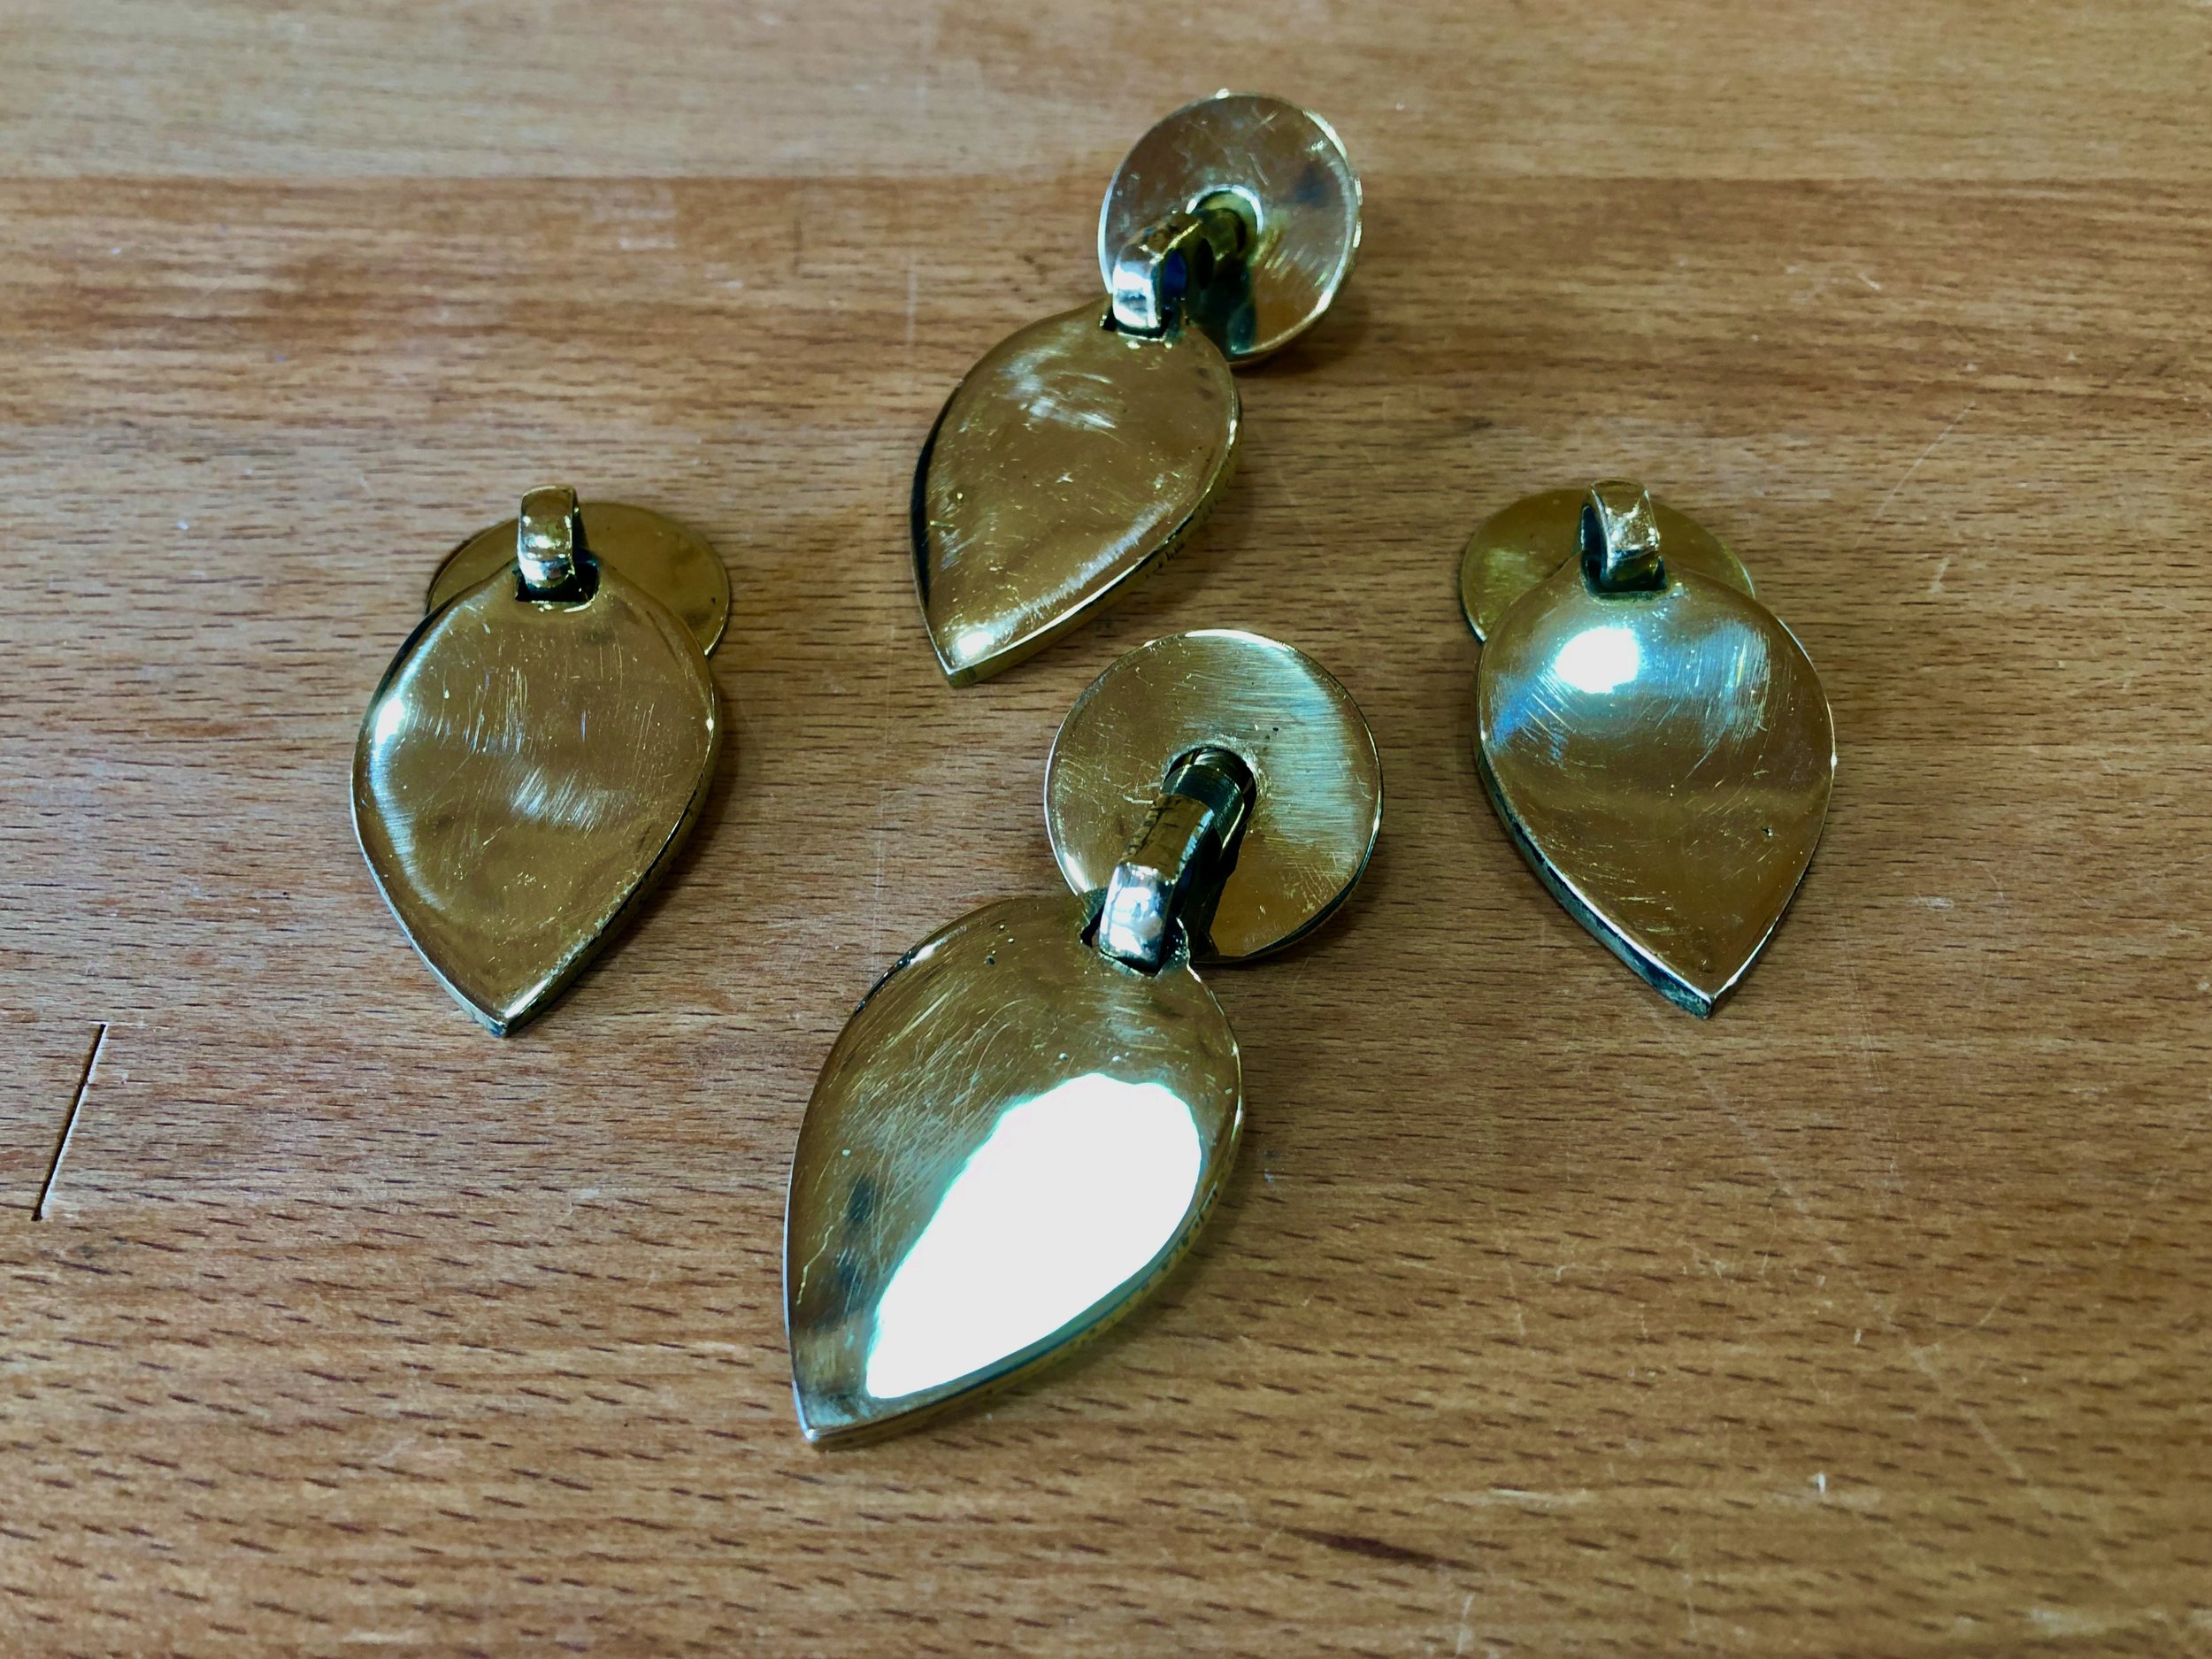
Heavenly Peach drawer pulls, in brass
Dimensioning
A piece of antique curly maple, the same as that used for the carcass, would form the drawer fronts. After removing decades of dusty accretions with a belt sander the 3 ft. long hunk was jointed flat on one edge, re-sawn into a pair of thinner planks and then jointed/thickness planed to a final width of 3/4 in. These beautiful boards will be used in a book matched orientation for the drawer fronts. (Although, since the pivot was on the short axis, it seemed more like “straight razor” matching.) To the extent that the finished grain shows its character, this should create an attention-grabbing, 56 inch flow across the entire front of the piece.
The drawer fronts were chopped to rough width, labelled 1-4, and then custom fit into their individual cavity openings. As mentioned previously, these openings were all about a degree off from 90 and so the sides of the drawer fronts needed to likewise conform with these slants. Now, hand planing along the end grain of wood is tricky business and so to create the new edge I found it easier to mark a line on the drawer front parallel to the cavity opening and then perform the angled cut along this line with the sliding miter saw. This saw comes equipped with a laser that casts a red beam directly below where the cut will occur. No need to measure angles, just align the laser with the pencil line and saw. I refer to this technique as “power fitting” and it may take a few centuries before it can be considered a traditional method. (Of course, by that time lasers are doing both the marking and the cutting, saw blades having become obsolete.) Anyway, it works pretty well today and it rapidly facilitated the nesting of all four drawer fronts.


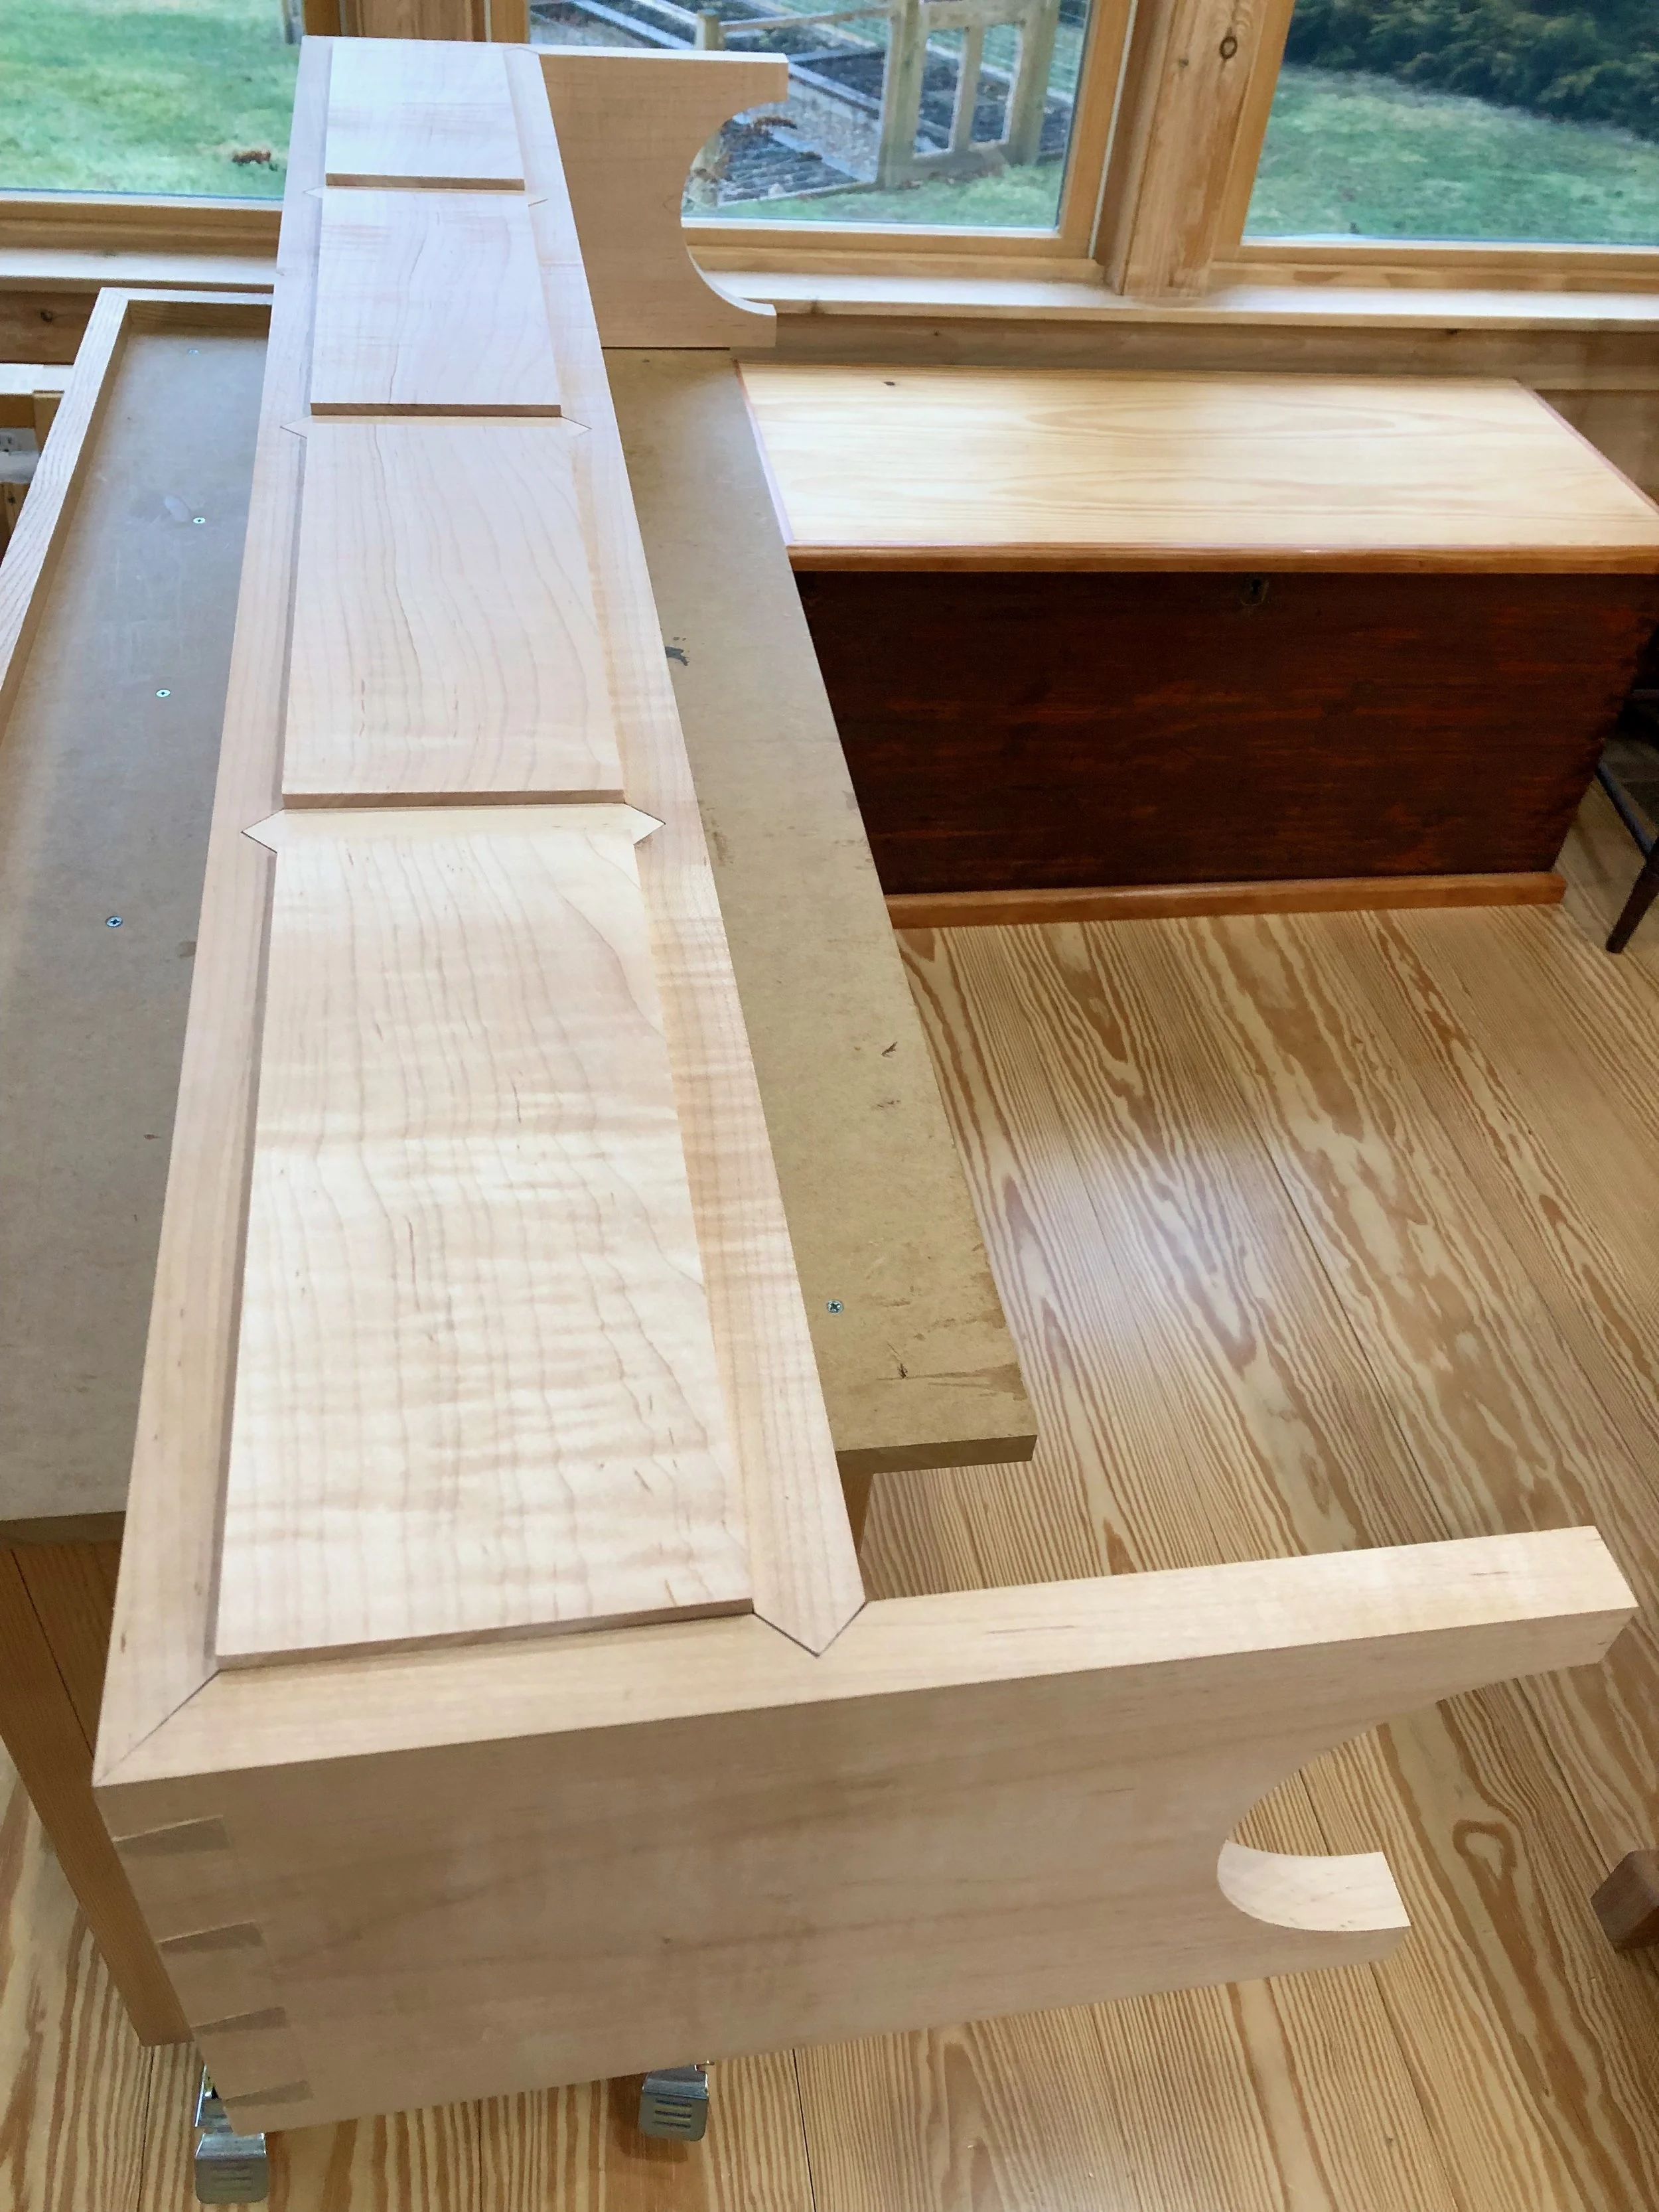
Drawer fronts fitted to their cavities
Next, I needed to create the sides, backs and bottoms of the drawers - 16 pieces, in all. This was done essentially as described for the Ledger Chest in episode 2 and need not to be recorded here. However, I did make one improvement worth noting. The half dovetail cut at the router table for the side pieces involves a vertical board orientation, where the end grain is slid along the table’s surface as the cut is occurring (illustrated below). That “surface”, surrounding the router bit spinning @ 23,000 rpm, is made up of a melamine table top, aluminum router plate and a circular plastic collar. As these materials do not abut smoothly, the resulting bumps, even though minuscule, are enough to make for a troublesome cut and a rough looking result. To eliminate this source of imperfection, I fashioned an auxiliary table top out of a small piece of dry erase board stock which allowed the mahogany boards to slide through the cutting bit with ease. Good solution with many more applications to come!
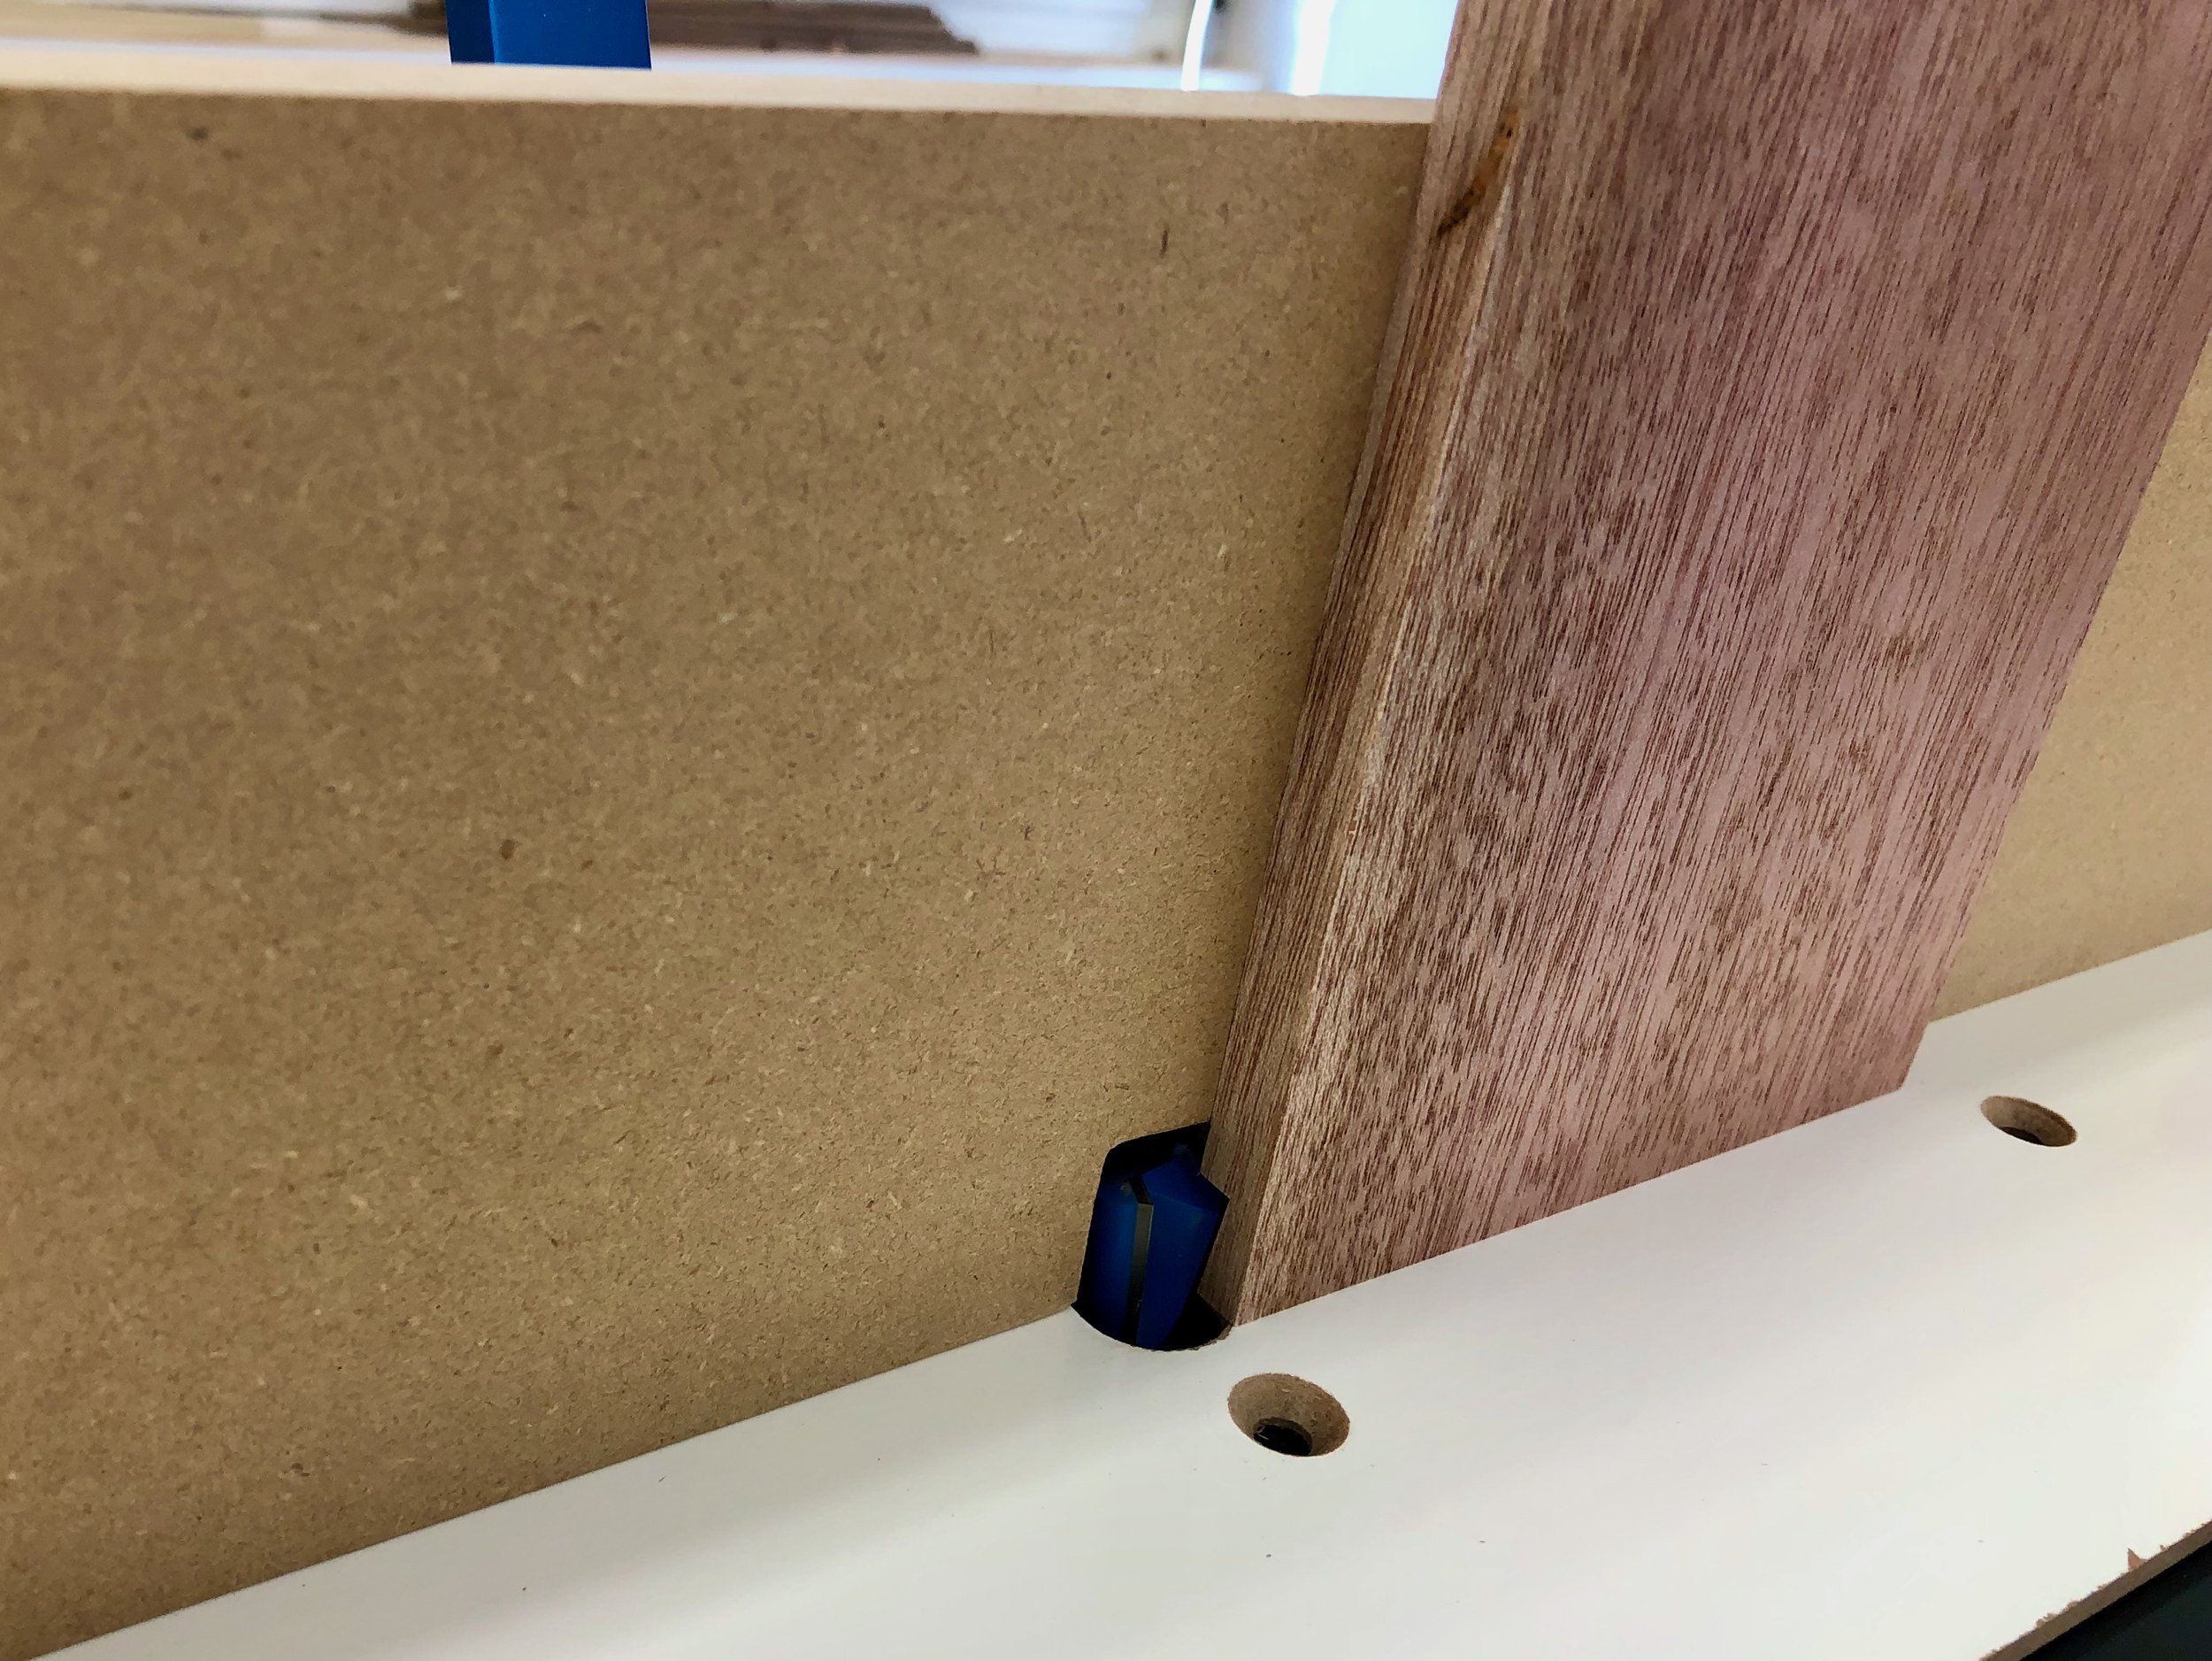
Mahogany drawer side being cut by a dovetail bit while sliding on the white auxiliary table top
Assembly & Finish
With a few hand plane strokes and some sanding, the labelled, dry-fit drawer constructs were methodically “futzed” into their cavities until they all operated as intended and a reasonably uniform gap pattern was achieved along all of the edges. The drawers were then disassembled and re-assembled with glue and clamps. Once dried, hardwood dowels were used to pin the front corner joints and the sides were then re-sanded smooth.

Fully assembled drawers
Finally, the carcass needed to be finished. That started with addressing the dovetails. The end grain portions of both the pins and tails stood somewhat “proud” of the joined surfaces (oh well, at least one of us was proud). While not uncommon in this type of joint, these protrusions would need to be leveled prior to the final sanding. Cutting lightly with a sharp block plane, they were slowly whittled down to “flat”. The sides and top were then smoothed with an orbital sander, progressing through a 120/150/220/400 grit sequence to make it look shiny-clean. Next I tried a technique for finishing “inset” drawer fronts that I read about in the handy reference book Building Doors & Drawers by Andy Rae. To begin, the carcass was flipped onto its back and small felt pads were affixed to the backside of the cabinet interior. These pads touched the rear of the drawers so that when fully inserted their faces peeked just proud of the frame. Sighting down the surface now reveals the topographic undulations of drawer front and frame elements which would be corrected in the following manner. The drawers were wedged tight within their opening using softwood shims and then the entire surface was worked carefully with the orbital sander using a 150/220/400 grit progression. Once everything was smoothed to satisfaction the shims were knocked through to liberate the drawers. Not perfect, but much better than the original state. The empty carcass was then flipped upright and all of the right-angled edges were “broken” using sandpaper to achieve a soft feel while retaining a sharp look.
The final step was to apply the finish. I had experimented earlier on a sample board where portions were first treated with either: 1. de-waxed shellac; 2. linseed oil; or 3. wiping varnish, followed by two coats of wiping varnish over all sections. It seemed the curly maple grain was highlighted nicely in every case, with the linseed oiled portion taking on a noticeably oranger hue compared with the others. Over time, that oiled portion would likely darken faster than the other two segments but that was not my goal on this piece. I was seeking to do right by the curly wave patterns in the wood and it looked like the Arm R Seal wiping varnish beat-out the shellac in this instance. Three coats of wiping varnish were then applied, with some minimal sanding in between and a buff job at the end, to finish the wood. Installation of the heavenly peach drawer pulls at last completed the Korean Stationery Chest, a good learning Project for me and a fine addition to our living space.

