

Room with a View
First of all, I did not write this blog post, nor did I create the table it describes. These are the work of my good friend, Brian Jones. Here’s the backstory.
A while back, Brian inquired whether I had any plans for a work table that he could execute with the collection of hand tools he uses for home repairs. The answer was essentially: “Probably. But wouldn’t you rather have a nice table, instead?” He took my curt response in the manner intended, and after some further discussion he also took me up on an offer to come build his table using my tools. In taking on this Project it was implied that he would be responsible for the blog post, as well - both turned out great.
Room with a View
by Brian Jones
Adjoining our pre-Revolutionary home in Dover MA, is an old New England carriage house. On the second floor, slide-windows overlook conservation land that is the roam of deer and coyotes, together with bluebirds and (it is said, though I’m yet to confirm) bobolinks. I want to perch up there, pondering the view and charting my own roamings, like a tricorned explorer in the captain’s cabin of an old Galleon, pondering the horizon. However, the bottom of the windows are 53 inches above the floor-boards.

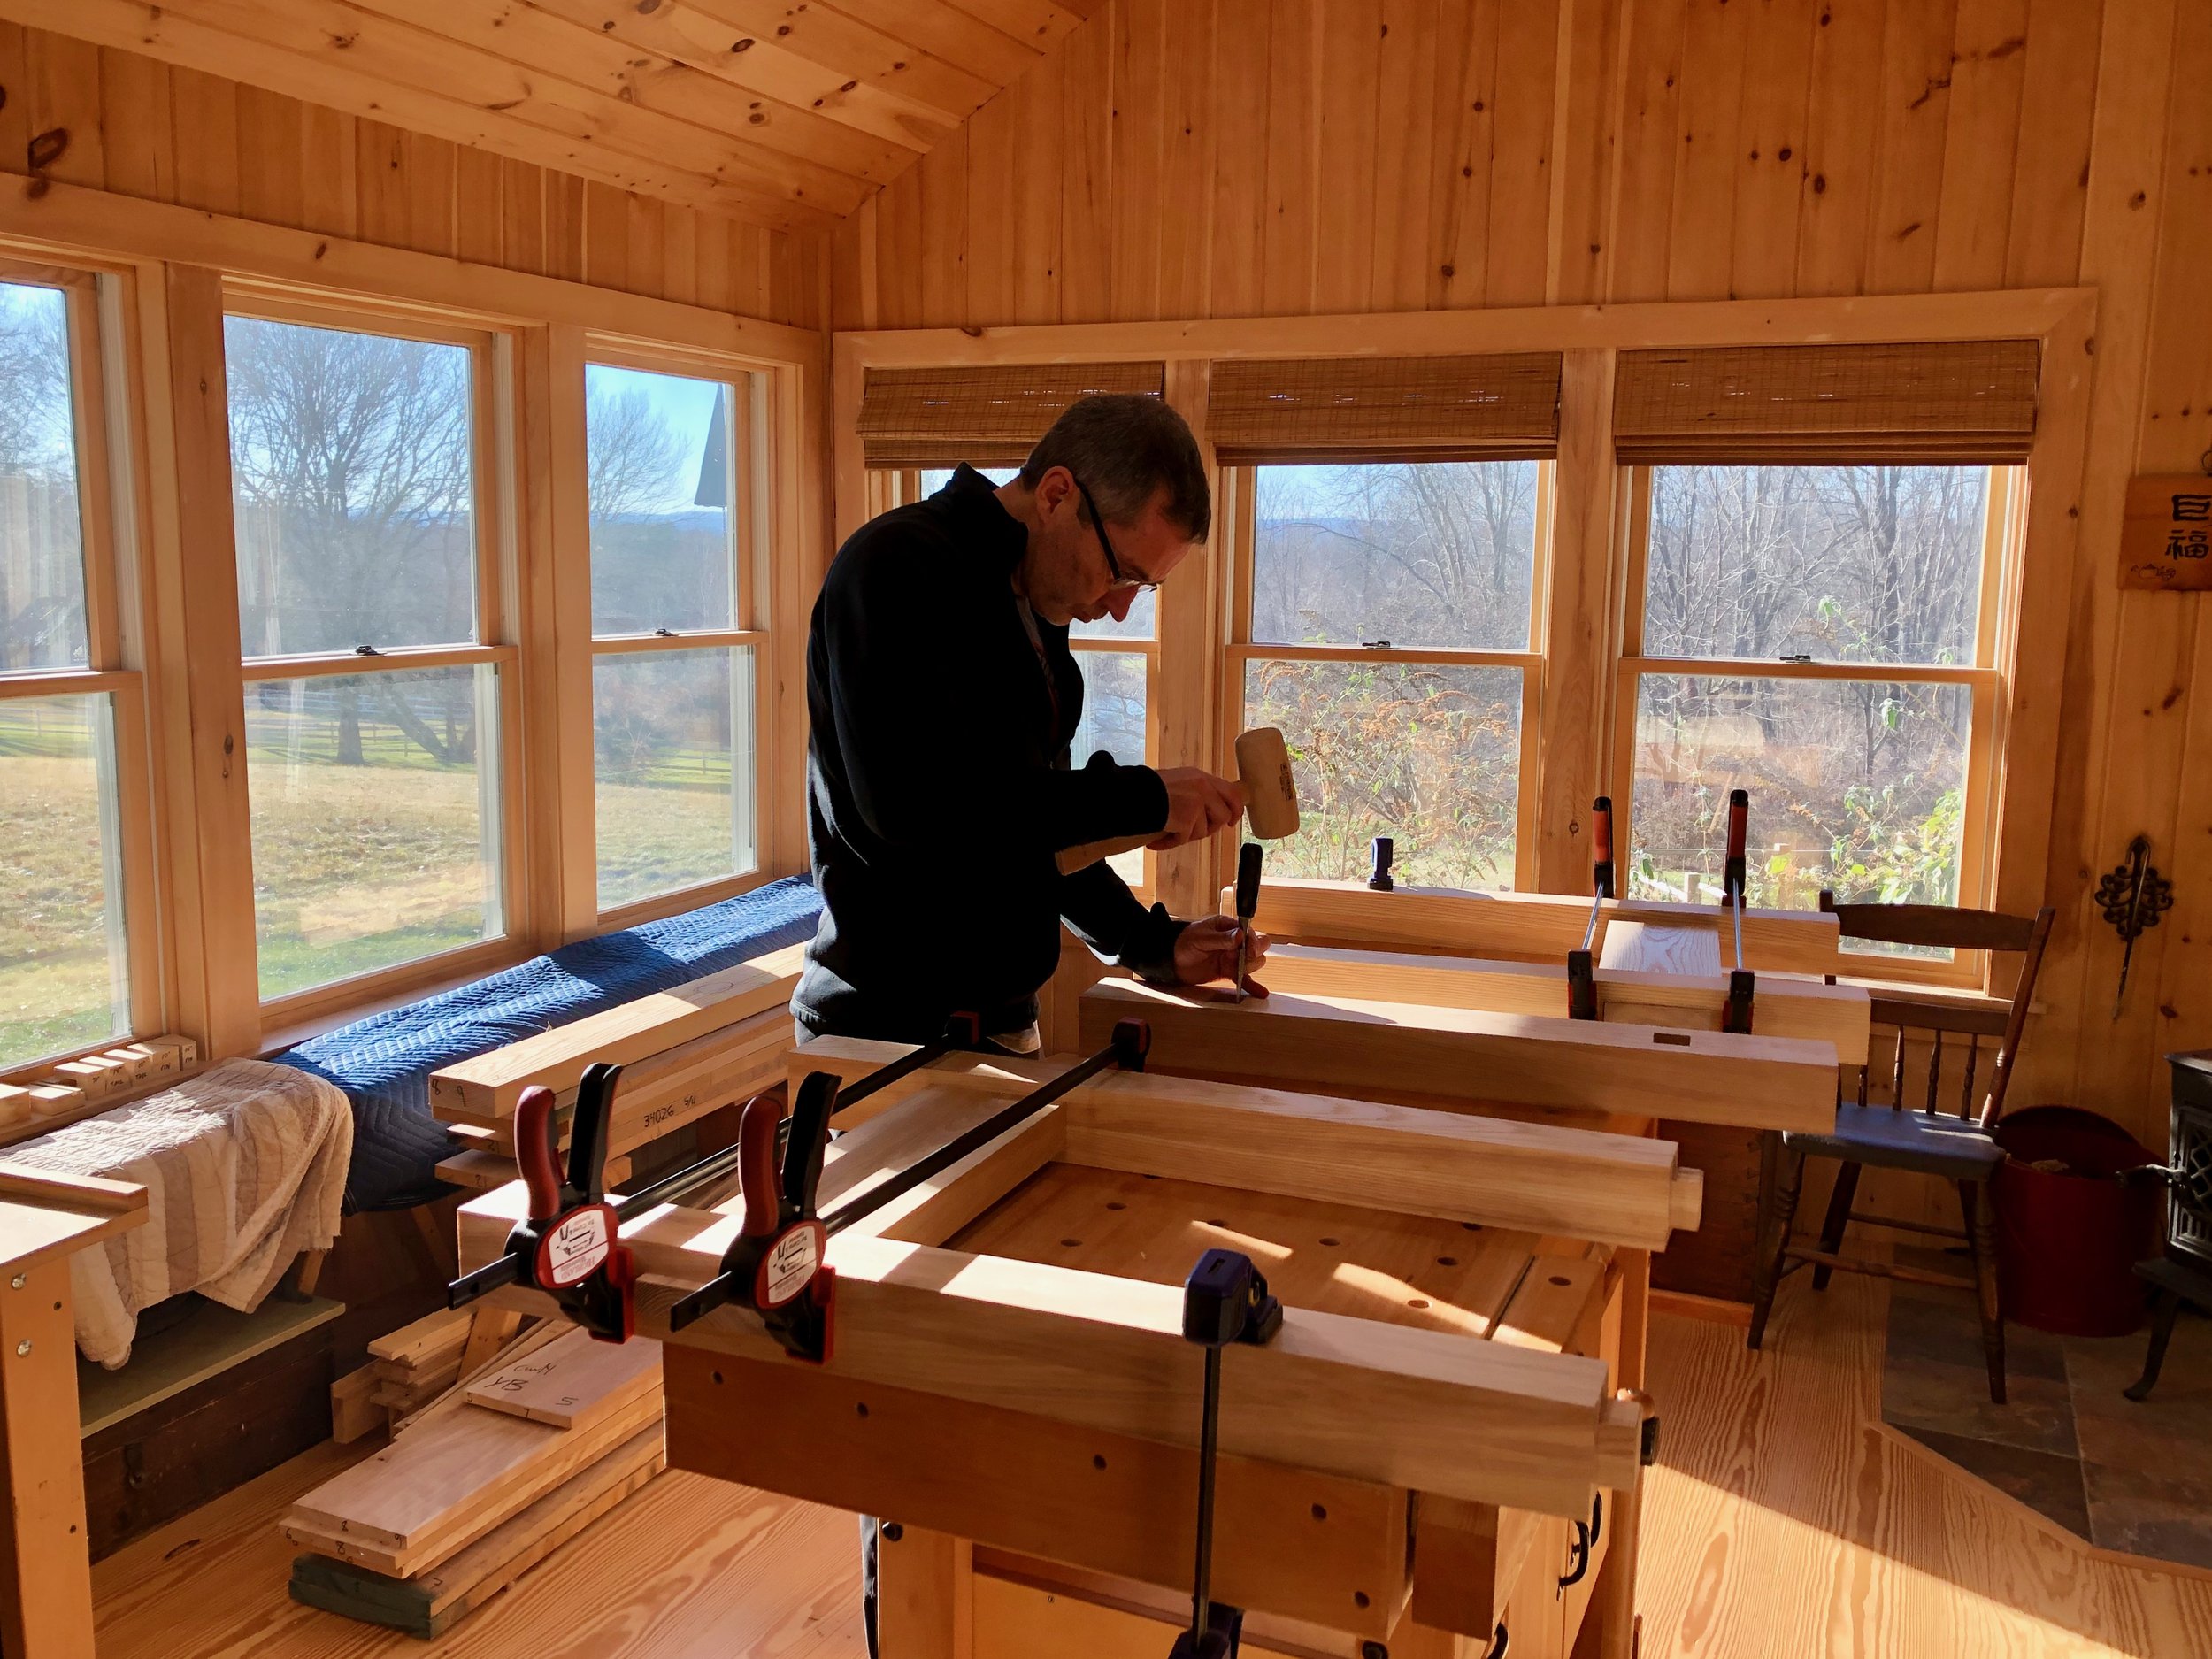
And so, the desire for a high-stool ‘map table.’ One that reflected the solidity of the beamed space and of the intentions that would be conceived on its surface. Surprisingly an aged example of something along these lines proved difficult to find and so I asked the advice of an old friend, Mark Goulet, who now hones his craft in the woodworking heaven that is the Red Top Workshop. Mark proposed that he guide me through the process of building such a table; an offer as generous as it was welcome, given my complete lack of woodworking knowledge. What would be better than communing through a New England winter, while working on this project? The neighborly enterprise seemed itself in keeping, with the lineage and life of the old carriage house.
Given Mark’s passion for the Arts & Craft style and ethos, he quickly suggested we re-dimension a Gustav Stickley dining table design for this purpose, which seemed perfectly in keeping with the aim. The plan then was for me (and initially, my son Neil) to spend several days through the winter, over at the Red Top Workshop, being initiated into the wonders of woodcraft and testing Mark’s reserve of patience and forbearance.

Table No. 622, Gustav Stickley
From: Bavaro, J.J. and Mossman, T.L. The Furniture of Gustav Stickley (1982).
We liked the simplicity and heft of ash and last October travelled to a New Hampshire yard to select the lumber. With a few tweaks of the plan to accommodate dimensions of the available timber, we were ready to kick off.
Our first introduction was to the jointer, thickness planer and band saw, to prepare the pieces that would be combined to form the square legs (below). Mark explained to us some basic elements of doing things right, like reading the grain in order to feed the wood in the optimal direction to minimize tear out, and careful entry/exit from the planer to minimize sniping. This very first step, converting raw lumber into clean, true-squared sections, is a magical transformation for the novice to witness. To look at a stack of raw lumber and be able to visualize how the elements of your construction will emerge is truly a skill born of experience.


With that done, we needed to create a mortise in each leg, to accommodate the bottom rails. This meant an introduction to dado blades on the table saw to carve out each half of the mortise (Gustav took a harder route to creating this joint). The table saw is an unsubtle implement, but effective. Mark’s methodical and unhurried approach seemed ever more important around this ferocious tool. After re-jointing the half-legs, the next new tool was the biscuit joiner, which set us up to glue and clamp, to provide the first look at the solidity of the whole leg (below).


Our next task was to create two rails that would tenon into the mortise in each leg. After again preparing and dimensioning the lumber, we used the dado blade to do most of the work hewing out wood to craft the tenon, which we then finished with chisels and hand planes, iterating against specified leg mortises to create a sharp, tight fit (below).


Having achieved this to our satisfaction, we turned to making the two chunky “cleats” that would support the table-top and be mortised to accept a square tenon at the top of each leg. This comprised, for each case, preparing, dimensioning and gluing two sections of wood, to form the basis of a deep, solid cleat. With that complete, we set to creating the square mortise and tenon between the top of each leg and the respective cleat. This involved careful labor with the band saw to create the tenons, and the experience of a new device in the mortiser to create, well, the mortises. The resistance of ash was experienced directly during the mortising, with the act requiring a bit of muscle on the lever of the mortiser and generating significant heat in the wood and bit, with ejected shavings showering hot on the hands. Of course, all four tenons and mortises were each whittled to their matched finishes by hand chisel, ensuring a tight clean fit (below). The last act for the cleats was to run an angled cut with the miter saw, to shape a long and elegant bevel at each end.
Paring the stop mortises on the underside of the cleats
Next, we returned to the H-stretcher. Creating the longitudinal stretcher required forming a long, broad tenon on each end of the prepared plank. This we did with the combined application of the dado blade and band saw (below).


Each rail needed itself to be mortised to accept the longitudinal stretcher. Our initial plan was to use the mortiser to do this. In principle this was a fine plan but driving the mortiser bit through such a depth of dense ash proved a step too far. The heat generated began to char wood before the full depth could be achieved. So, we reverted to Plan B, drilling a series of holes with a Forstner bit on the drill press and completing the task with hand chisels. Again, we carefully fitted the designated mortise/tenons by hand chisel and sanding. The dry fit of the frame was looking good (below).


We then turned to the table-top. We started with a first pass jointing and planing of the five planks, cut at excess to required length. One of the advantages of hand-crafting is the ability to make precise choices along the way about what shade and grain you want where, what ‘imperfections’ add character and which should be hidden. The raking afternoon light in the workshop provided an unforgiving magnifying glass for that process. That came to the fore with the table-top and we carefully designed the pairing and placement of the boards we wanted in the final surface. Having debated and concluded, we set to work carefully and iteratively jointing and planing the paired edges, to create seamless contact along the entire length. Achieving this is one of those tests of craft and commitment to quality, in which Mark set the standard. Having done that, we pulled out the biscuit joiner again to put three biscuits in each seam. We first glued and clamped the outer two pairs of planks and left them to cure. At the next session, with the help of Joung (Mark’s wife) to move and stabilize the unwieldy jenga, we glued and clamped the three segments in one go, to create the full five plank width. This required Mark’s longest pipe clamps and unbolting and moving his workbench to make space.


Closing in on the finish there were a few tasks left. With a combination of patience+hand plane and dowel plate+grunt, we fashioned eight short 5/8” dia. dowels to pin the rails to the legs. Grunt was also needed to drill out long holes through the legs to accept the dowels, but achieving a pretty nice fit in the end. A finishing cut on the ends of the stretcher took that back to final length. We also created mortises and tusks here that would firmly stitch the whole thing together. Then the project’s final cut, using the track saw to make two smooth long cuts across the width of the table-top, to take the ends back to length. During one of these cuts a slight obstruction delayed the sweep of the saw and caused a little saw burn on the edge. Being a craftsman, this gnawed at Mark overnight, so he did a final dust cut pass on that edge the following morning.


And before we knew it, we were just left with finishing; breaking edges, scraping, rounds of sanding and finally two coats of Arm-R-Seal wiping varnish. Even this straightforward process contained two revelations for the novice. Firstly, the near miraculous use of an electric iron and damp cloth to remove minor dents where the wood fibers were yet intact. Pure magic. And secondly the lovely simplicity and effectiveness of a cabinet scraper, to make the first pass smoothing. Seeing the final grain blossom on application of the varnish pulled back the curtain on the art of ash.

Carriage House Table (39”H x 60”L x 36”W)
We countersunk a series of table-top fasteners and carefully squared up and marked screw positions in the shop. It was then time to transport the table parts and assemble in situ, which went without a hitch. And so, this ‘map table’ now sits among aged oak beams, commanding a bucolic view, ready to inspire the roaming mind.
What a privilege and a pleasure to spend time through the winter, learning, creating and talking with Mark under the Red Top. Patient and deliberate working of wood, to the quiet accompaniment of Blues music, the smell of the wood stove and the shifting light slanting across the fields. A pleasure too, to share hand-crafted lunches with Joung and Mark, along the way, talking about everything from bats to life in Korea. Communing through wood. Surely something familiar to the pre-Revolutionary residents of this old house.

